
Eggless Peanut Butter Cookies
The BEST peanut butter cookies without eggs — crispy edges, soft and chewy centers, packed with real peanut butter flavor. Made with pantry staples and tested dozens of times in my kitchen.
Servings 24 cookies
Calories 249kcal
Ingredients
- 1 ¼ cups All purpose flour (Maida)
- ½ teaspoon Baking powder
- ¾ teaspoon Baking soda
- ¼ teaspoon Salt
- ½ cup Unsalted butter soften at room temperature
- ½ cup White granulated sugar
- ½ cup Light brown sugar
- ½ cup Peanut butter
- ¼ cup Milk
Instructions
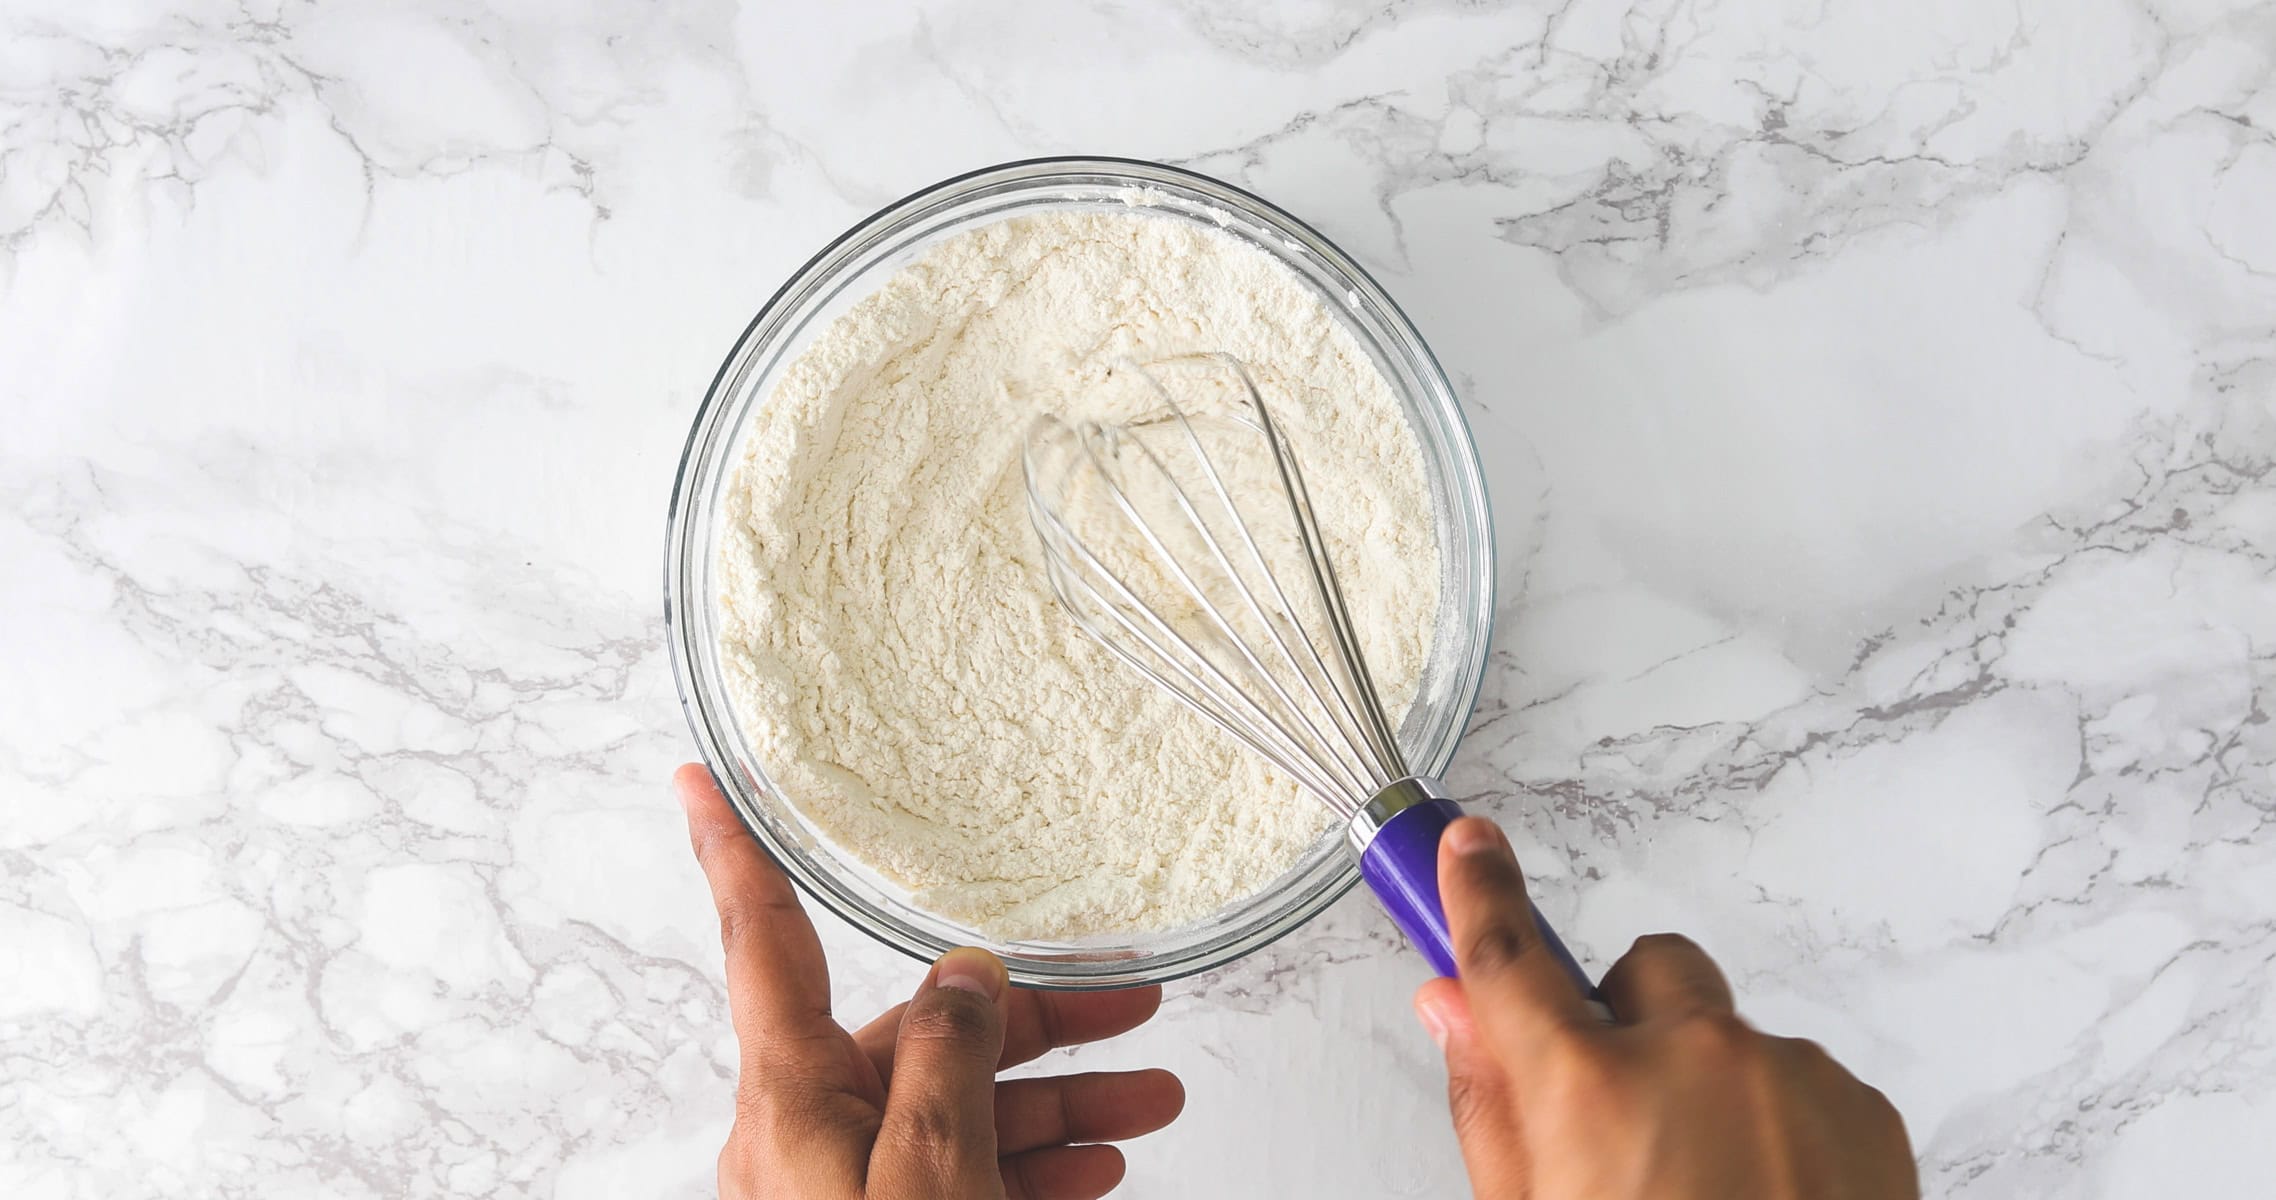
- Step 1 — Mix the dry ingredientsWhisk together the flour, baking powder, baking soda, and salt in a medium bowl until fully combined. Set aside. TIP: Pre-mixing the dry ingredients ensures the leaveners are evenly distributed — skipping this step can result in cookies with uneven rise or salty bites.
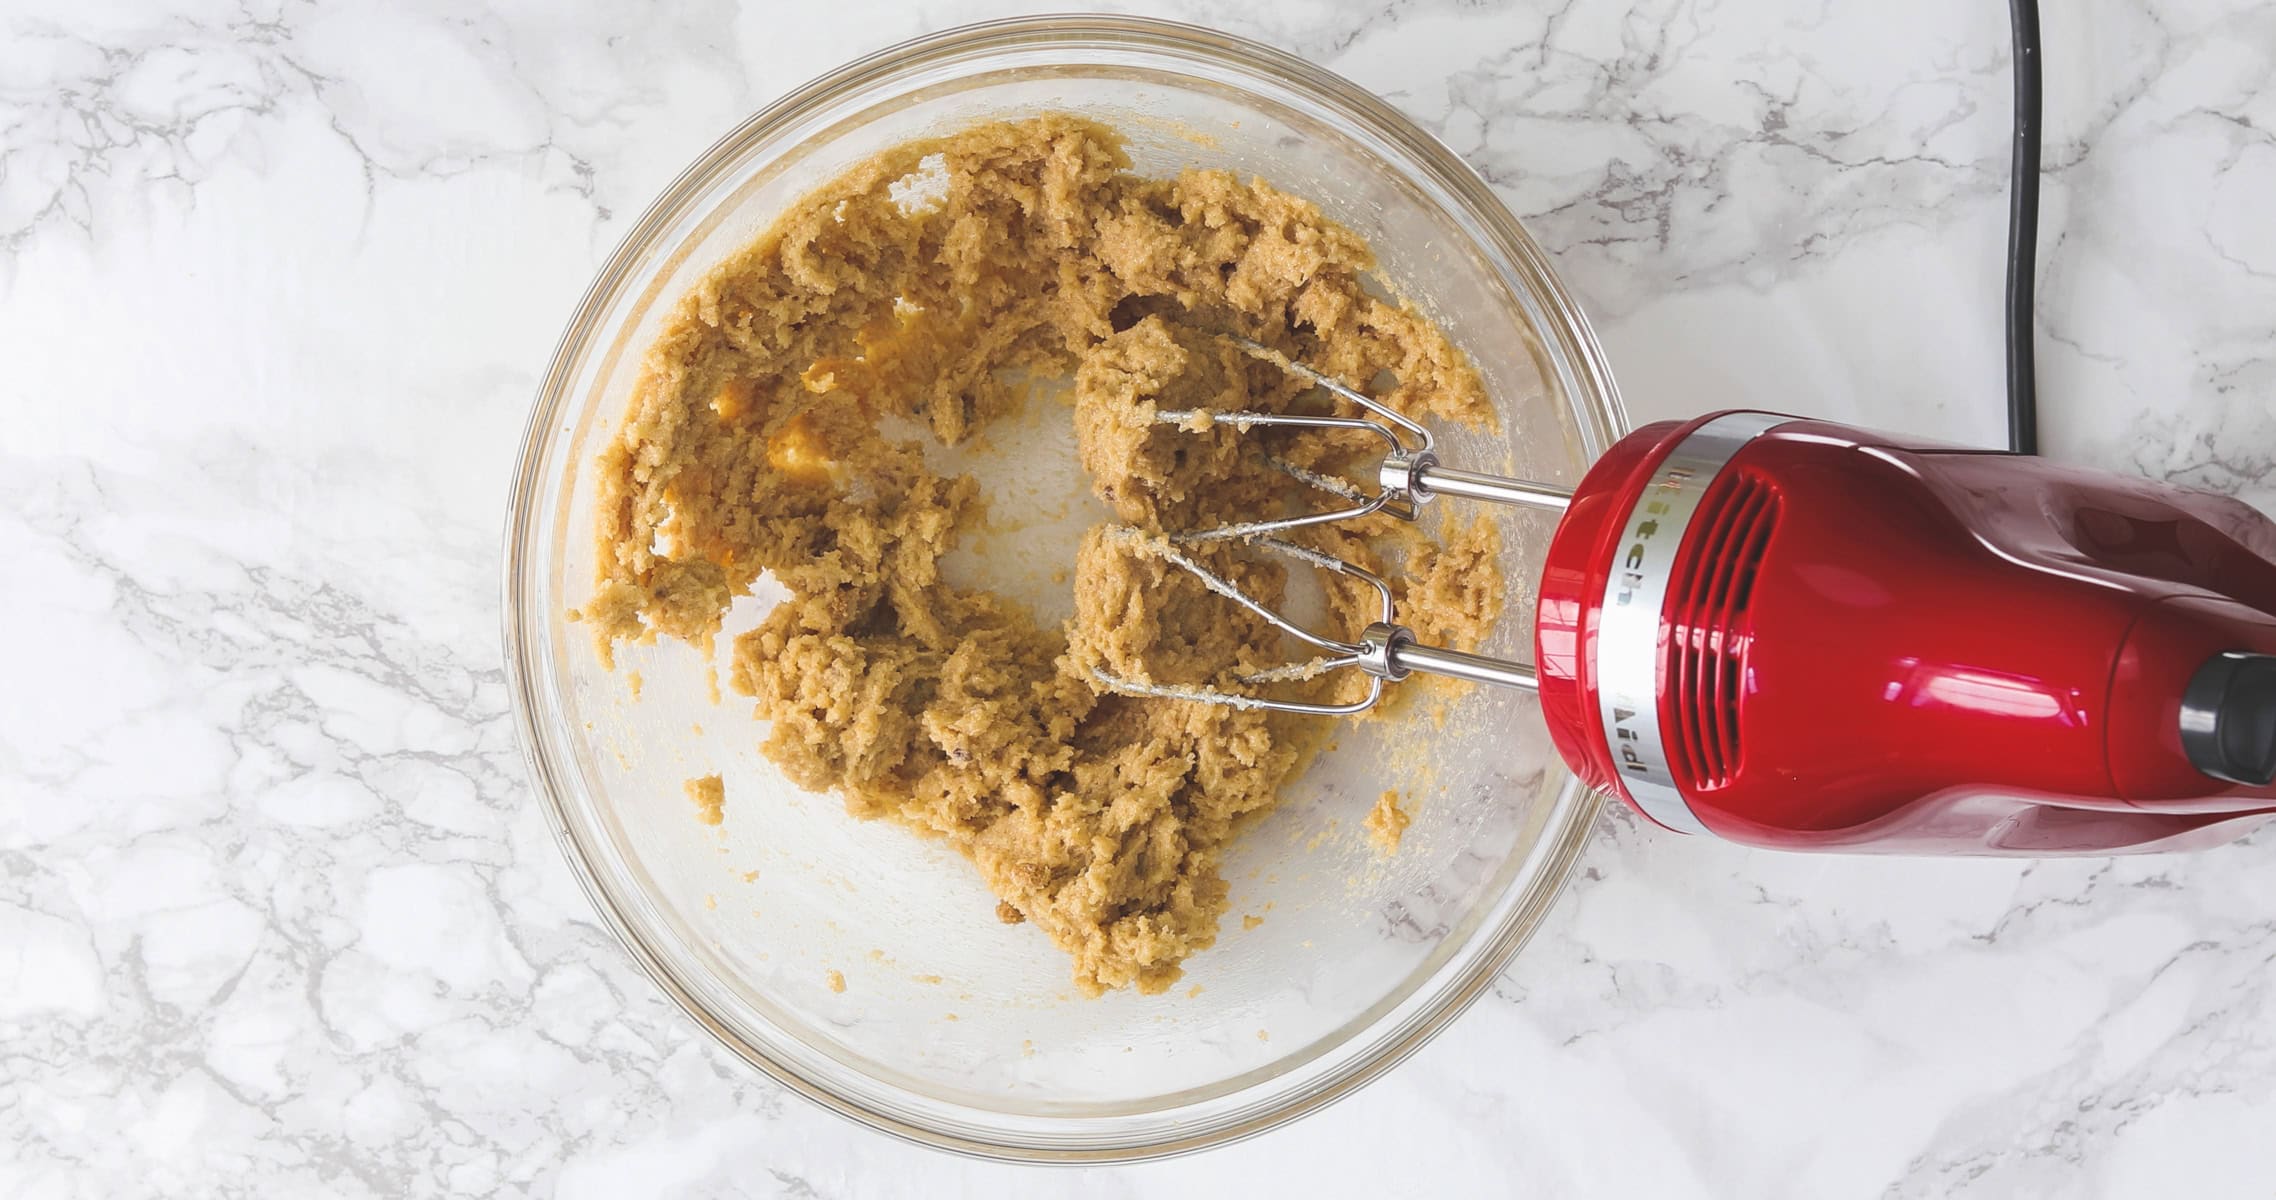
- Step 2 — Cream butter and sugarsIn a large bowl, beat the softened butter with both sugars using a hand mixer, stand mixer with a paddle attachment, or a wire whisk and some elbow grease. Beat until the mixture is smooth, pale, and slightly fluffy — about 2 minutes with a mixer. Proper creaming builds structure into the dough.
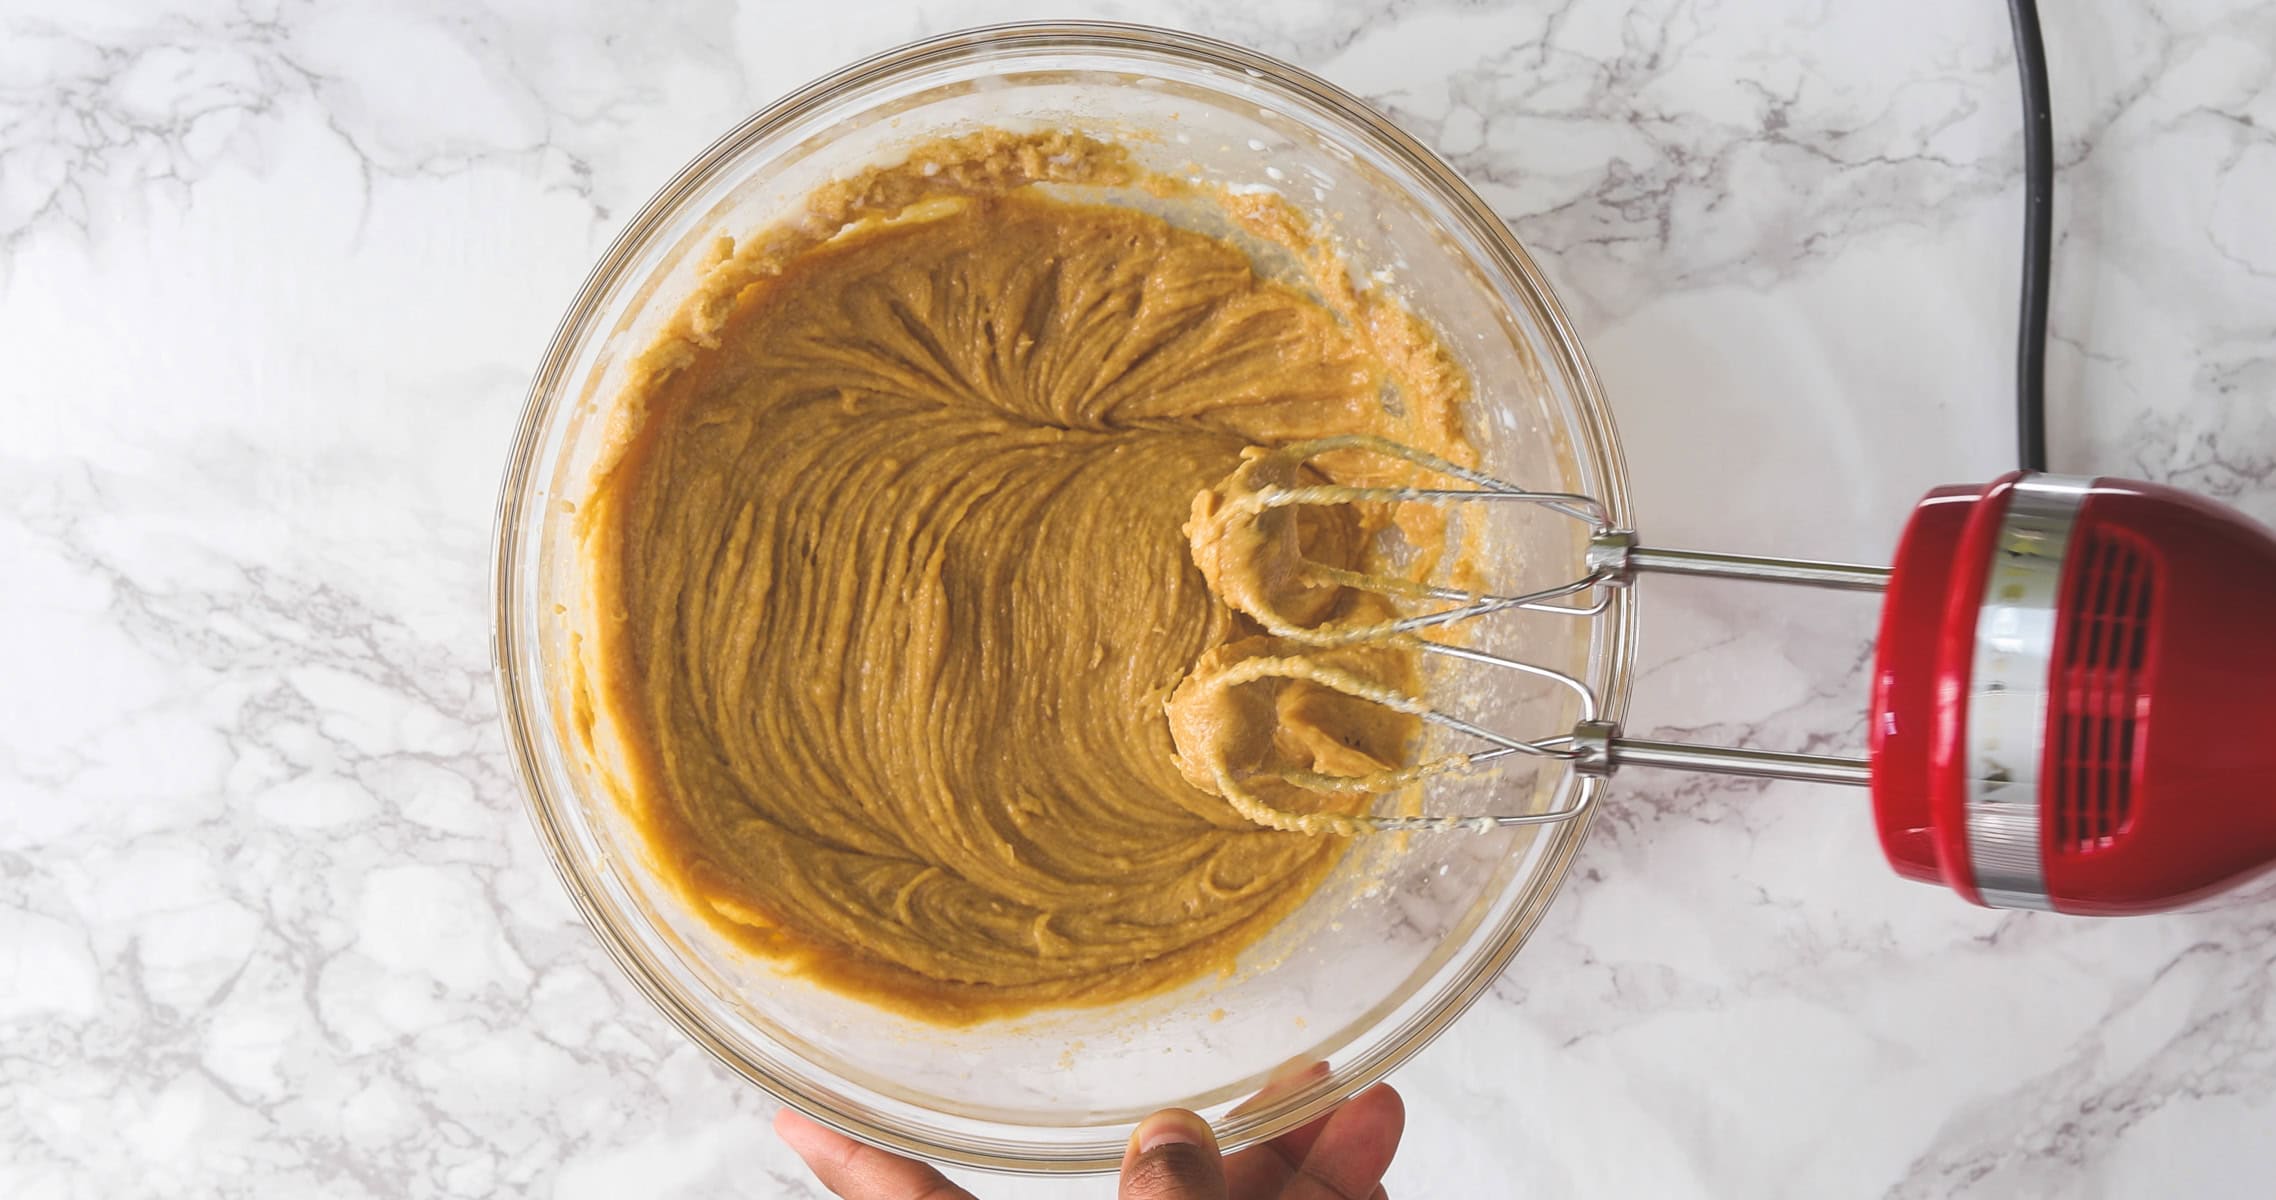
- Step 3 — Add peanut butter and milkAdd the peanut butter and milk to the butter-sugar mixture. Beat again until everything is fully combined and smooth. Scrape down the sides and bottom of the bowl with a spatula to make sure nothing is hiding.
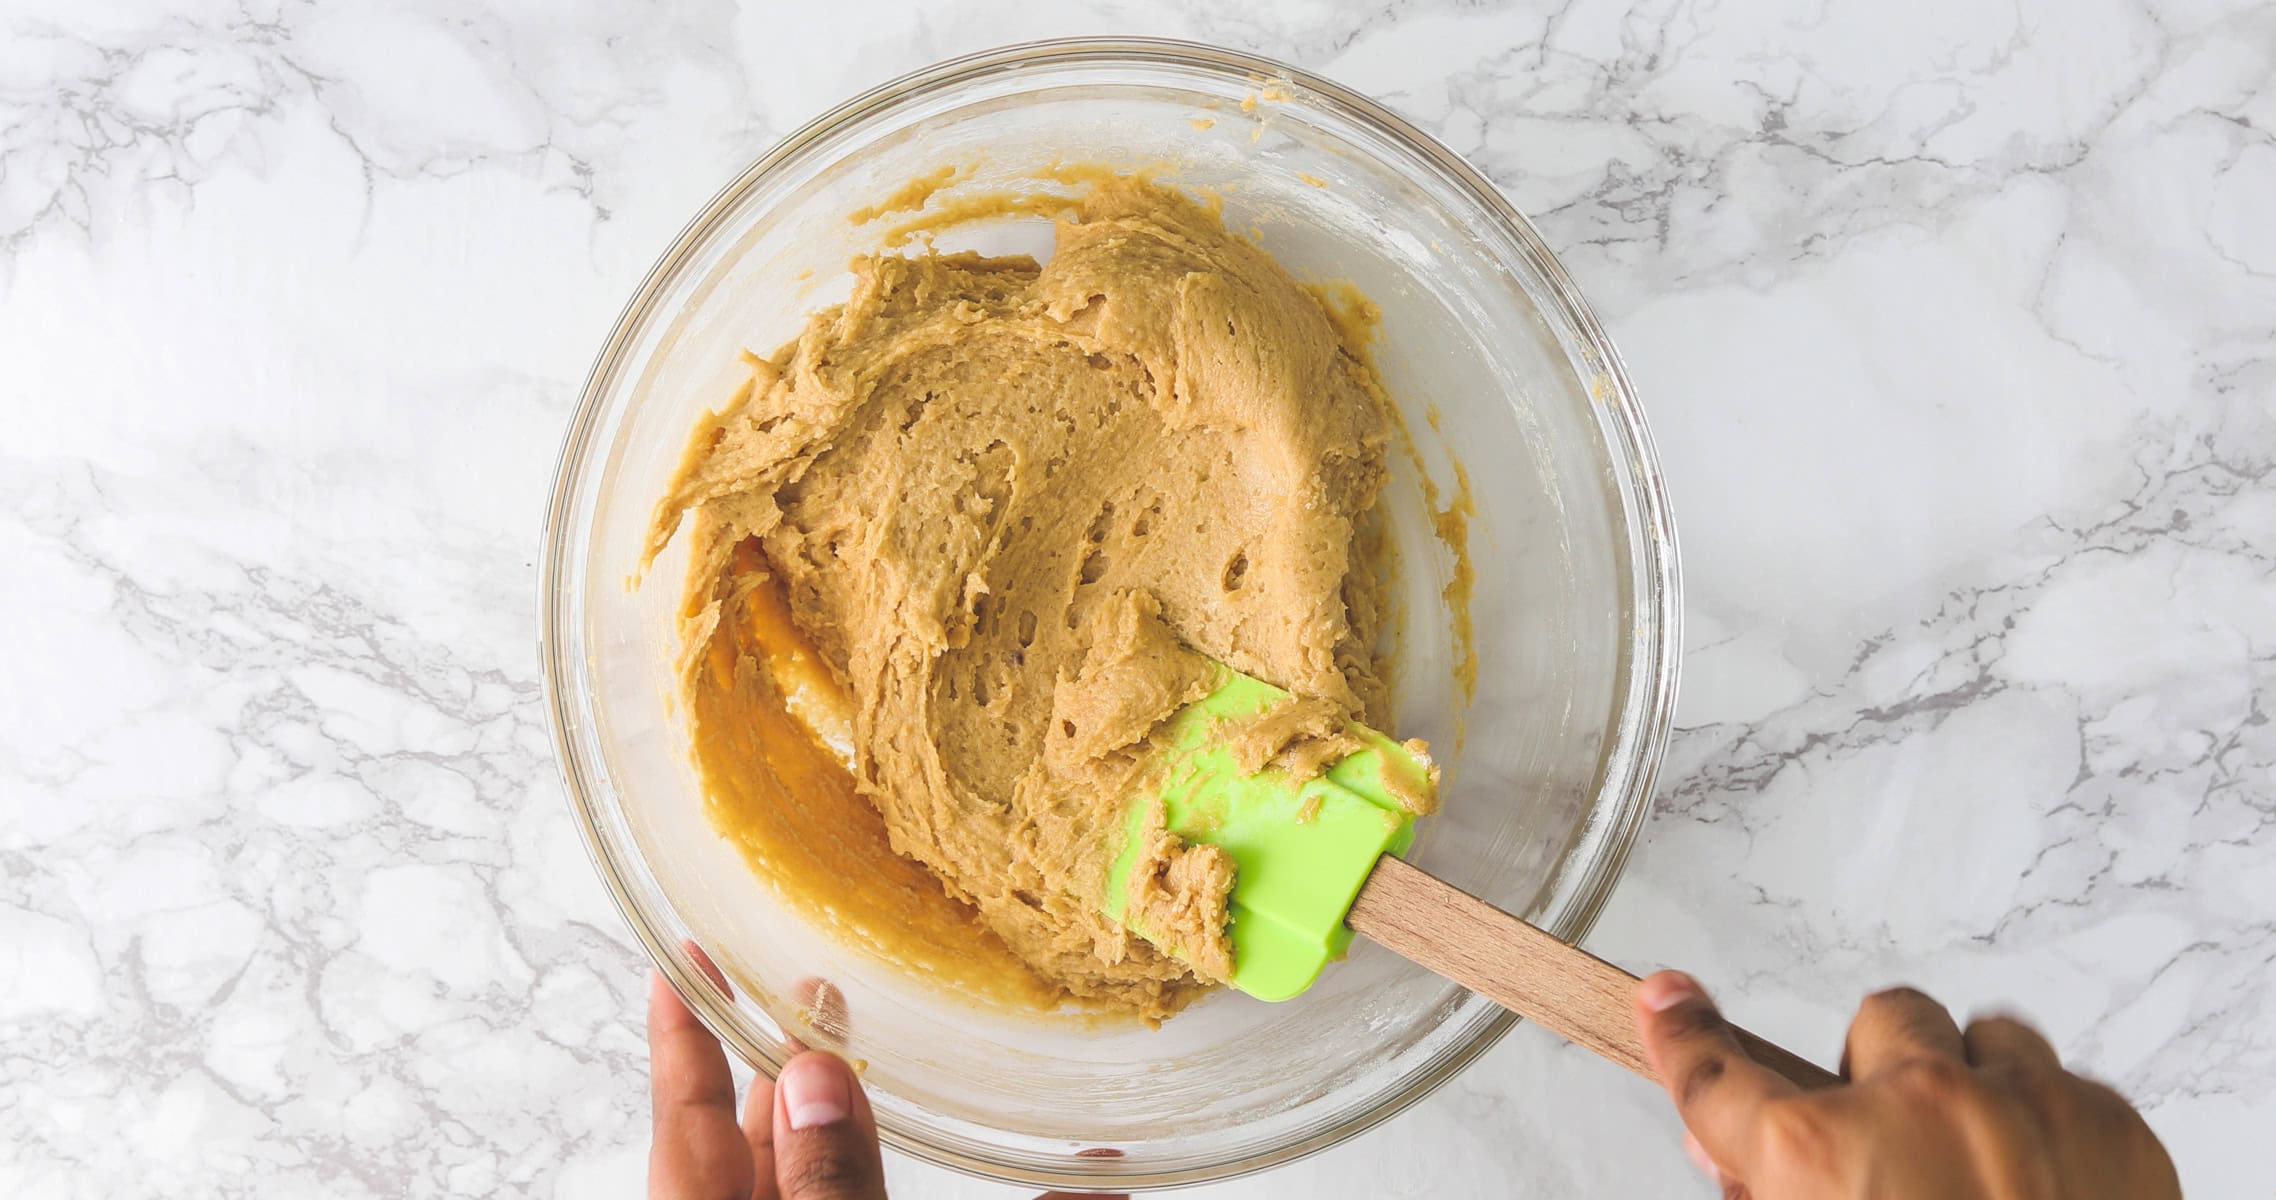
- Step 4 — Fold in dry ingredientsAdd the flour mixture to the wet ingredients. Stir with a spatula until a loose, slightly sticky dough forms — do not overmix. Note: If you're adding chocolate chips or chopped peanuts, fold them in now.
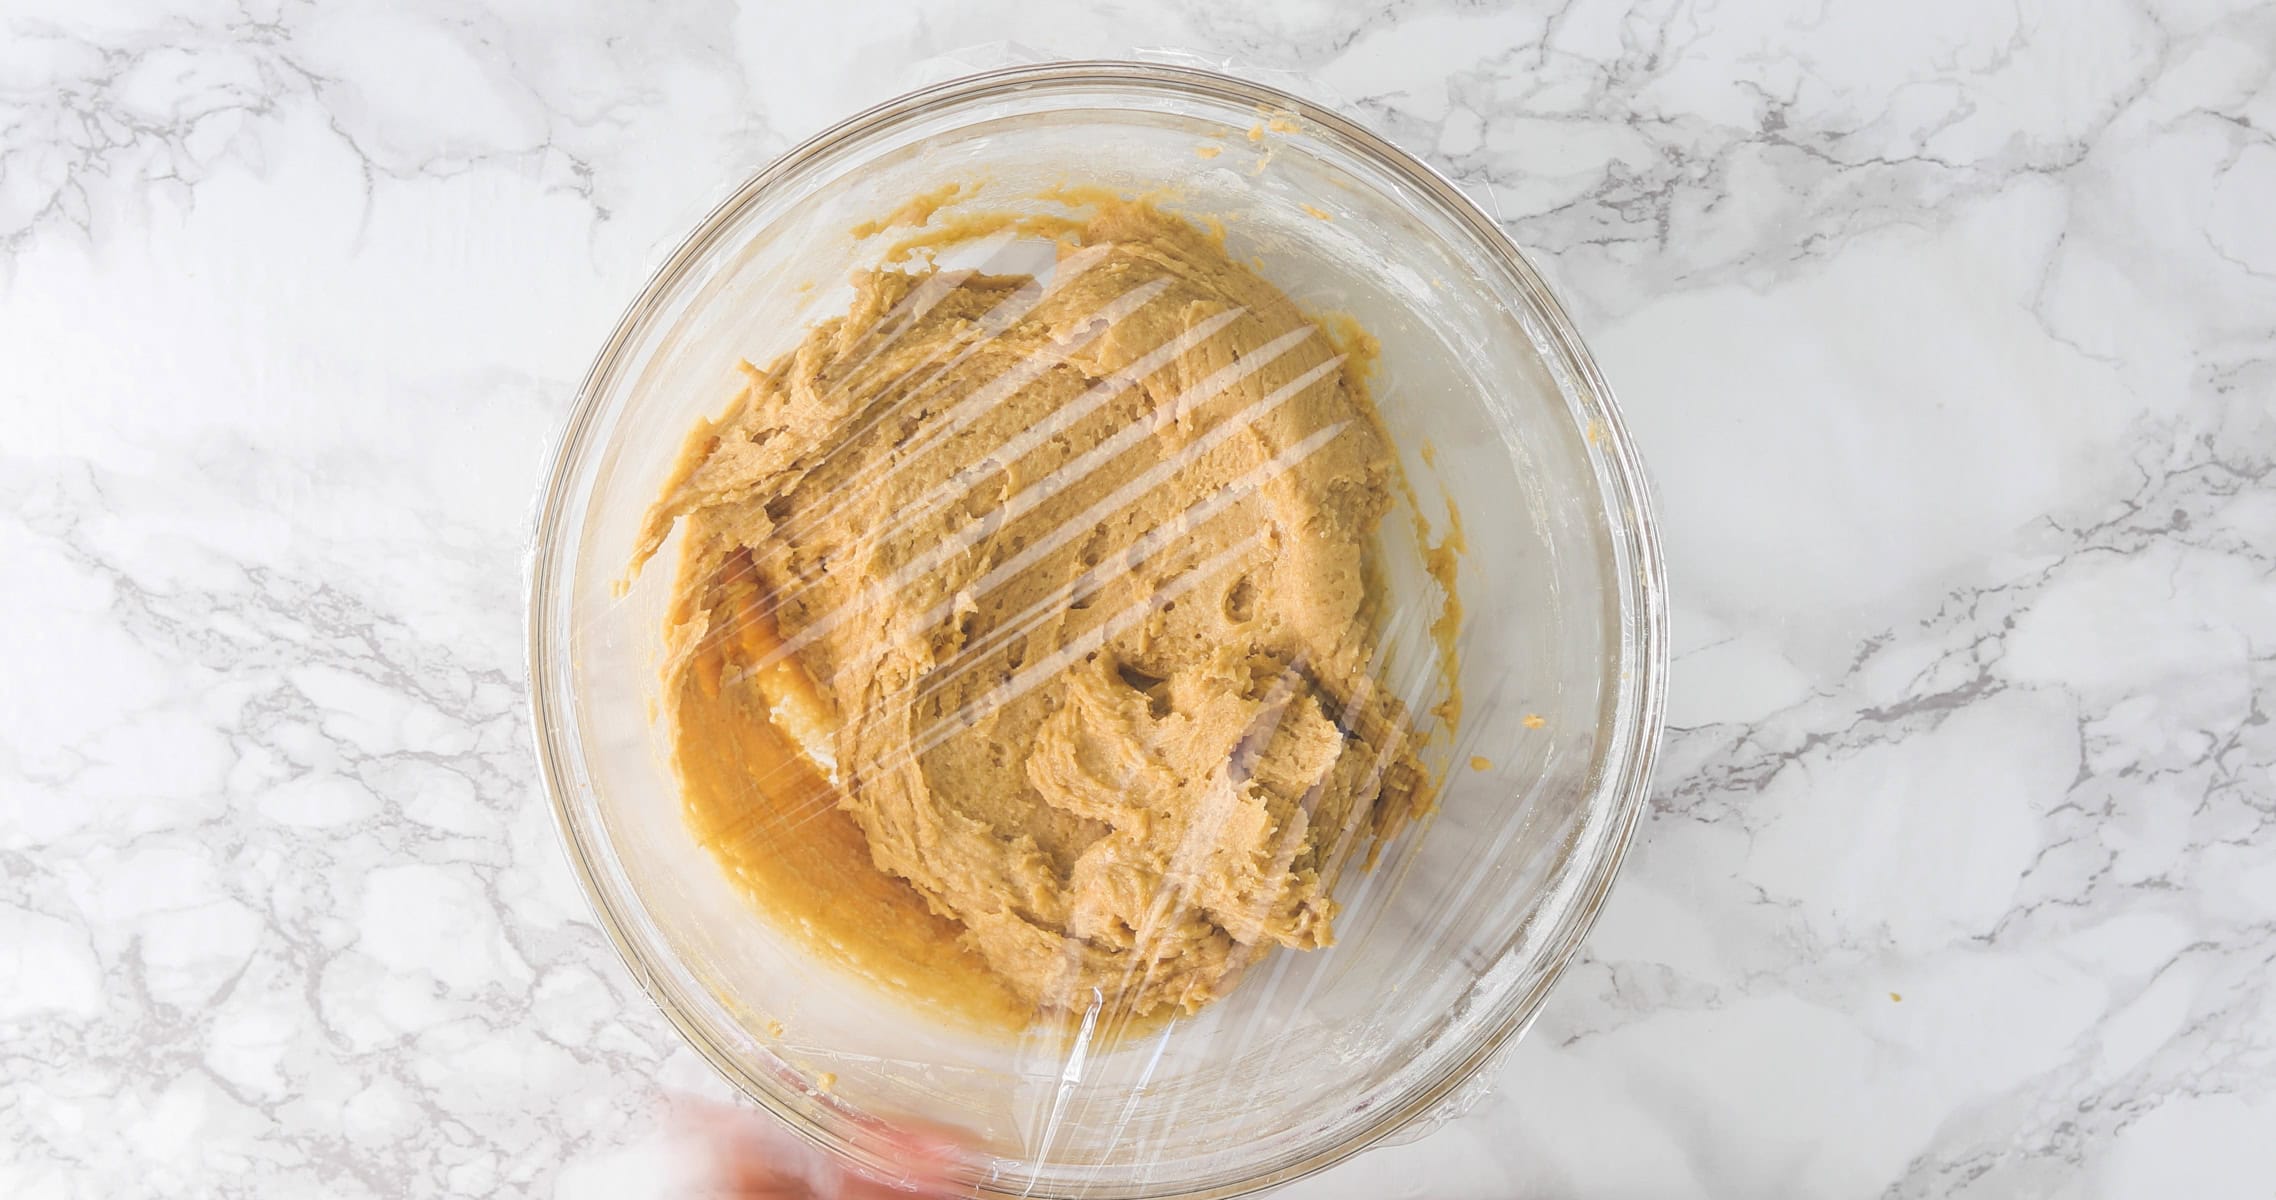
- Step 5 — Chill the dough (essential)Cover the bowl tightly with plastic wrap and refrigerate for at least 30 minutes. The dough should look firm and hold its shape when you press it. If it's still soft or sticky after 30 minutes, chill for another 30 minutes. Note: Do not skip this step — unchilled dough spreads too fast and produces flat, greasy cookies.
- Step 6 — Preheat and prepPreheat your oven to 375°F (190°C) for at least 10 minutes. Line two baking sheets with parchment paper or silicone mats.
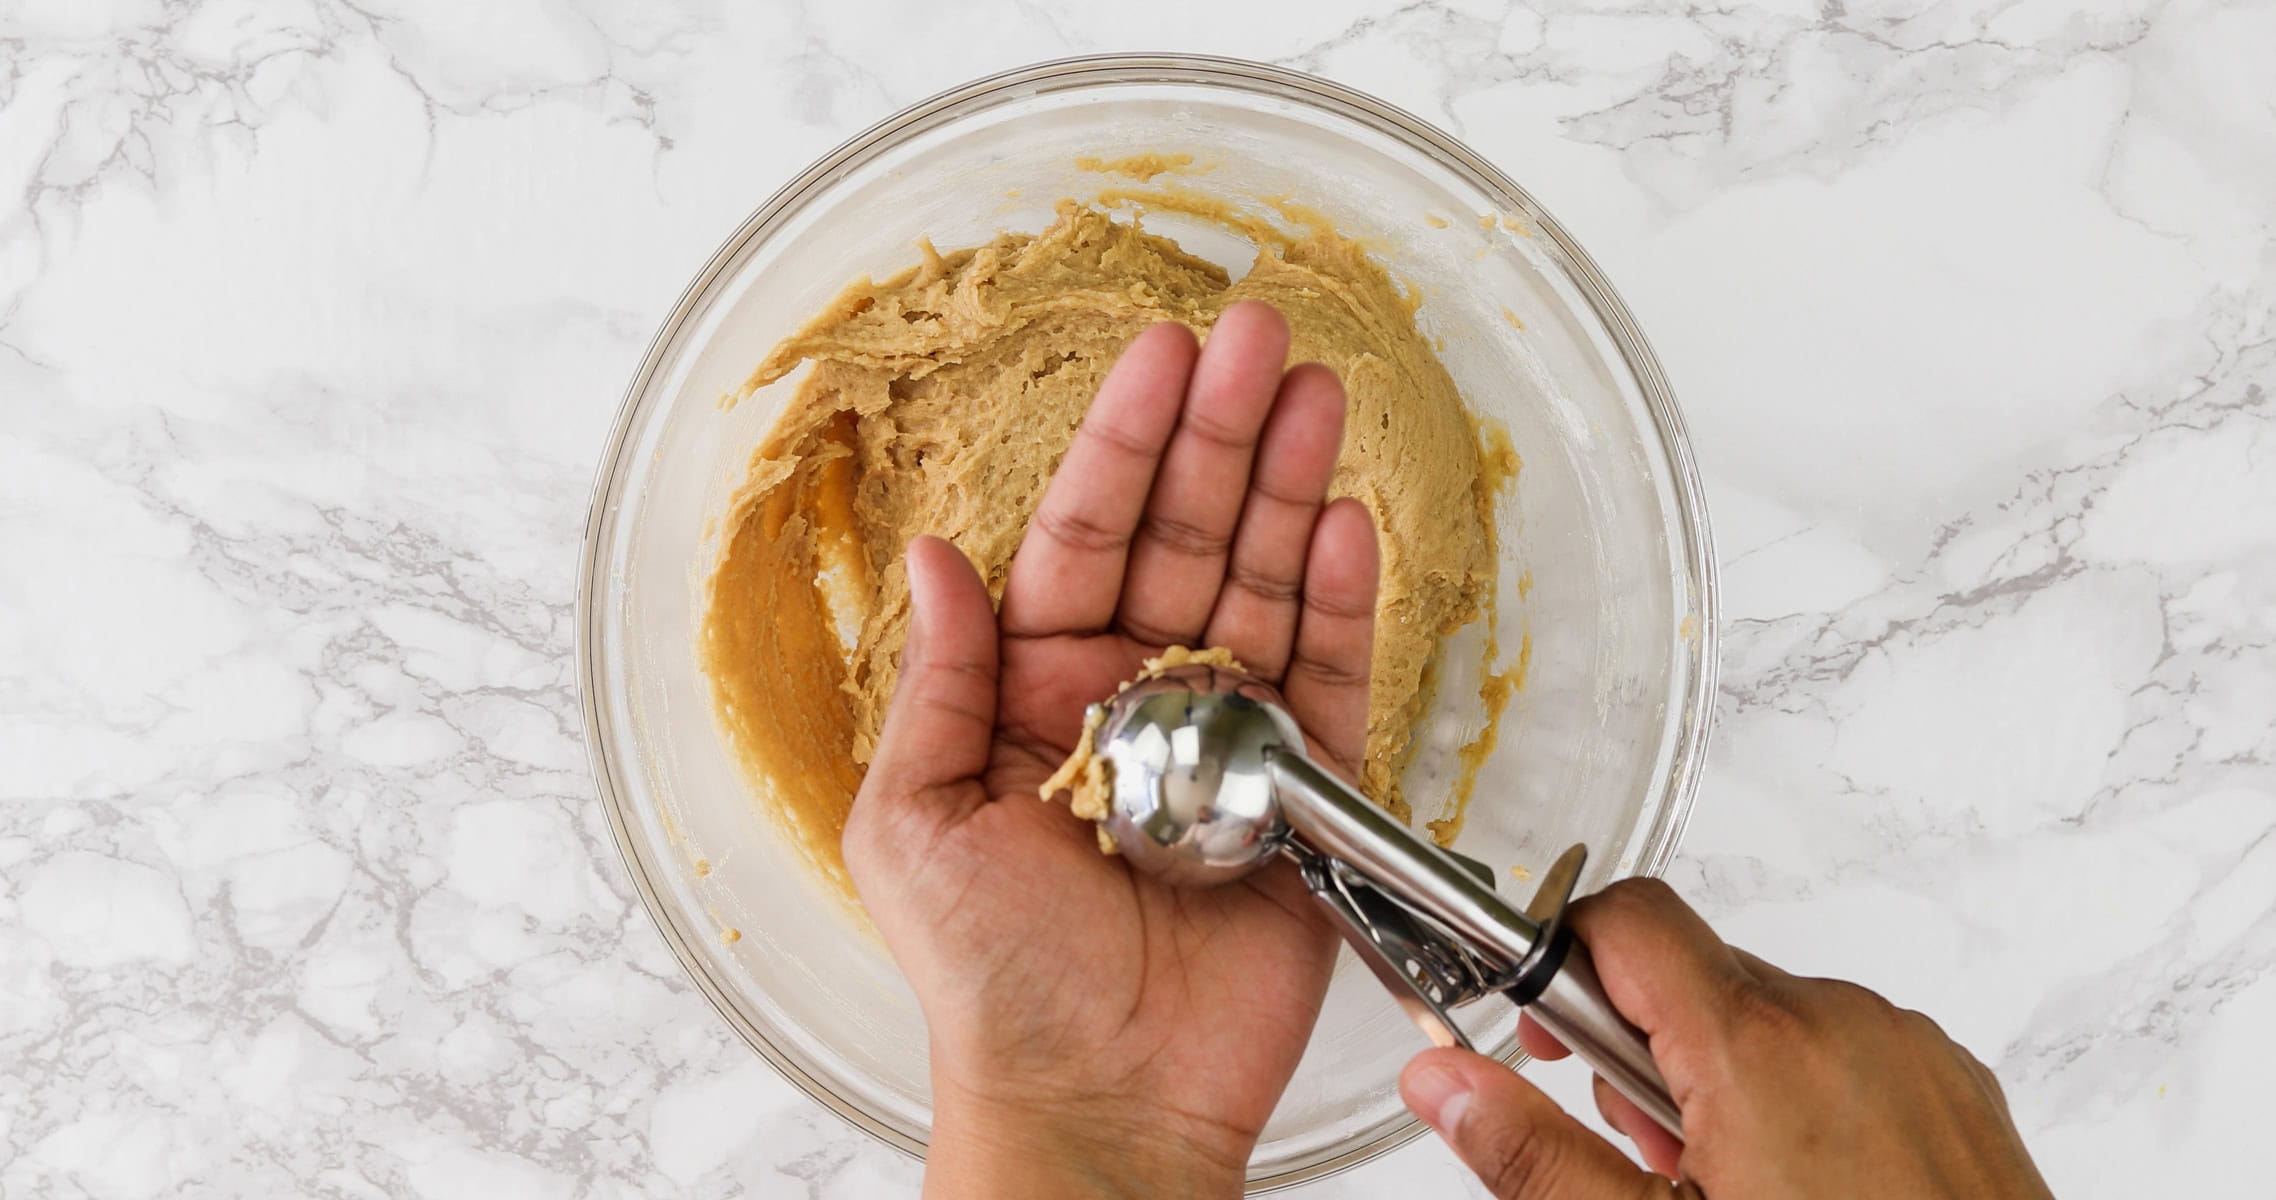
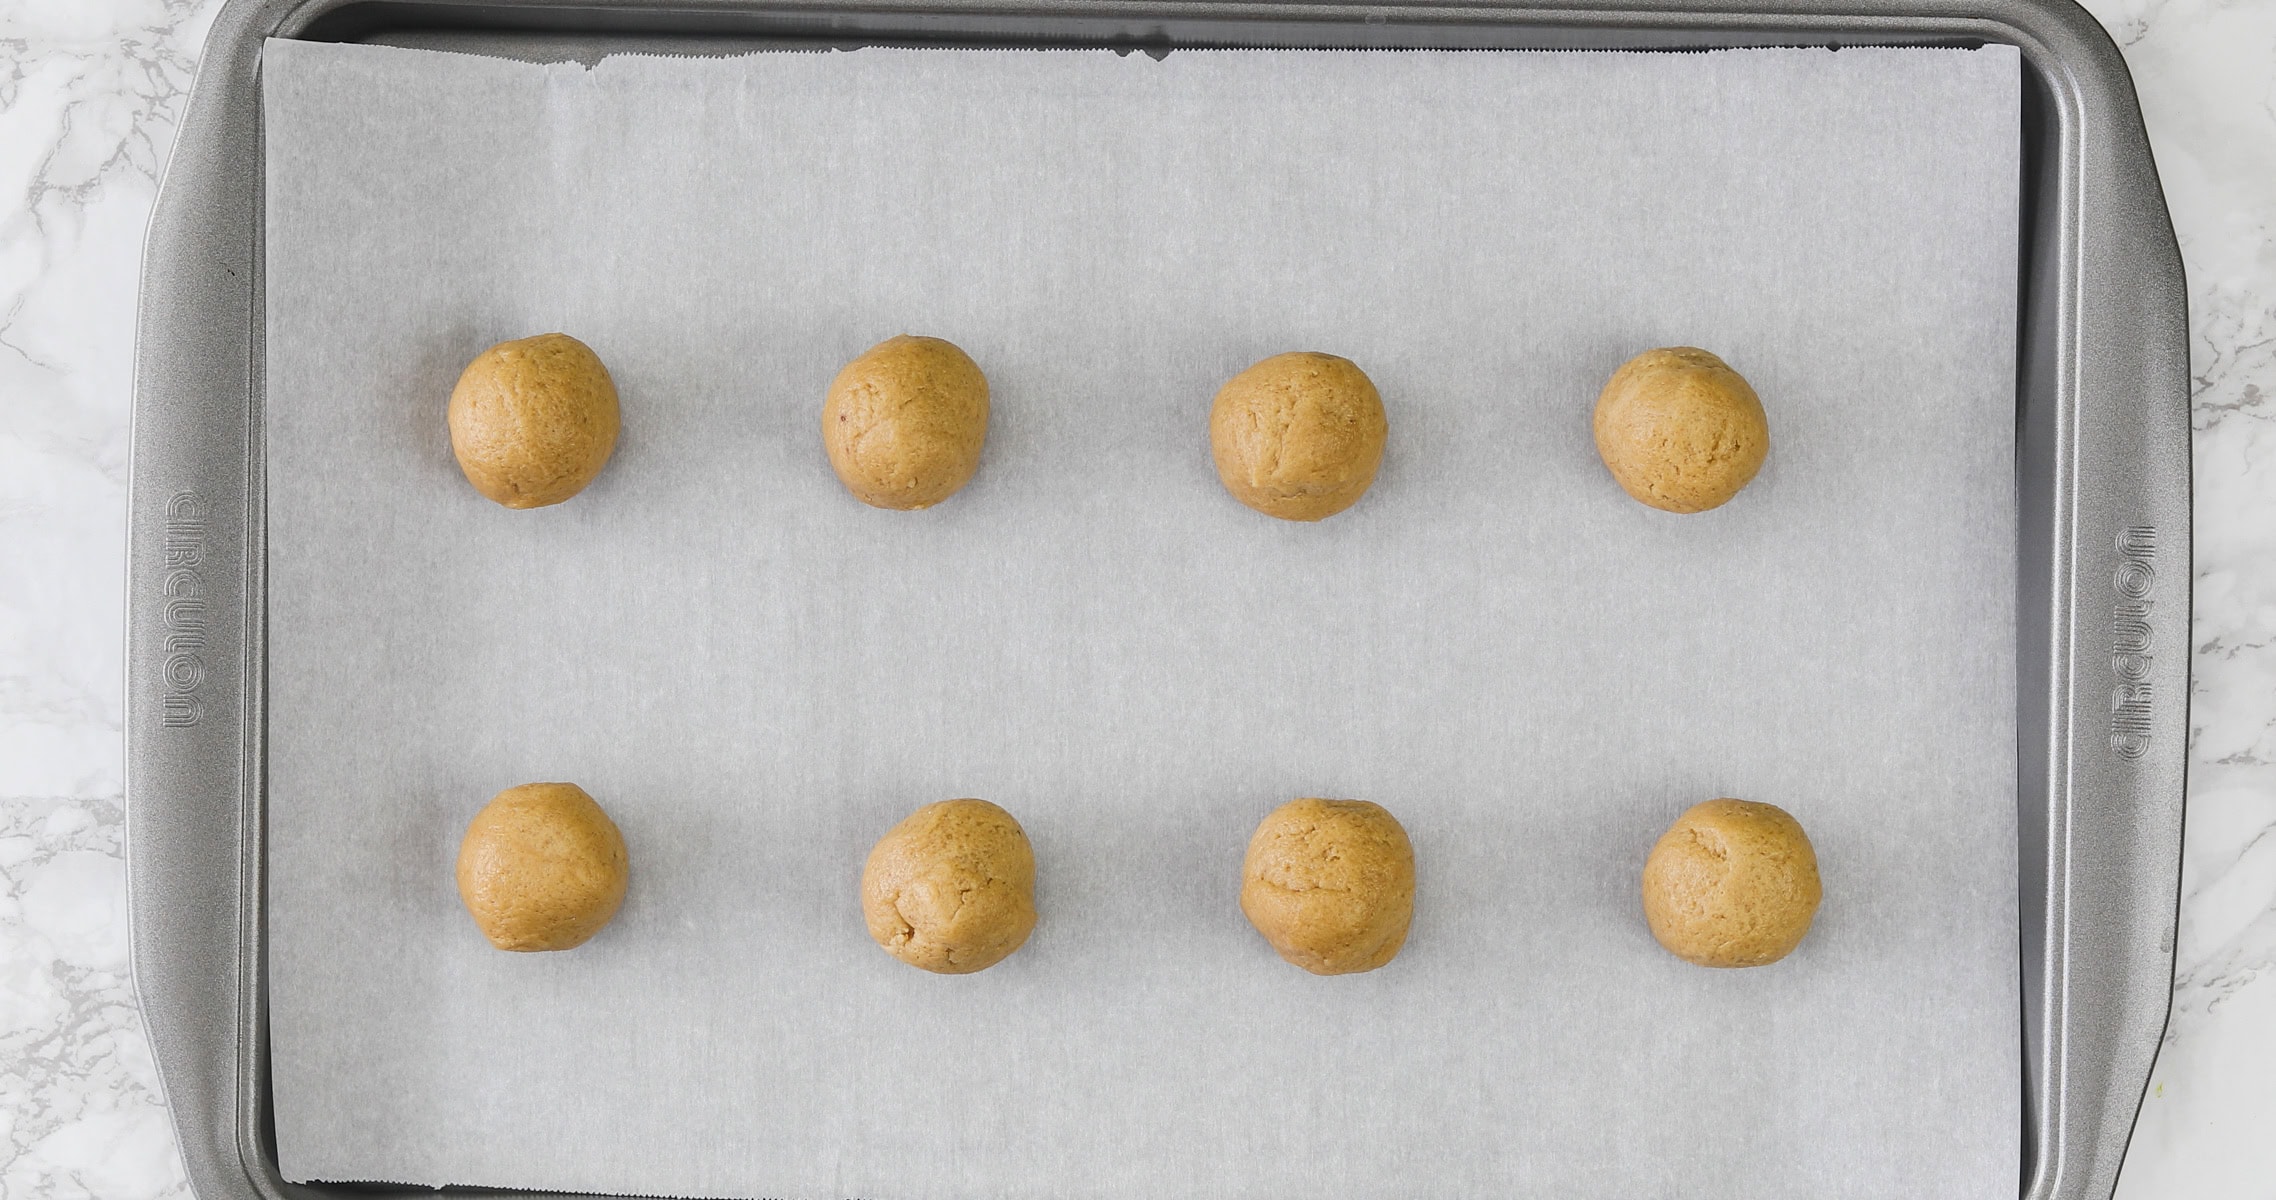
- Step 7 — Roll and arrangeUsing a tablespoon cookie scoop, portion out the chilled dough and roll each piece into a smooth ball.
- Arrange the balls on the prepared trays, leaving at least 2 inches between each one — they spread as they bake.
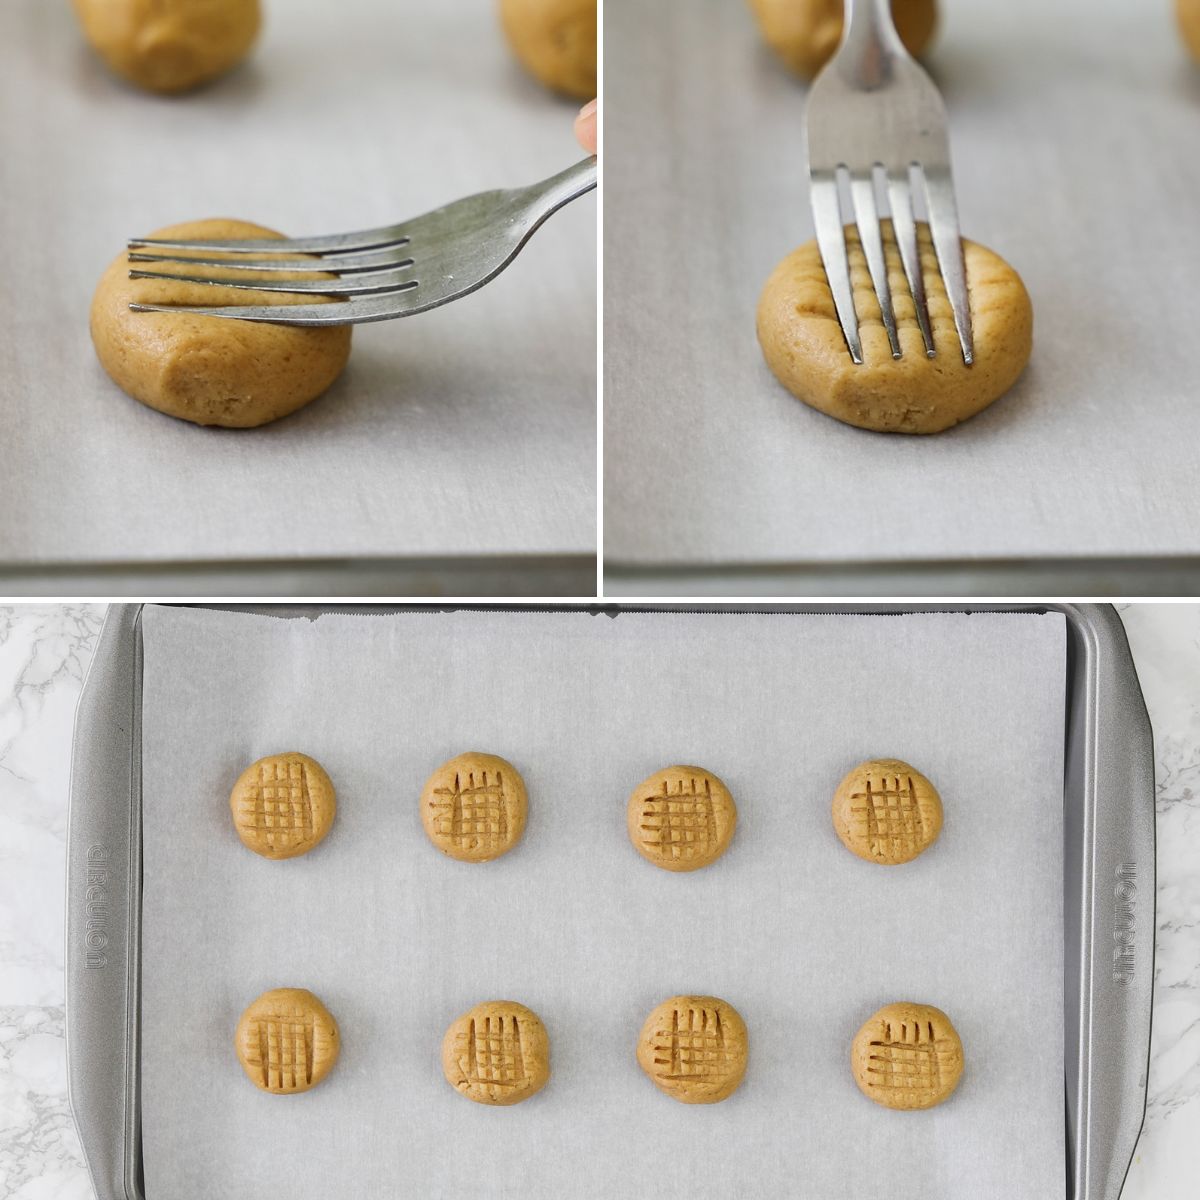
- Step 8 — Make the criss-cross patternGently press a fork into the top of each cookie ball to flatten slightly, then rotate 90 degrees and press again to create the classic criss-cross pattern. TIP: If the fork sticks to the dough, dip the tines into a small bowl of granulated sugar before each press. Important: If the balls feel too soft, refrigerate the tray for 10 minutes before baking.
- Step 9 — BakeBake for 13–15 minutes, until the edges are just slightly golden and the centers still look underdone and soft. This is correct — do not overbake. The cookies will continue to firm up as they cool on the hot pan.
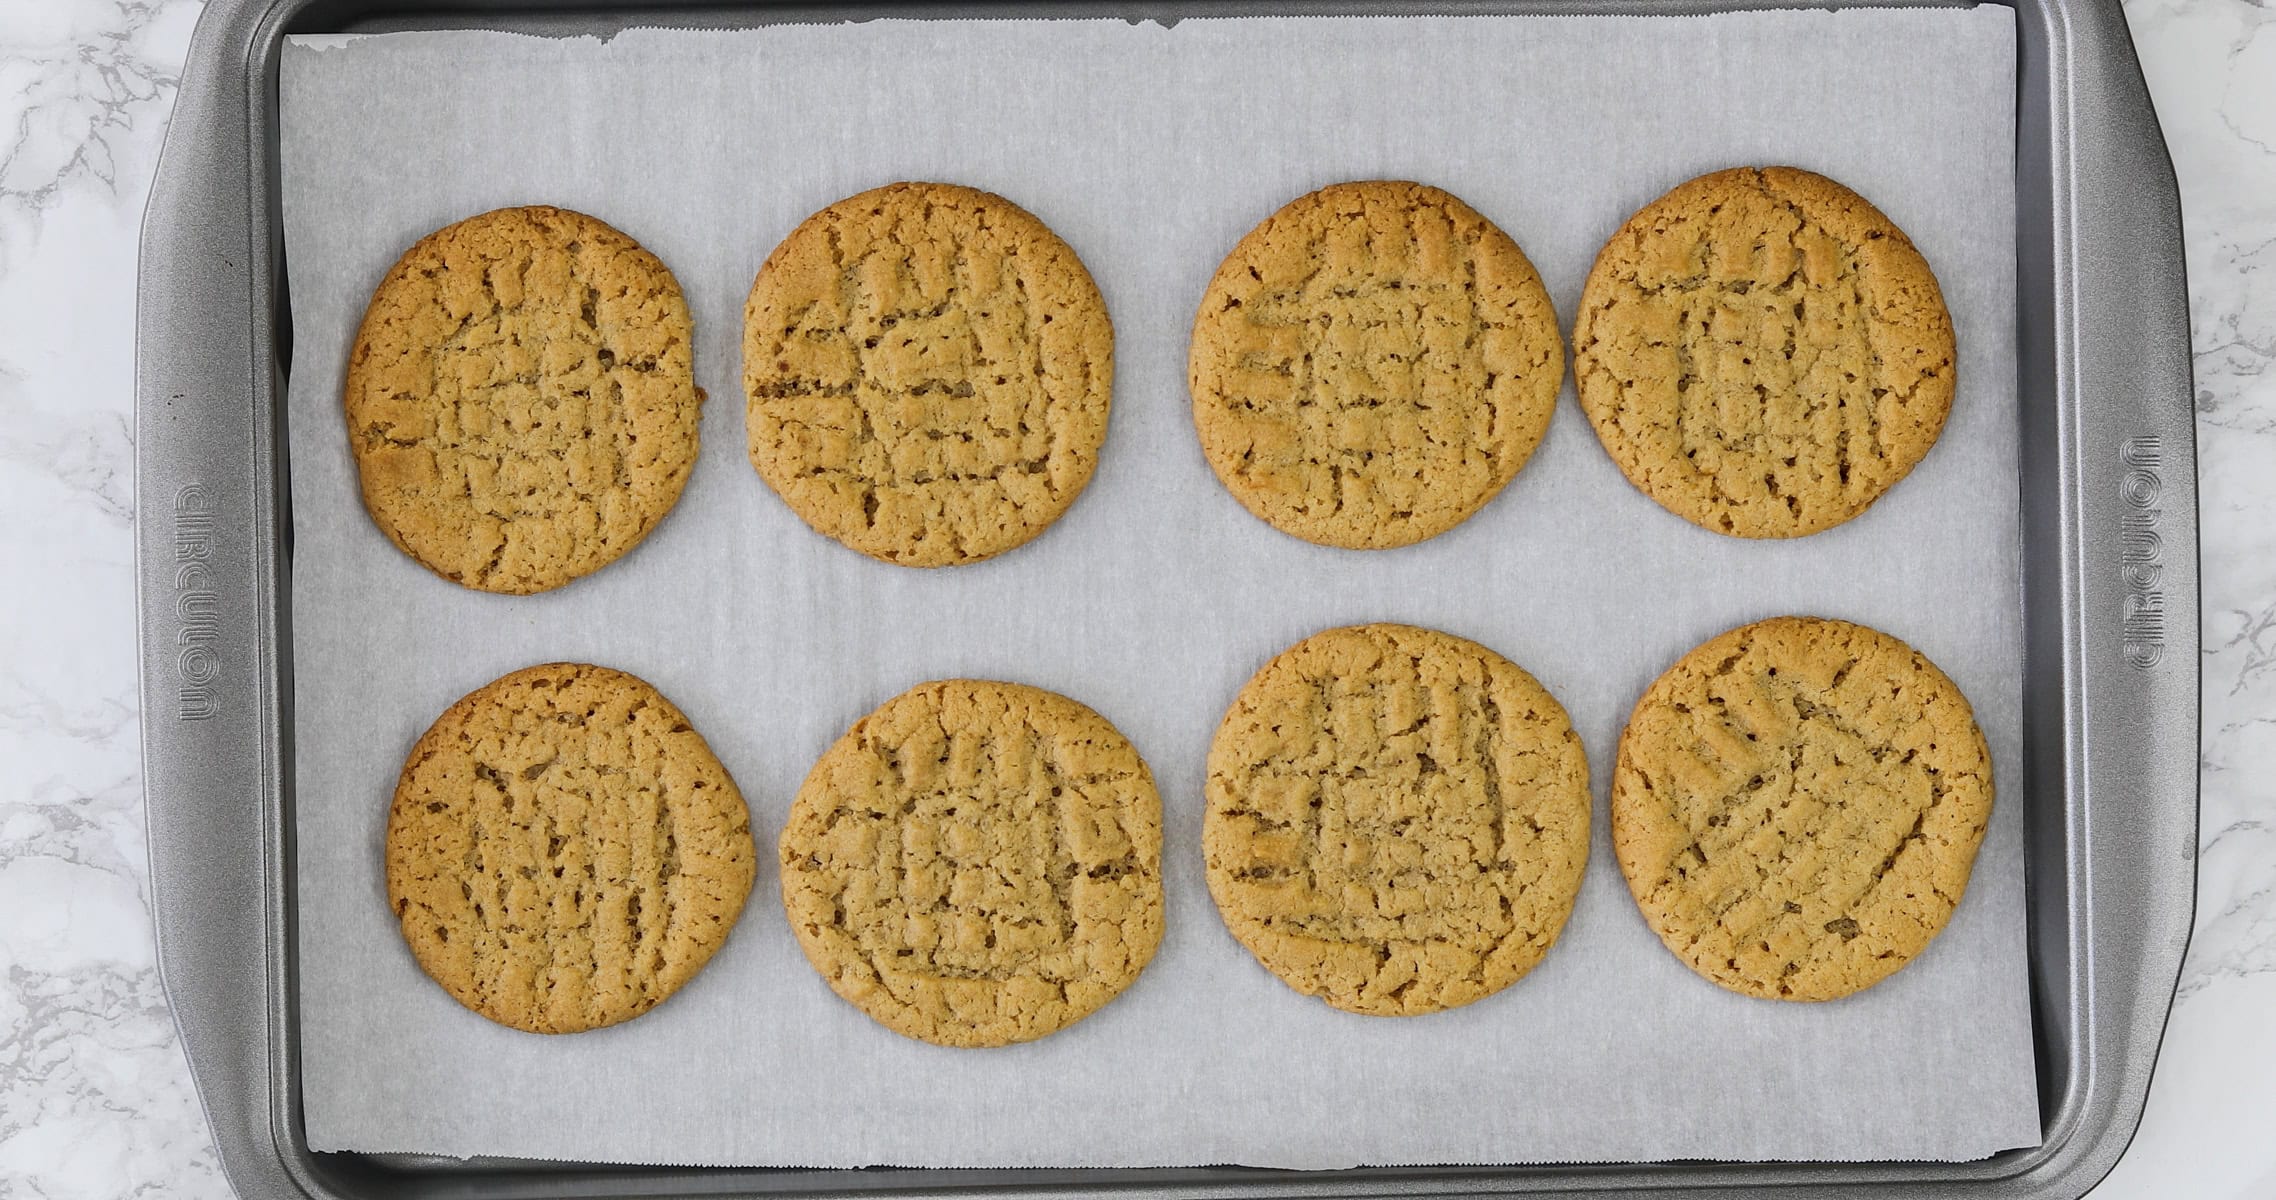
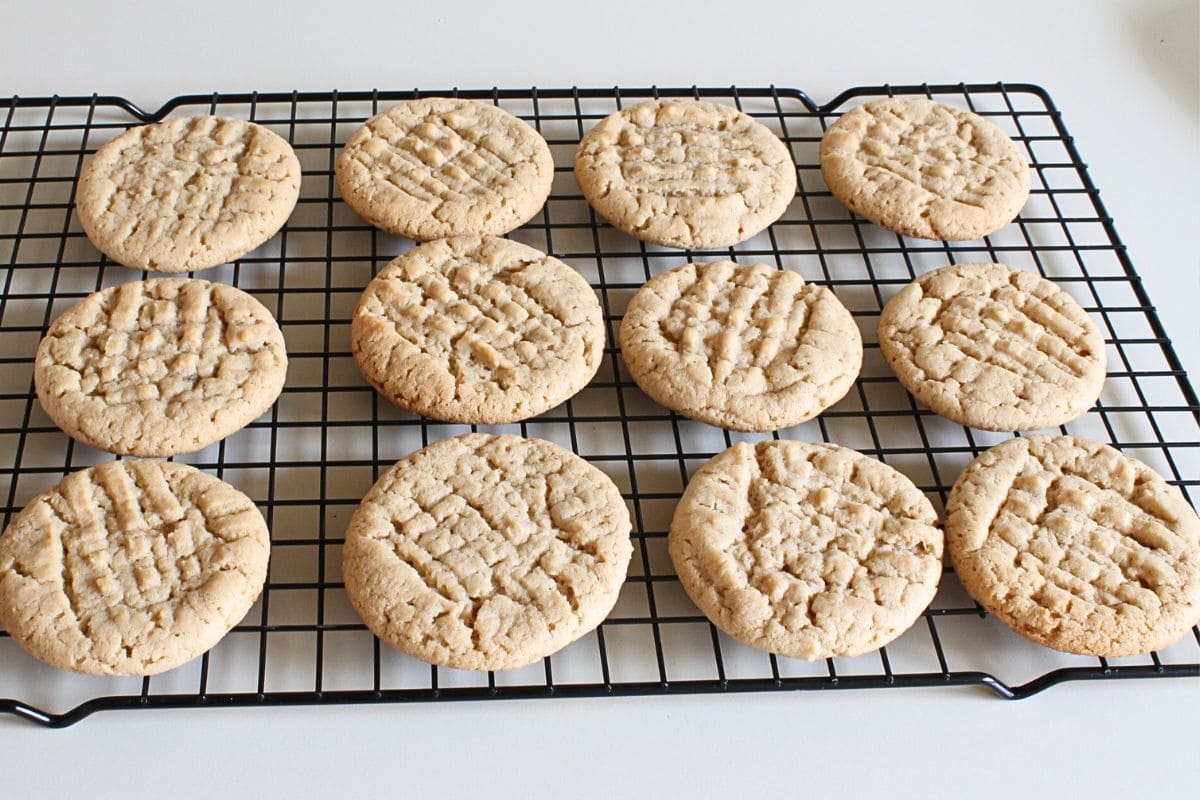
- Step 10 — Cool completelyLeave the cookies on the baking sheet for at least 5 minutes before attempting to move them. They are very fragile when hot. Transfer to a cooling rack and let them cool completely. Texture fully sets once they reach room temperature.
Video
Notes
- Don't skip the chill. This is the single most important step for thick, chewy cookies. Warm dough spreads fast and goes flat. Cold dough holds its shape in the oven.
- Pull them out when they look underdone. The centers should look barely set and almost raw-looking when you take them out. They firm up dramatically as they cool. Overbaked peanut butter cookies are dry and crumbly rather than soft and chewy.
- Use room-temperature butter, not melted. Melted butter produces flat, greasy cookies. Softened butter creams properly with sugar and creates the structure the dough needs.
- Dip the fork in sugar, not flour. Sugar gives you a clean release with a slightly sparkly, caramelized surface on top. Flour makes the surface look dusty.
- Avoid natural peanut butter. The separated oil in natural peanut butter disrupts the fat ratio in the dough and leads to spreading and a greasy texture. Stick to commercial brands for baking.
- Rotate your trays. If baking two trays at once, rotate them (top to bottom, front to back) at the halfway mark for even browning.
Nutrition
Serving: 2cookies | Calories: 249kcal | Carbohydrates: 30g | Protein: 4g | Fat: 13g | Saturated Fat: 6g | Polyunsaturated Fat: 2g | Monounsaturated Fat: 5g | Trans Fat: 1g | Cholesterol: 21mg | Sodium: 190mg | Potassium: 105mg | Fiber: 1g | Sugar: 18g | Vitamin A: 245IU | Calcium: 32mg | Iron: 1mg
