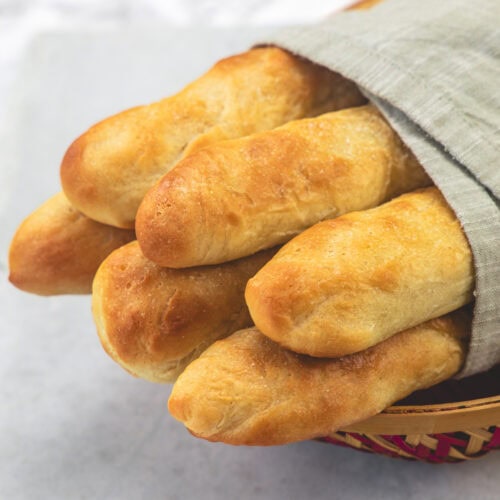
Olive Garden Breadsticks Recipe (Copycat)
Soft, fluffy, garlicky copycat Olive Garden breadsticks brushed with garlic butter straight from the oven. Better than the restaurant — and unlimited at home!
Servings 12
Calories 190kcal
Ingredients
For Breadsticks Dough:
- 1 cup + 2 tablespoons Warm water
- 1 packet Active dry yeast ~ 2 ¼ teaspoons
- 2 tablespoons Sugar
- 1 ¾ teaspoons Salt
- 3 tablespoons Olive oil
- 3 - 3 ½ cups All purpose flour (Maida)
Topping:
- 2 tablespoons Unsalted butter Melted (not hot)
- ¼ teaspoon Salt
- ¼ teaspoon Garlic powder
Instructions
- Step 1 — Bloom the Yeast: Pour warm water into the bowl of a stand mixer. Add yeast and 1 teaspoon sugar. Stir once and let it rest for 10 minutes. The mixture should become frothy and bubbly, which means the yeast is active and ready to use.
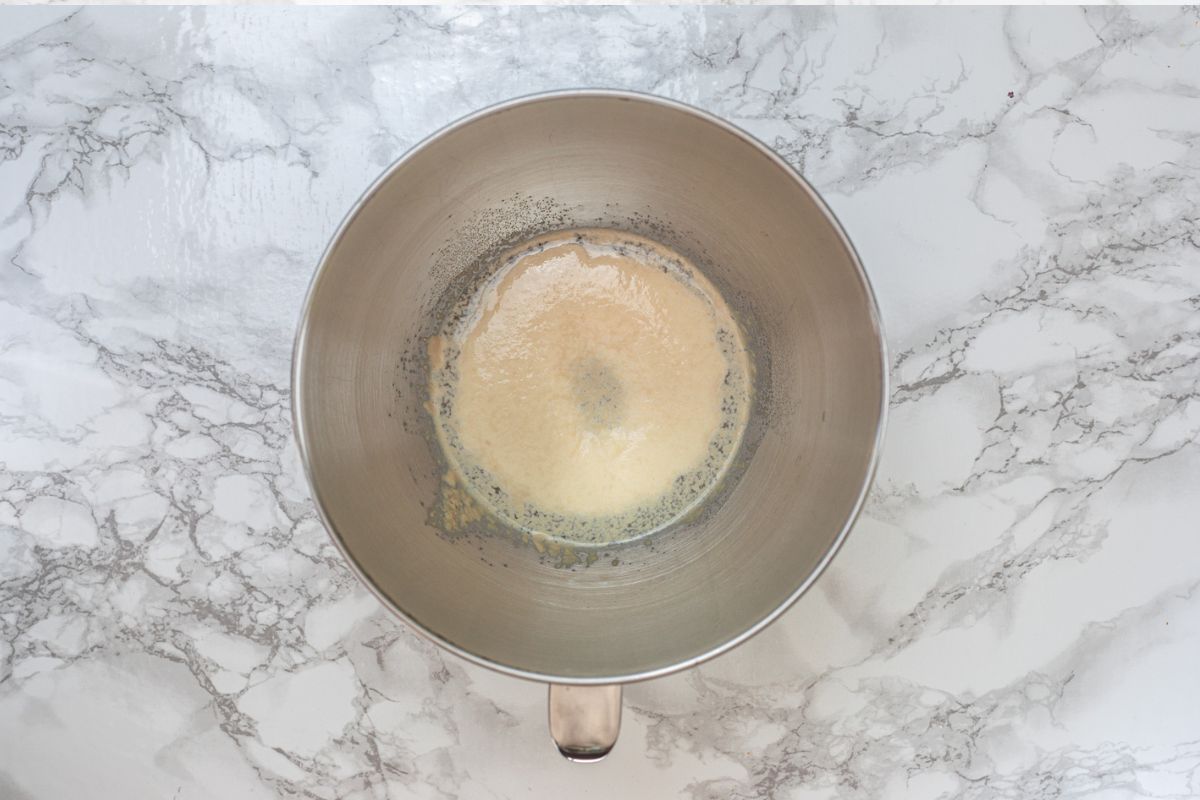
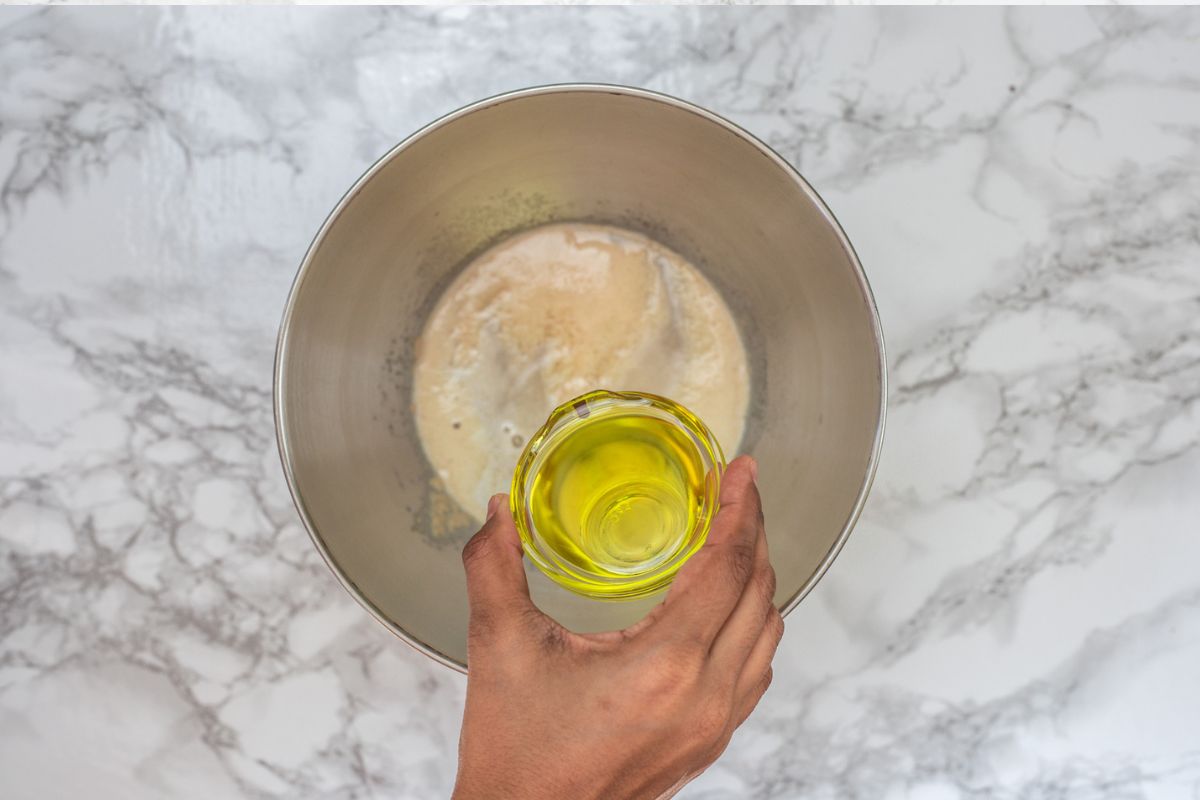
- Step 2 — Build the Dough: Add the olive oil to the bloomed yeast mixture and stir to combine.
- Add the all-purpose flour, the remaining sugar, and the salt.
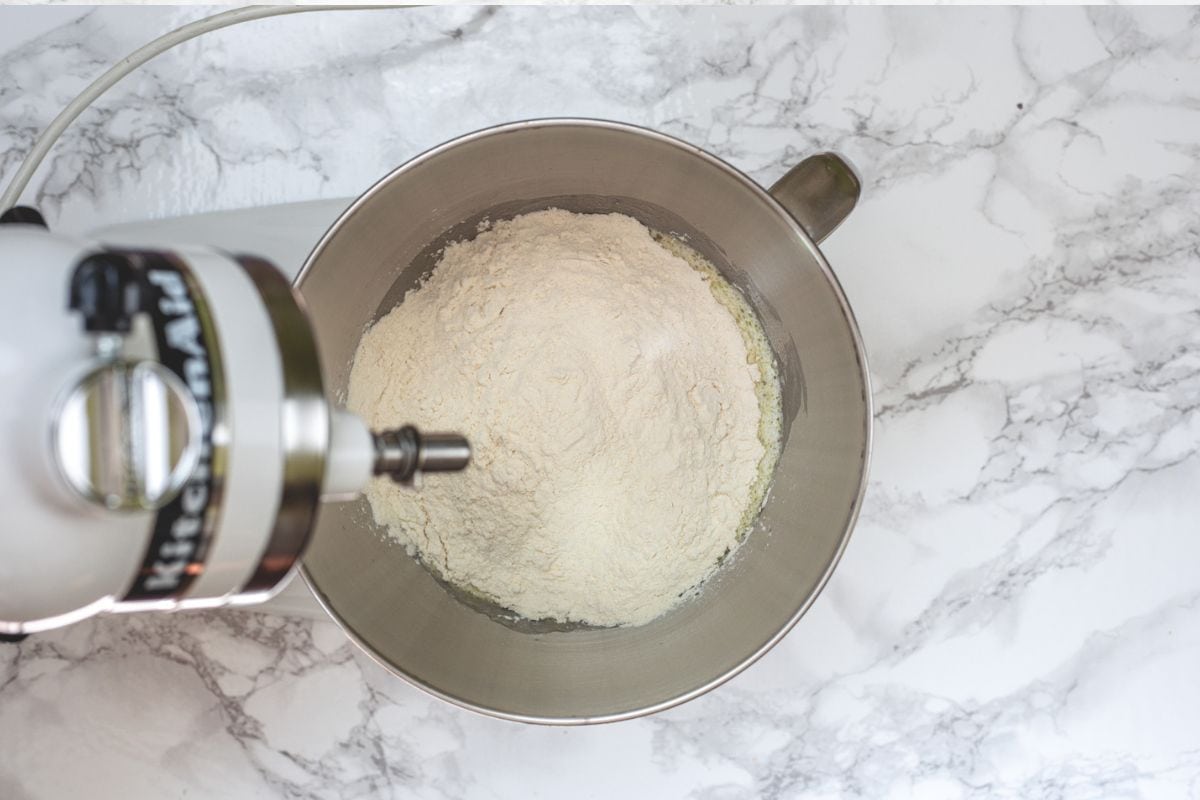
- Attach the dough hook to the stand mixer.
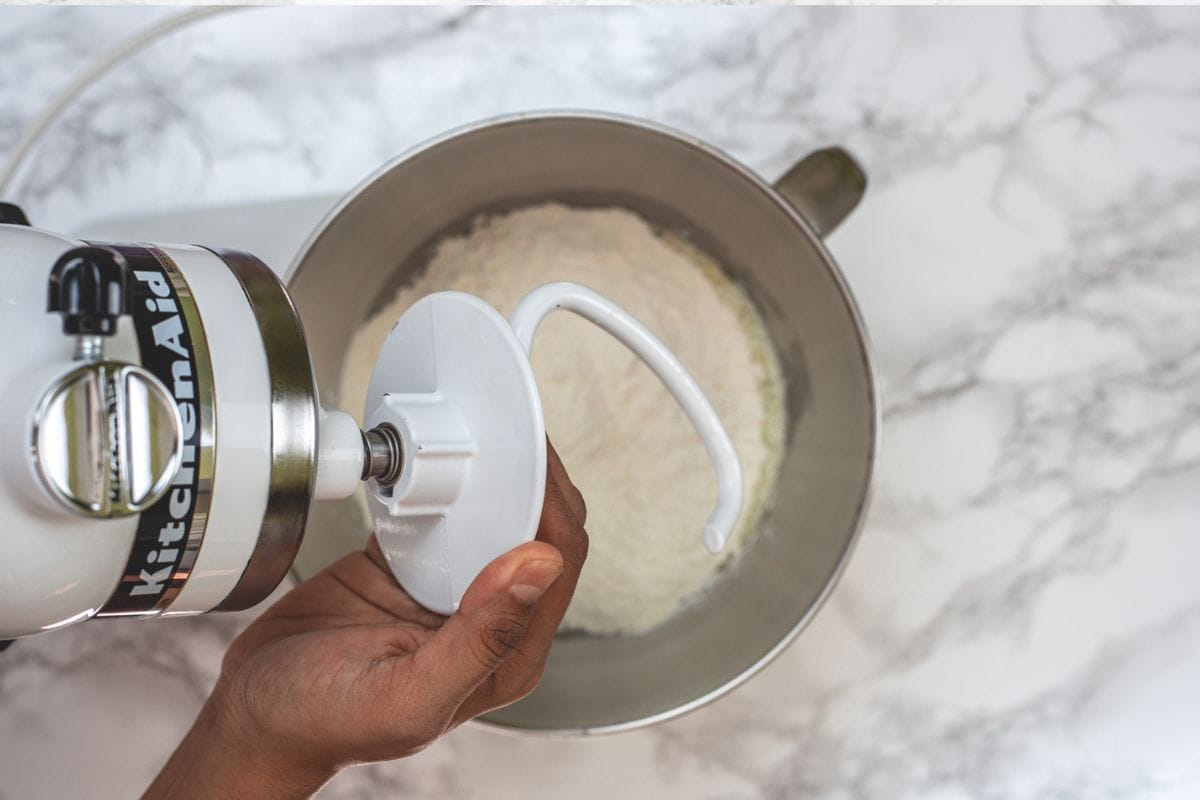
- Turn to low speed until the ingredients just start to come together and there are no loose dry patches. Increase to medium speed and knead for 7–8 minutes until the dough is smooth, elastic, and pulls cleanly away from the sides of the bowl. The dough should feel soft and slightly tacky — not stiff.No stand mixer? Turn the dough onto a lightly floured surface and knead by hand for 10–12 minutes until smooth and elastic.
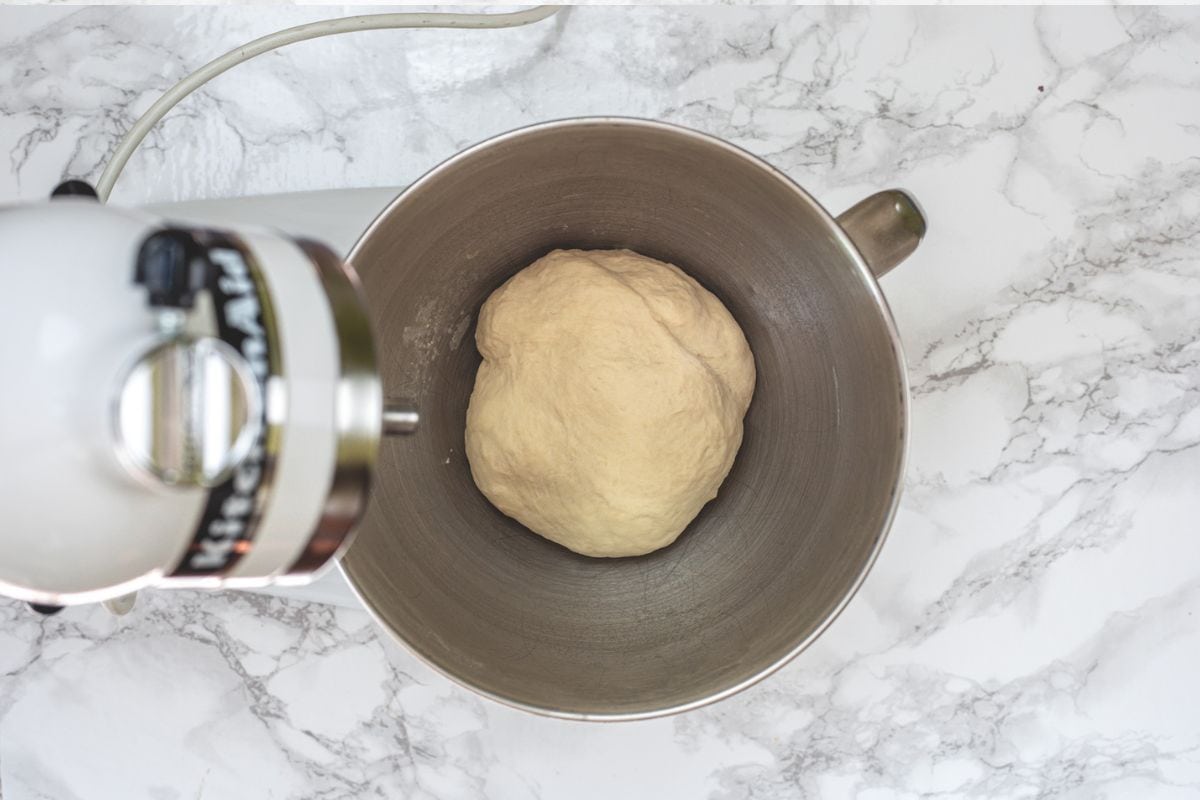
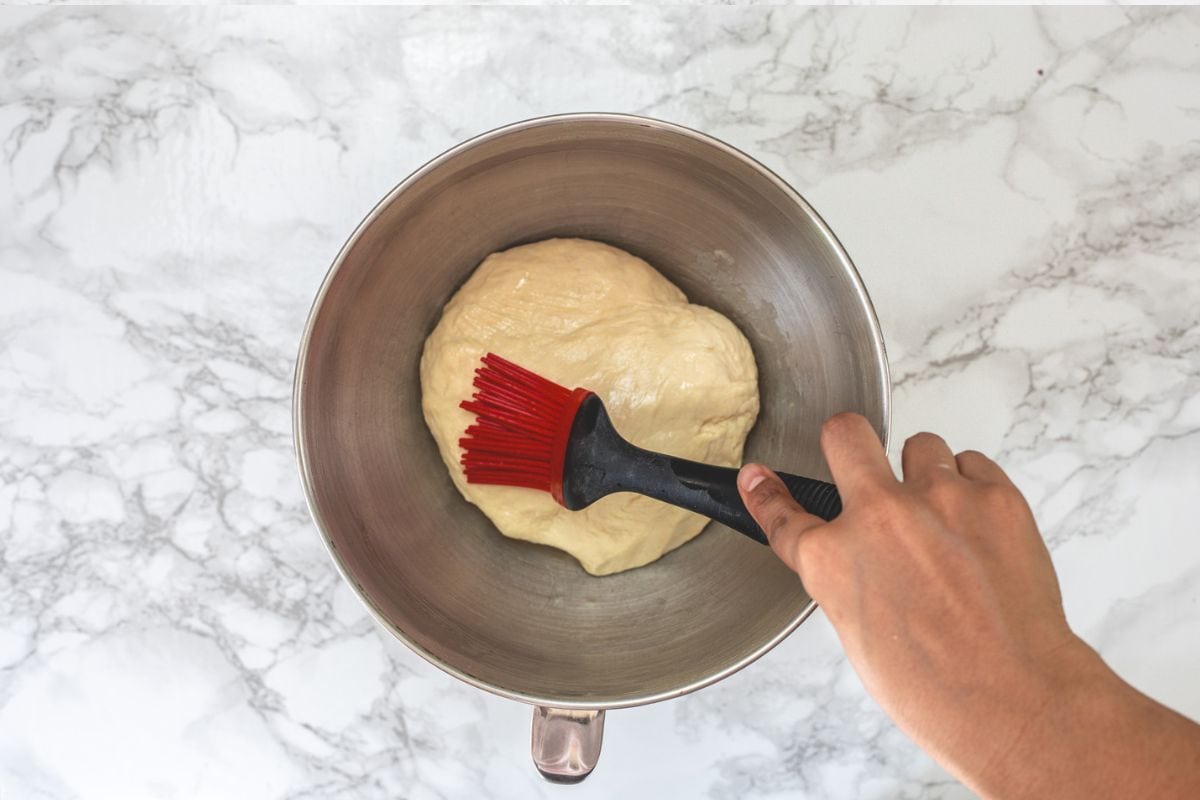
- Step 3 — First Proof: Lightly grease the inside of the mixer bowl with oil. Shape the dough into a smooth ball and place in the bowl. Drizzle a little oil on top of the dough ball and brush to coat with oil.
- Cover tightly with plastic wrap or a clean kitchen towel. Place in a warm spot — inside a microwave over a stovetop, or in an oven with just the light on. Let it proof for 45–90 minutes, or until the dough has doubled in size. The time will depend on the warmth of your kitchen.
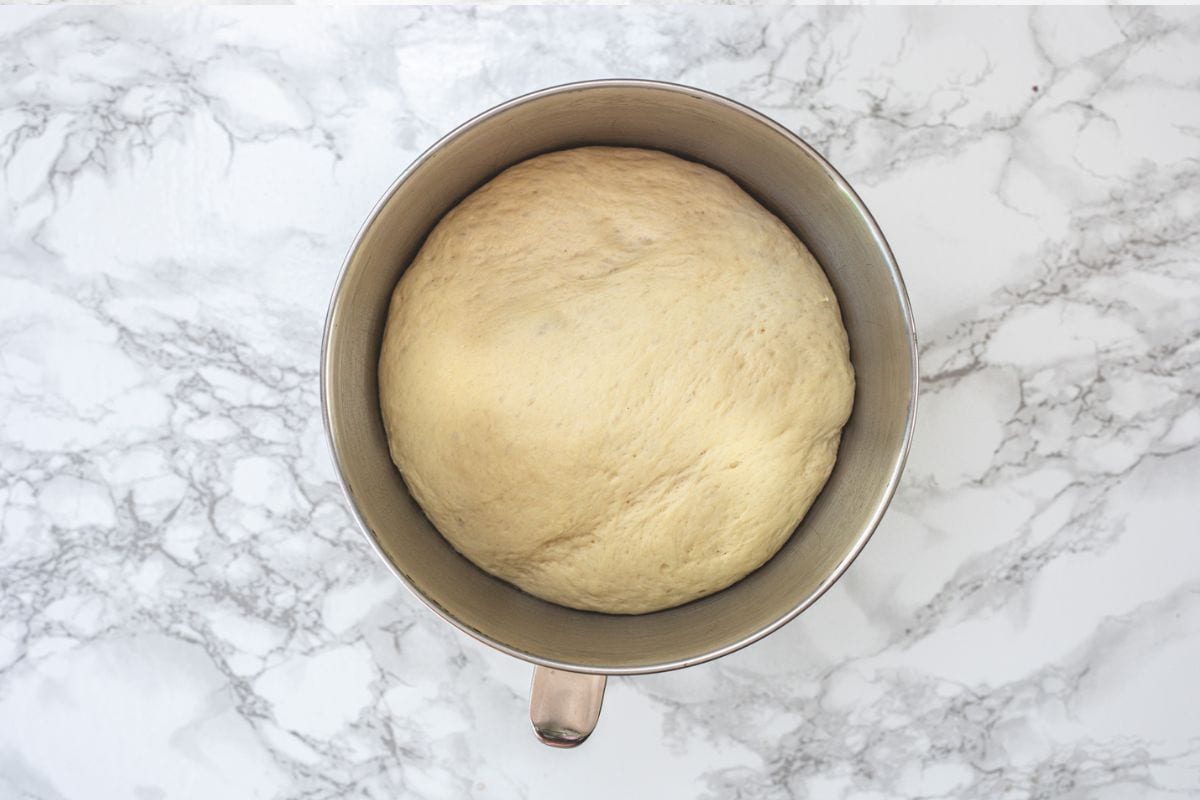
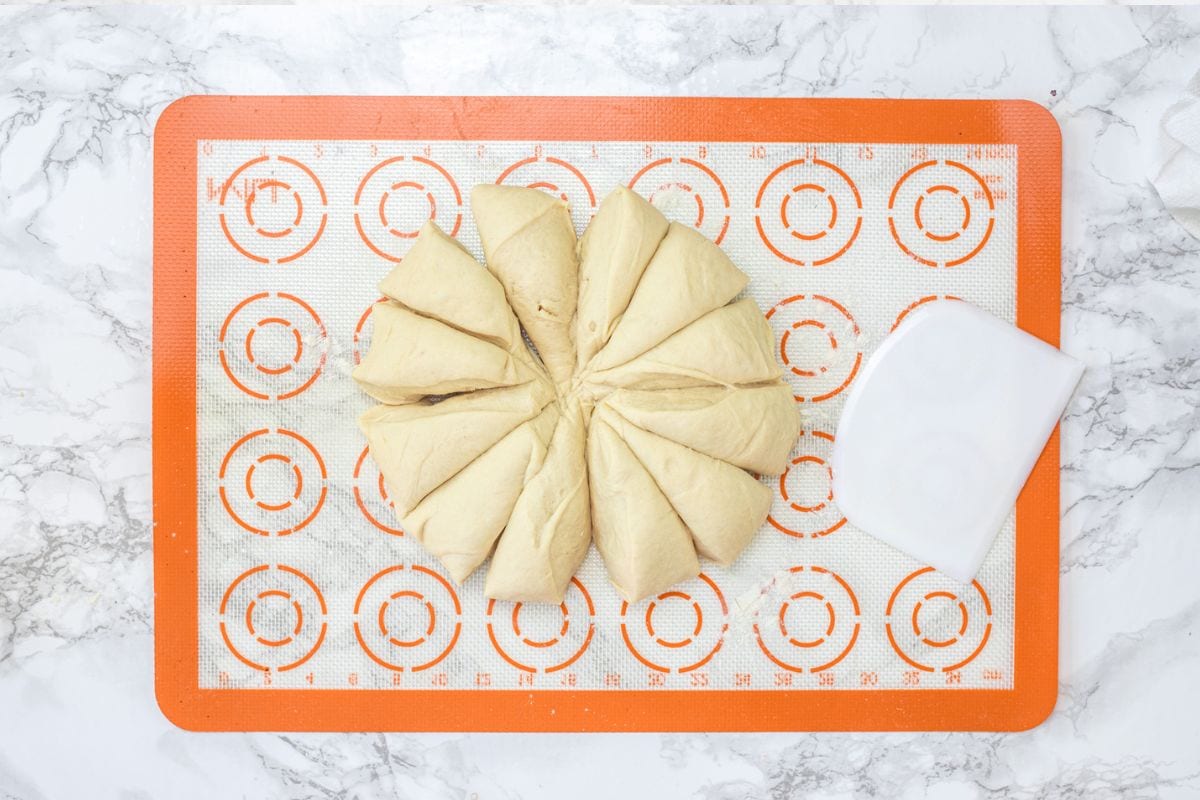
- Step 4 — Shape the Breadsticks: Line 2 large baking sheets with parchment paper. Set aside.Once doubled, gently punch the dough down and transfer it to a lightly floured surface (a silicone mat works very well here). Using a dough scraper or a sharp knife, divide the dough into 12 equal portions.
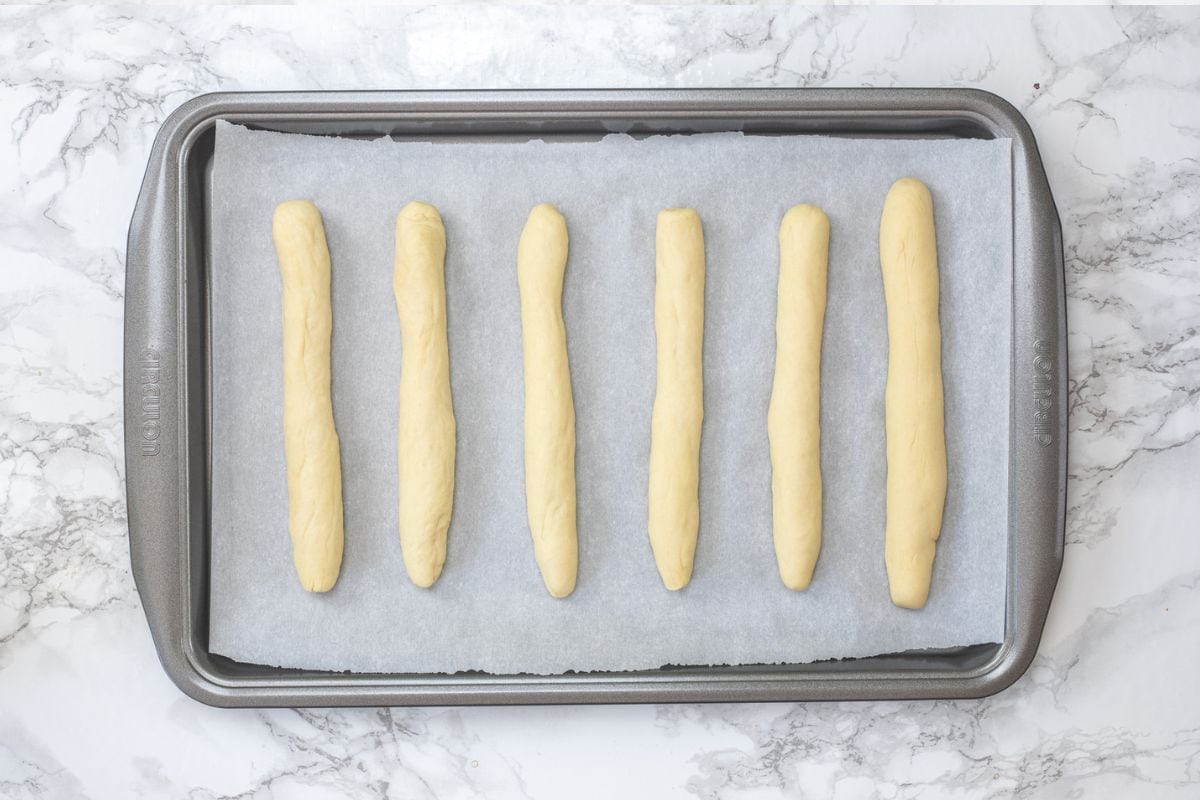
- Take one portion and roll it back and forth under your palms, working from the center outward, into a smooth rope approximately 9 inches long. Place on the prepared baking sheet. Repeat for all 12 portions, keeping at least 2 inches of space between each breadstick on the tray — 6 per tray.
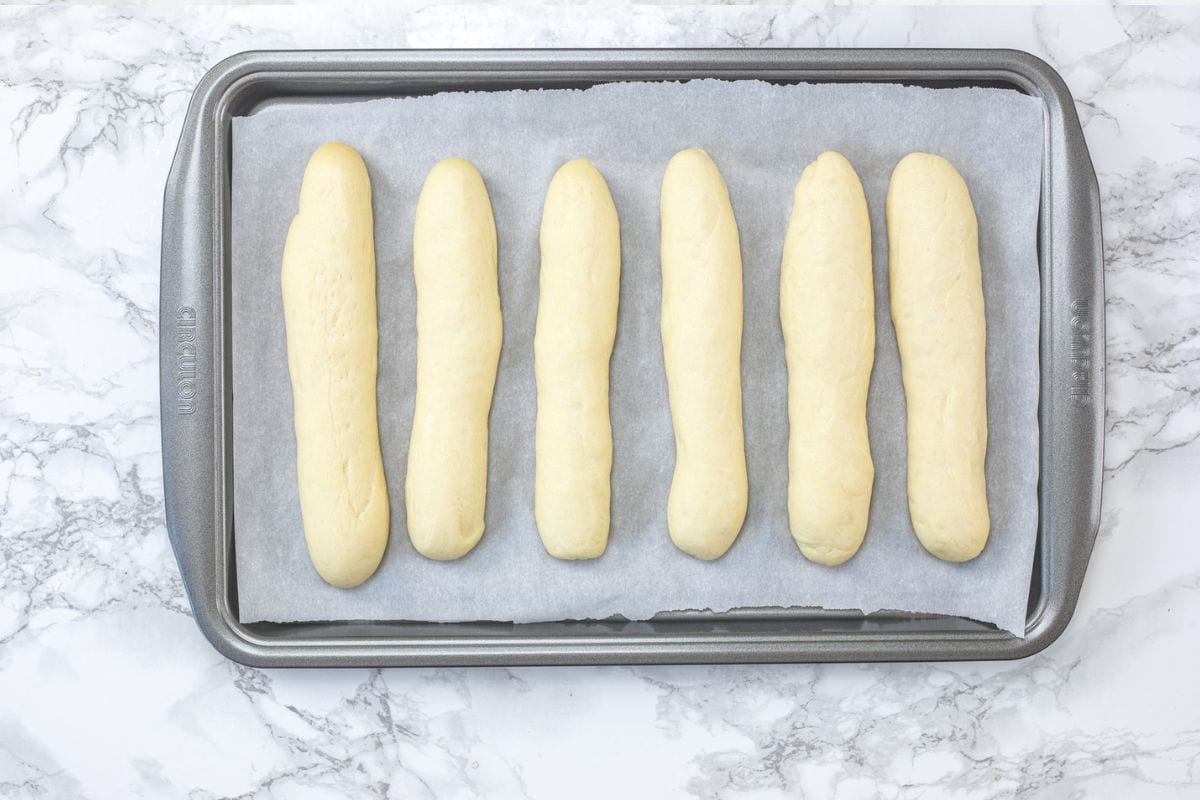
- Step 5 — Second Proof: Cover the shaped breadsticks loosely with plastic wrap or a towel. Let them rise in a warm place for 1 hour, until noticeably puffed and plump. 💡 IMP: Do not skip this rise — it is what creates the soft, airy interior.About 10–15 minutes before this rise is complete, preheat your oven to 425°F (220°C).
- Step 6 — Bake: Bake in the fully preheated oven for 12 minutes, until the tops are very lightly golden. The breadsticks should look pale with just a hint of color
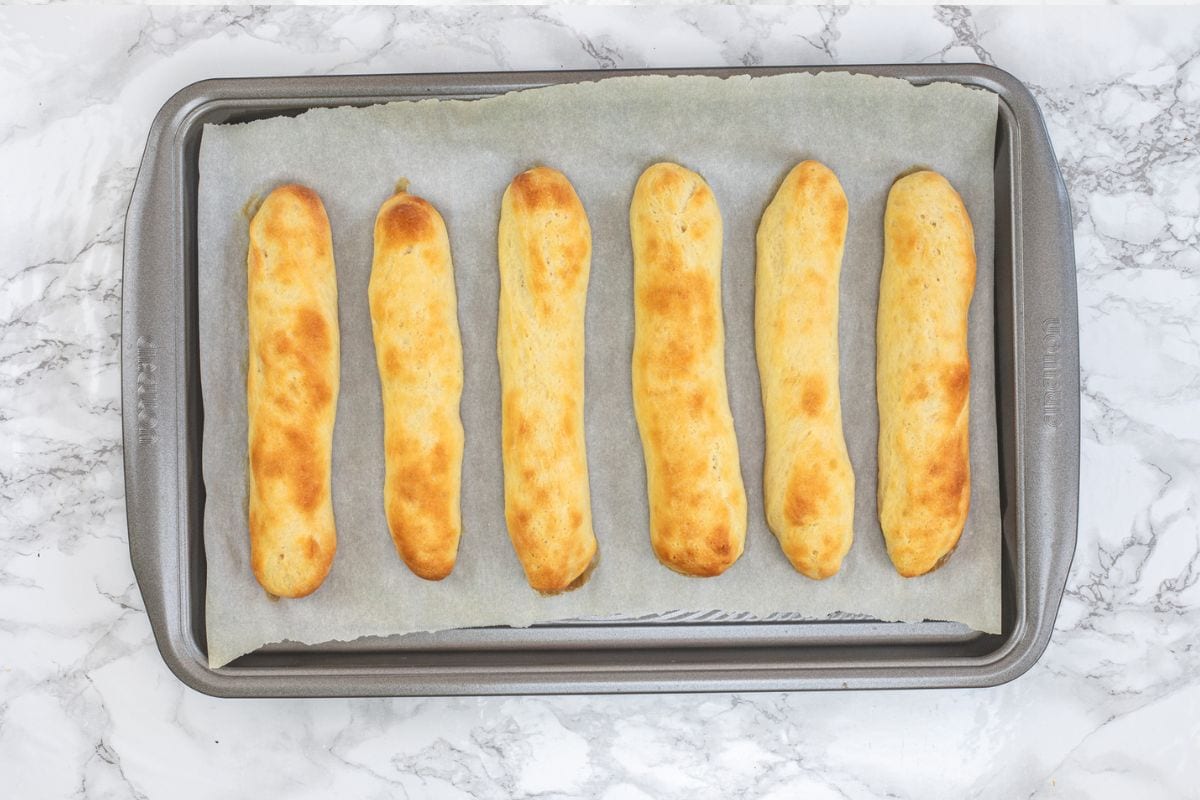
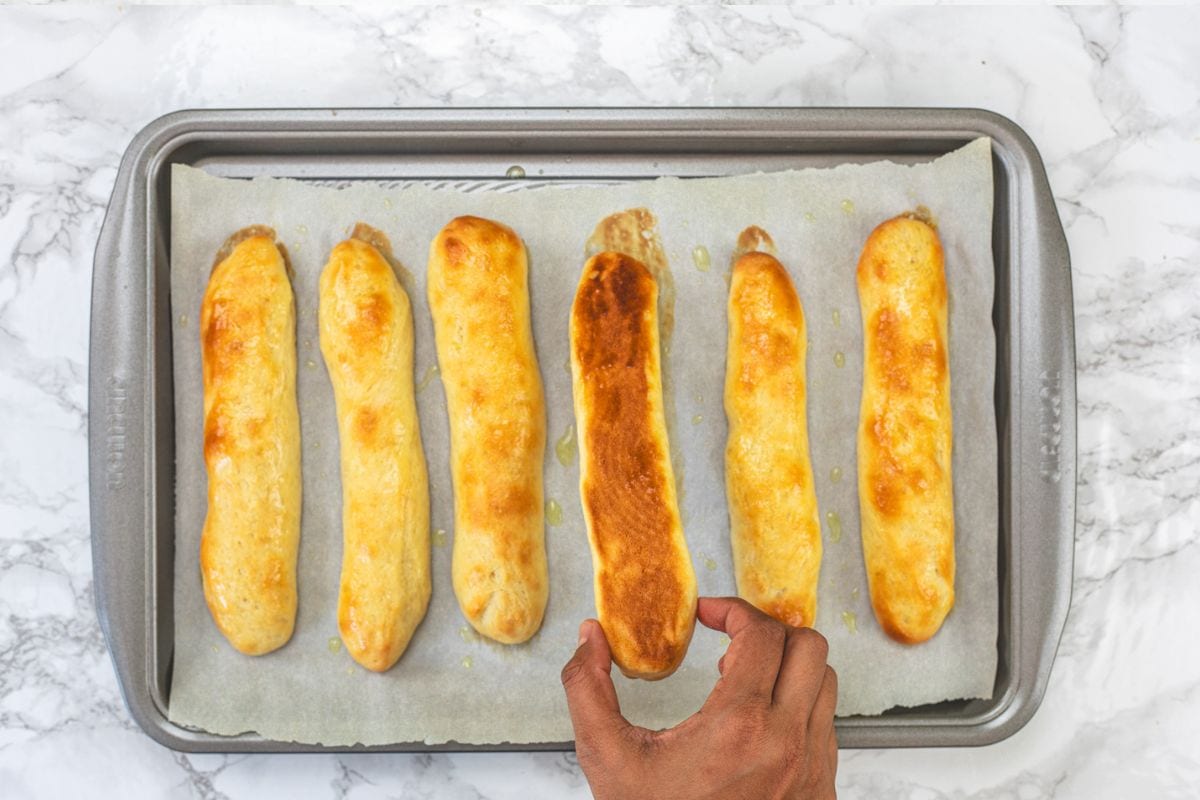
- This is how the bottom of the breadsticks looks like - nice and golden.💡 TIP: Do not overbake: Bake just until lightly golden. Overbaking makes breadsticks dry and hard.
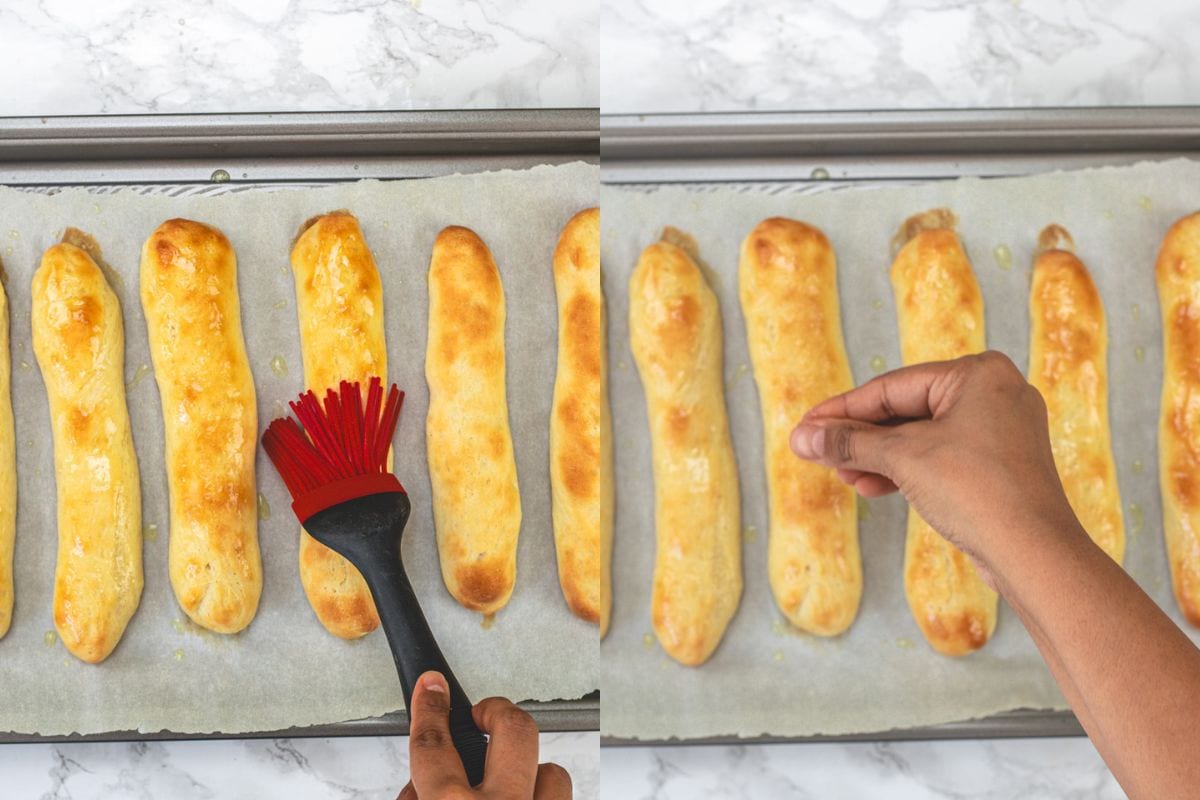
- Step 7 — Brush and Season (Do This Immediately): While the breadsticks are baking, mix the garlic powder and salt together in a small bowl (or use garlic salt). Melt the butter and have it ready with a pastry brush.The moment the breadsticks come out of the oven, brush each one generously with the melted butter. Immediately sprinkle the garlic-salt mixture evenly over the top.
Yeast Tip: Make sure the water is warm, not hot. Hot water can kill the yeast
Notes
- Both proofing times matter equally. The first proof builds structure and flavor in the dough. The second proof (after shaping) is what gives the breadsticks their final puff and soft interior. If you are short on time, you can shorten the first proof to 45 minutes — but do not cut the second proof short.
- Check the oven temperature. At 425°F, 12 minutes gives lightly golden breadsticks. If your oven runs hot, check at 10 minutes. If it runs cool, they may need 13–14 minutes. Use an oven thermometer if you are not sure.
Nutrition
Calories: 190kcal | Carbohydrates: 30g | Protein: 4g | Fat: 6g | Saturated Fat: 2g | Polyunsaturated Fat: 1g | Monounsaturated Fat: 3g | Trans Fat: 0.1g | Cholesterol: 5mg | Sodium: 389mg | Potassium: 46mg | Fiber: 1g | Sugar: 2g | Vitamin A: 59IU | Vitamin C: 0.003mg | Calcium: 7mg | Iron: 2mg
