Olive Garden Breadsticks (Copycat)

This copycat Olive Garden breadsticks recipe makes soft, fluffy breadsticks with the signature garlic butter topping. They taste just like the restaurant version and are surprisingly easy to make at home. Serve them warm with pasta, soup or salad for a restaurant-style meal.
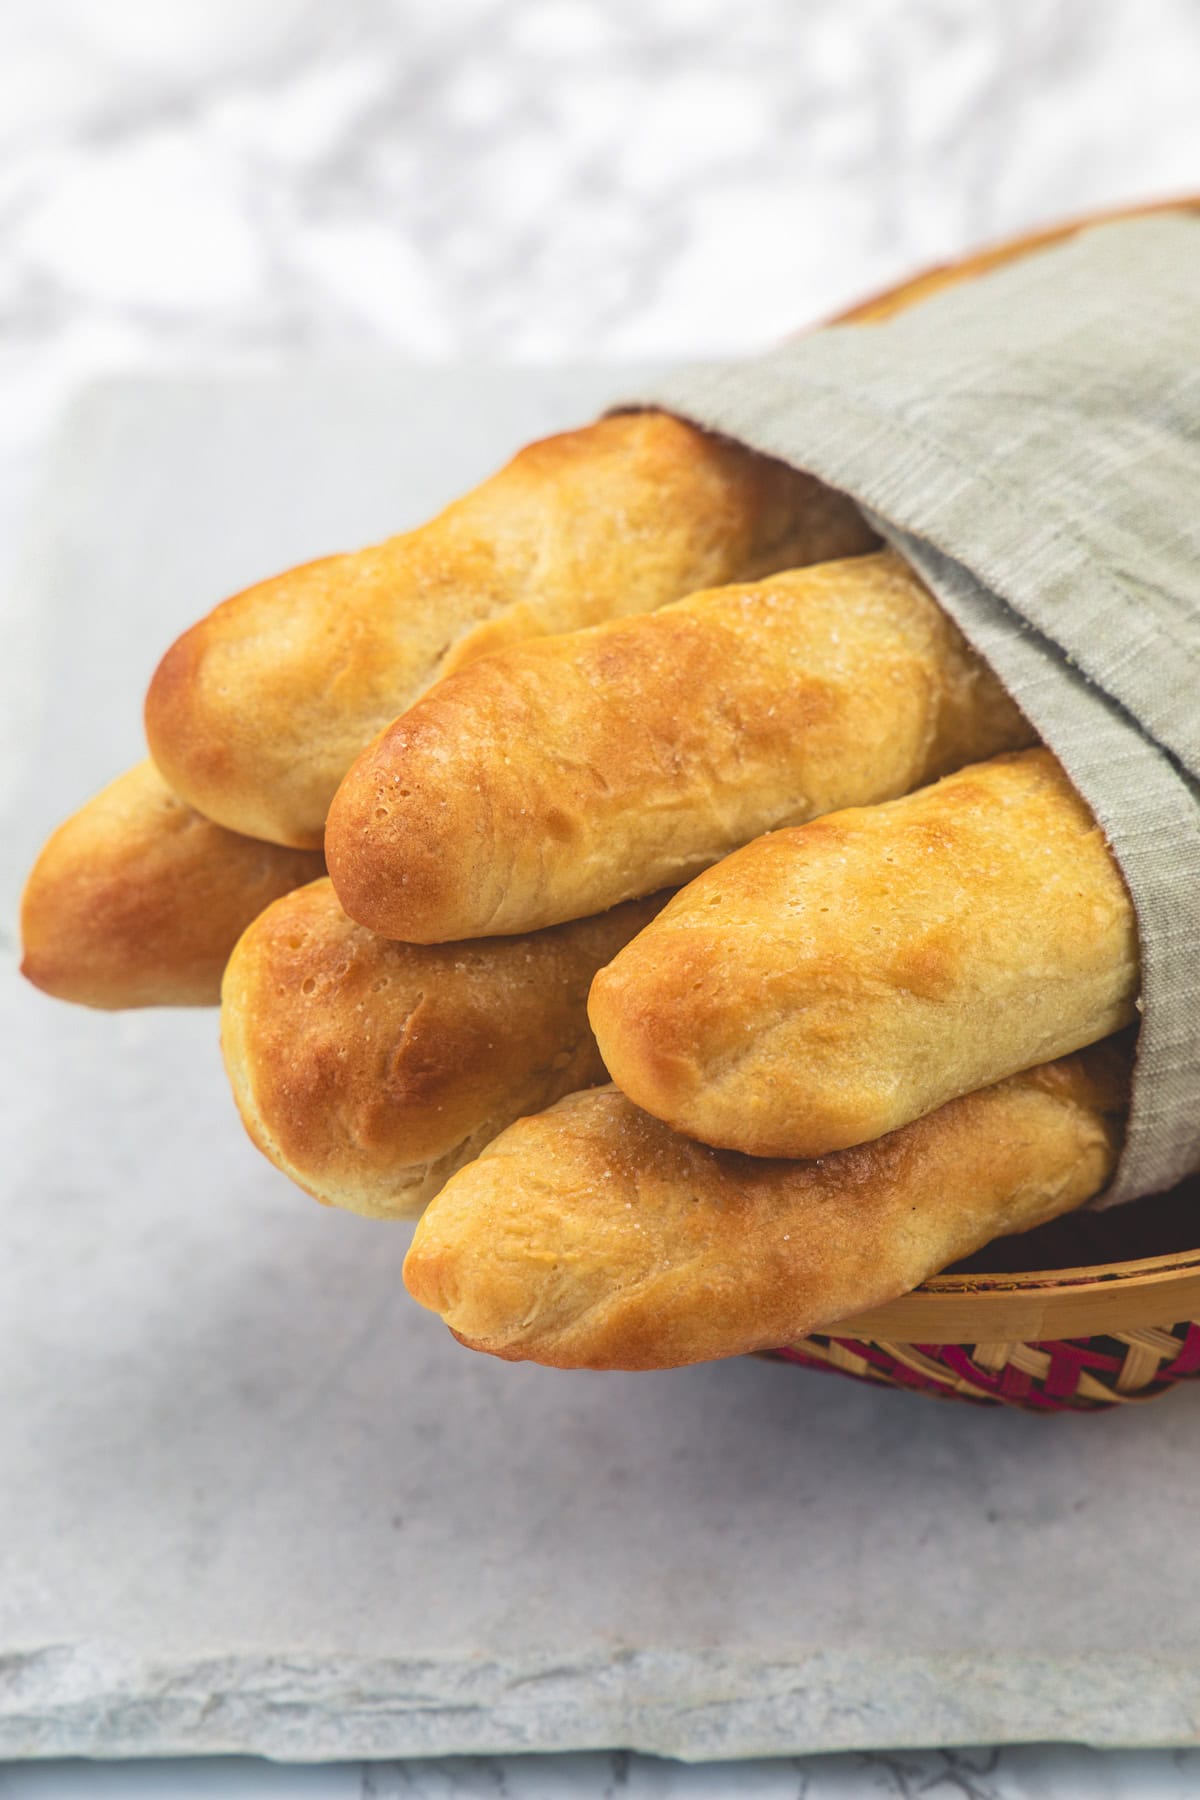
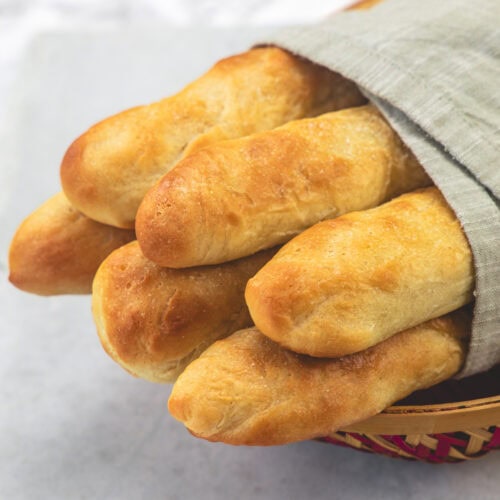
Olive garden breadsticks wrapped in a napkin.

What Are Olive Garden Breadsticks?

Olive Garden breadsticks are the most iconic part of the Olive Garden dining experience. They arrive at the table hot, wrapped in a cloth napkin, and are served alongside the house salad as part of the famous “unlimited soup, salad, and breadsticks” offering that has made them one of the most recognizable elements of casual Italian-American dining in the US.

These homemade breadsticks taste just like the restaurant version. They have a soft, pillowy texture inside with a light golden crust outside. The garlic butter topping adds the signature flavor everyone loves.

The best part? You can make them fresh at home and enjoy them warm right out of the oven. No need to wait for a restaurant visit.

⭐ Why You’ll Love This Recipe

  • Soft and fluffy texture, just like Olive Garden
  • Easy to make with basic pantry ingredients
  • Brushed with a delicious garlic butter topping
  • Tastes even better when served warm from the oven
  • Perfect with pasta, soup or salad
  • Great for family dinners and holiday meals
  • Dough can be made ahead of time
  • No bread machine required
  • Freezer-friendly

🧂 Ingredient Notes

Complete list of ingredients and amounts is written in the recipe card below.
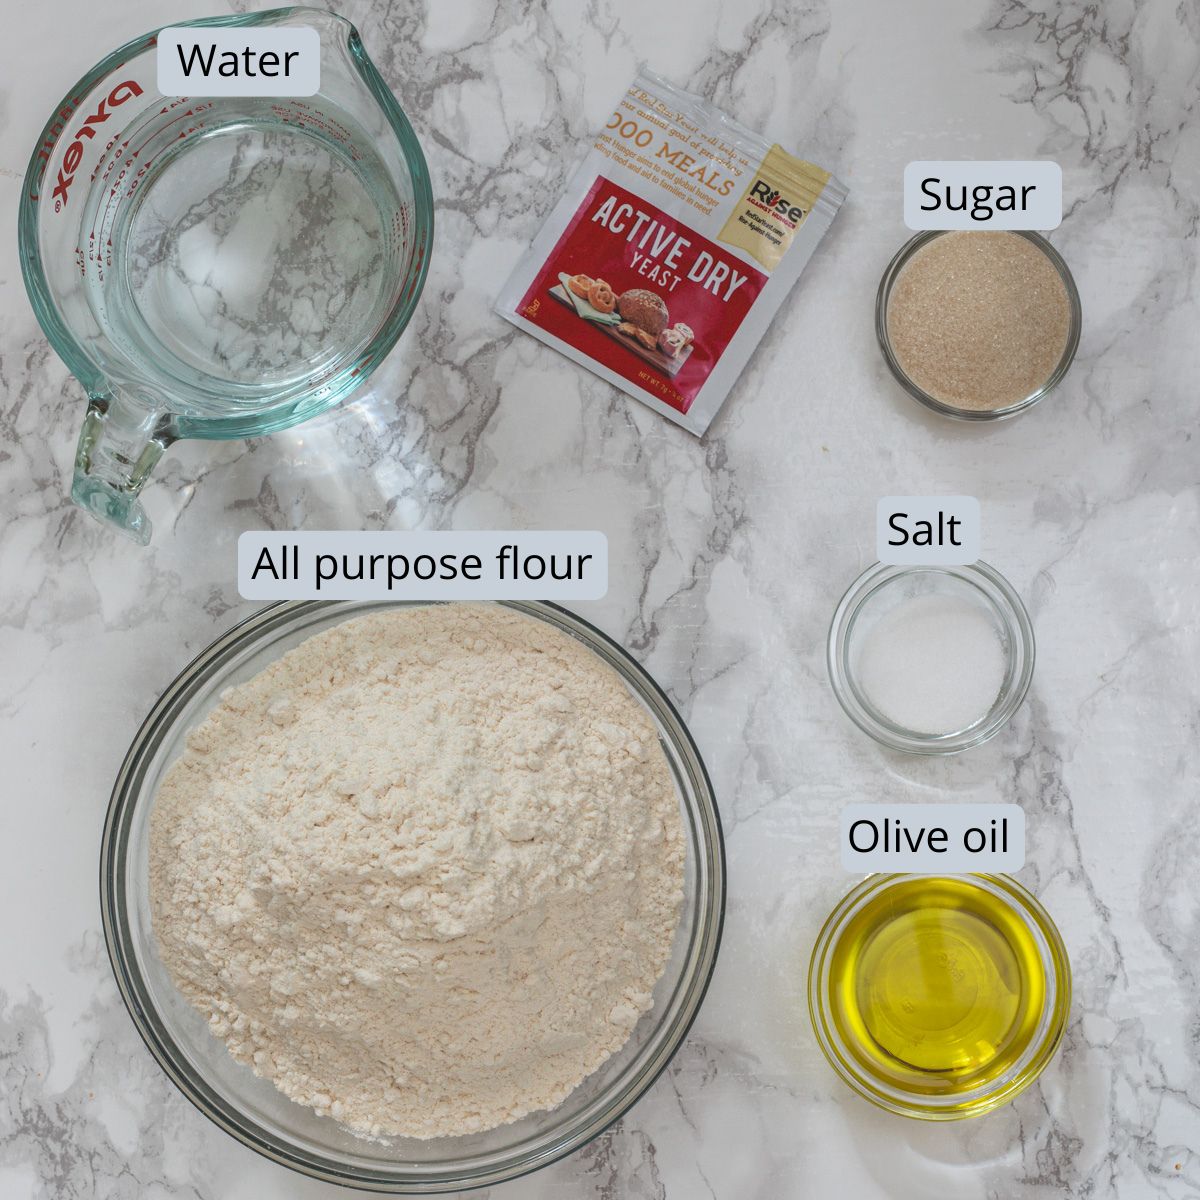
Copycat Olive Garden breadsticks ingredients in bowls and spoons with labels.

For Breadsticks:

  • Warm water: The temperature of the water is critical — it must be warm enough to activate the yeast (105–110°F / 40–43°C) but not hot enough to kill it.
  • Active dry yeast: This recipe uses active dry yeast, which requires a bloom step (dissolving in warm water with sugar and waiting for it to activate). You will know the yeast has bloomed correctly when the mixture becomes visibly frothy and bubbly after about 10 minutes. If nothing happens, the yeast is dead or the water temperature was wrong — do not proceed. Start over with fresh yeast.
  • If using instant yeast: Skip the bloom step. Mix it directly into the flour with the other dry ingredients. Everything else in the recipe stays the same.
  • Sugar: Two purposes: it feeds the yeast and adds a subtle sweetness that is characteristic of Olive Garden’s slightly sweet breadstick flavor. Do not reduce or skip it.
  • Olive oil: It keeps the interior soft, and gives a slightly lighter texture than butter.
  • All purpose flour: It works perfectly. But if have bread flour on hand, you can use that as well.
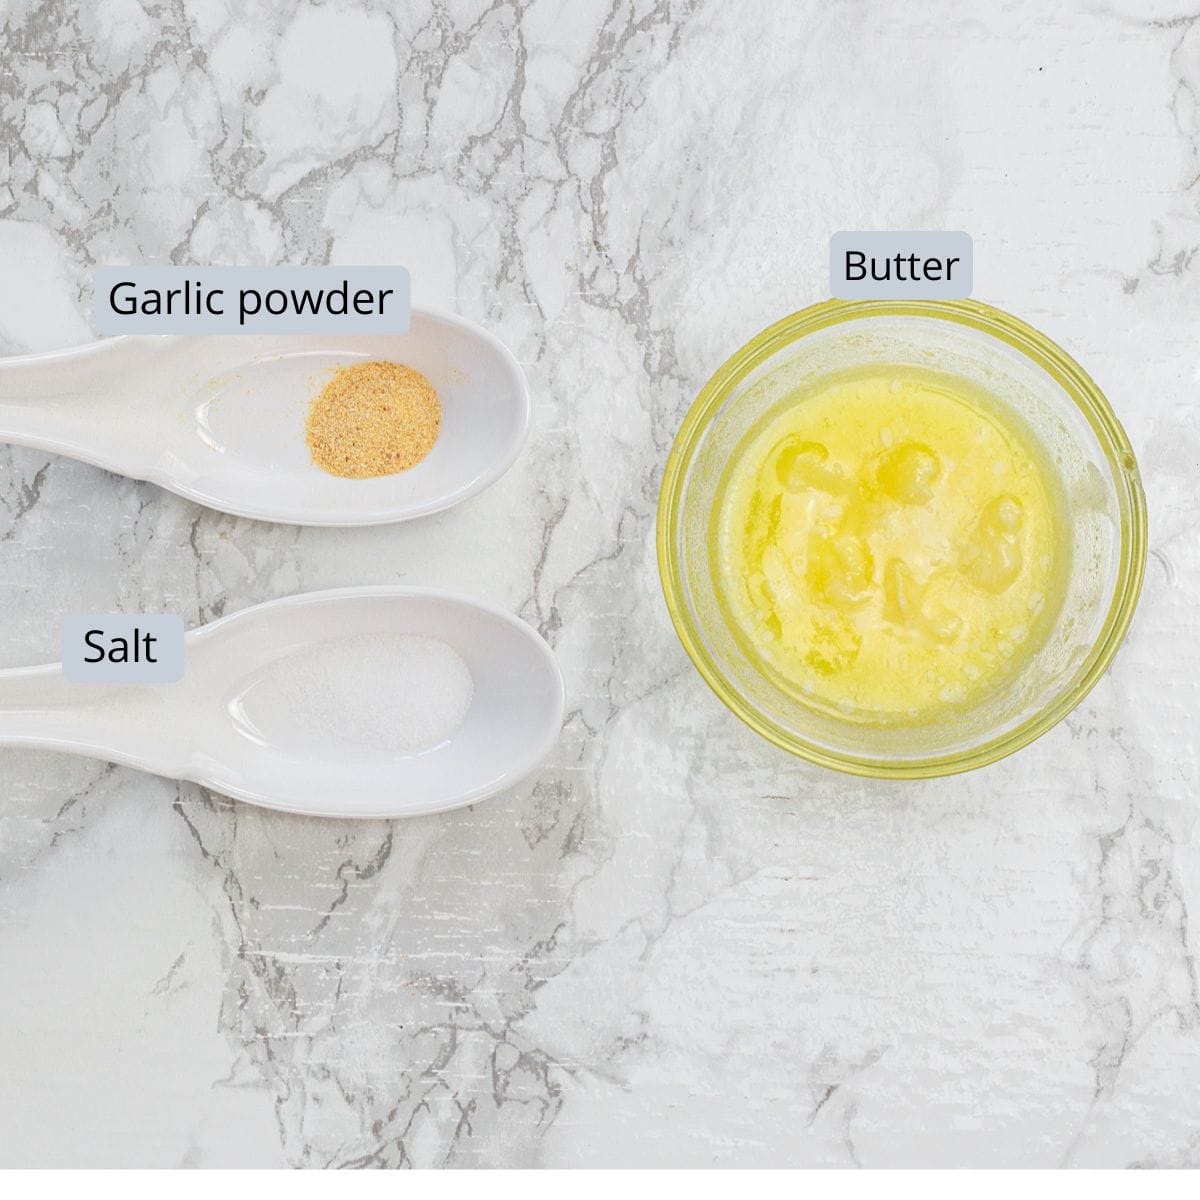
Garlic butter topping ingredients with labels.

For Garlic-Butter Topping:

  • Melted butter: Use unsalted butter so you can control the salt amount. The butter needs to be warm and melted (not hot) when you brush it on.
  • Garlic powder: You can also use garlic salt in place of the separate salt and garlic powder — it gives a slightly more concentrated garlic flavor. Either works.
  • Salt: To sprinkle on top. If using garlic salt then skip entirely.

Tried this recipe? A star rating ⭐️ and a quick comment below help others (and me!) know how it went.

Olive Garden Breadsticks Recipe (Copycat)
No ratings yet
Olive garden breadsticks wrapped in a napkin.
Soft, fluffy, garlicky copycat Olive Garden breadsticks brushed with garlic butter straight from the oven. Better than the restaurant — and unlimited at home!
Kanan
Prep Time 2 hours 30 minutes
Cook Time 12 minutes
Proof Time 2 hours 30 minutes
Total Time 2 hours 12 minutes
Serving Size 12

US measuring cups are used (1 cup = 240 ml)

Ingredients

For Breadsticks Dough:

  • 1 cup + 2 tablespoons Warm water
  • 1 packet Active dry yeast, ~ 2 ¼ teaspoons
  • 2 tablespoons Sugar
  • 1 ¾ teaspoons Salt
  • 3 tablespoons Olive oil
  • 3 – 3 ½ cups All purpose flour (Maida)

Topping:

  • 2 tablespoons Unsalted butter, Melted (not hot)
  • ¼ teaspoon Salt
  • ¼ teaspoon Garlic powder

Instructions

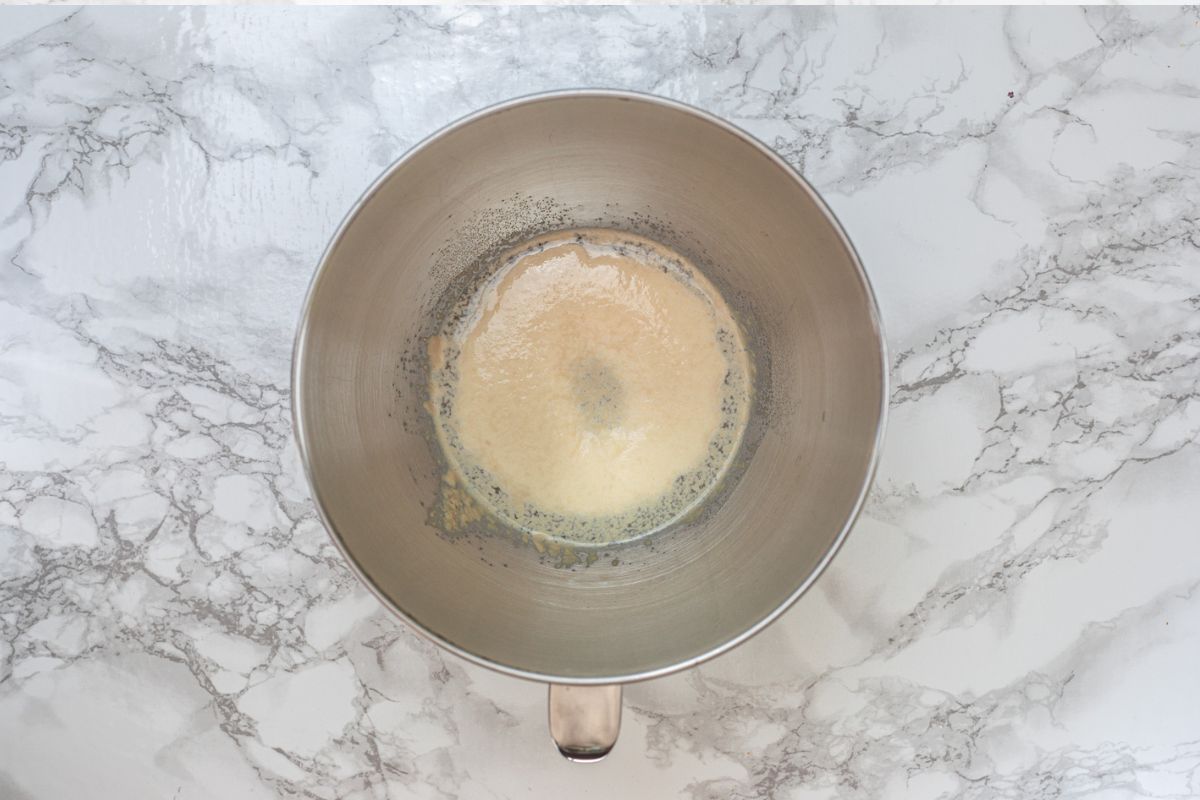
  • Step 1 — Bloom the Yeast: Pour warm water into the bowl of a stand mixer. Add yeast and 1 teaspoon sugar. Stir once and let it rest for 10 minutes. The mixture should become frothy and bubbly, which means the yeast is active and ready to use.
    💡 Yeast Tip: Make sure the water is warm, not hot. Hot water can kill the yeast.
    Activated yeast in a bowl.
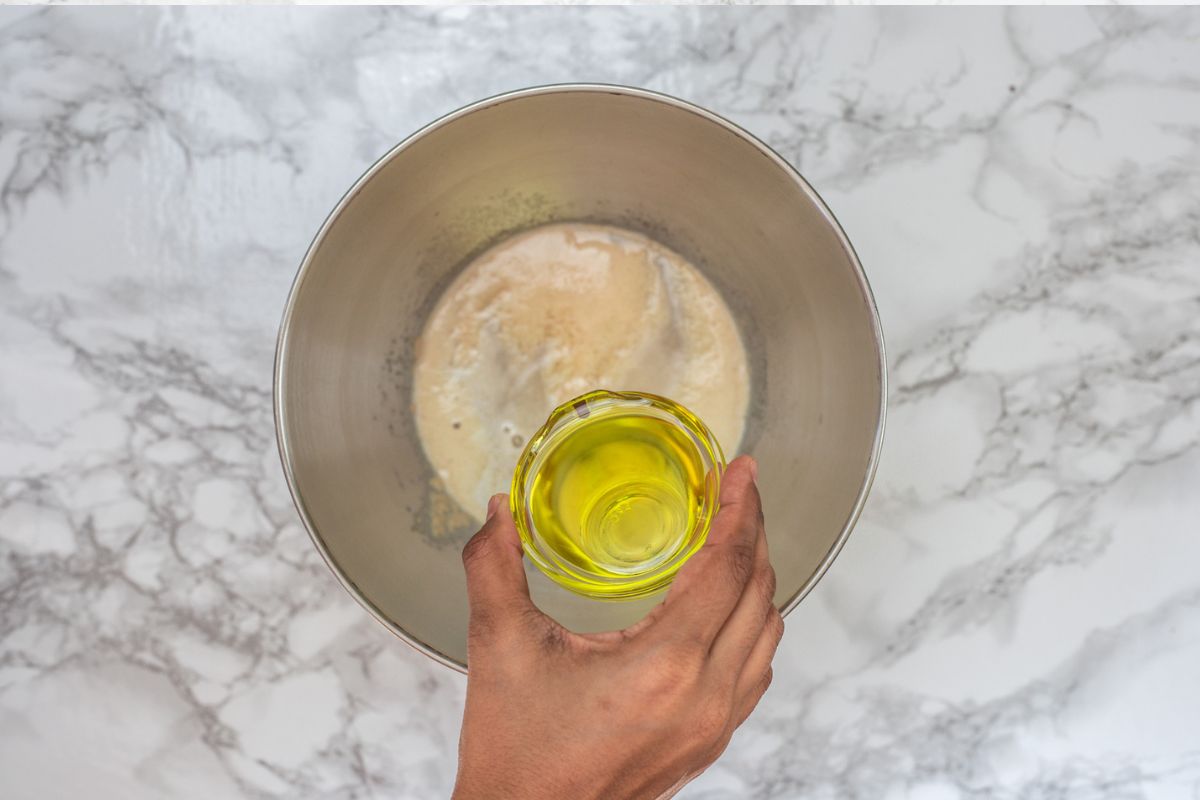
  • Step 2 — Build the Dough: Add the olive oil to the bloomed yeast mixture and stir to combine.
    Adding oil to the bloomed yeast.
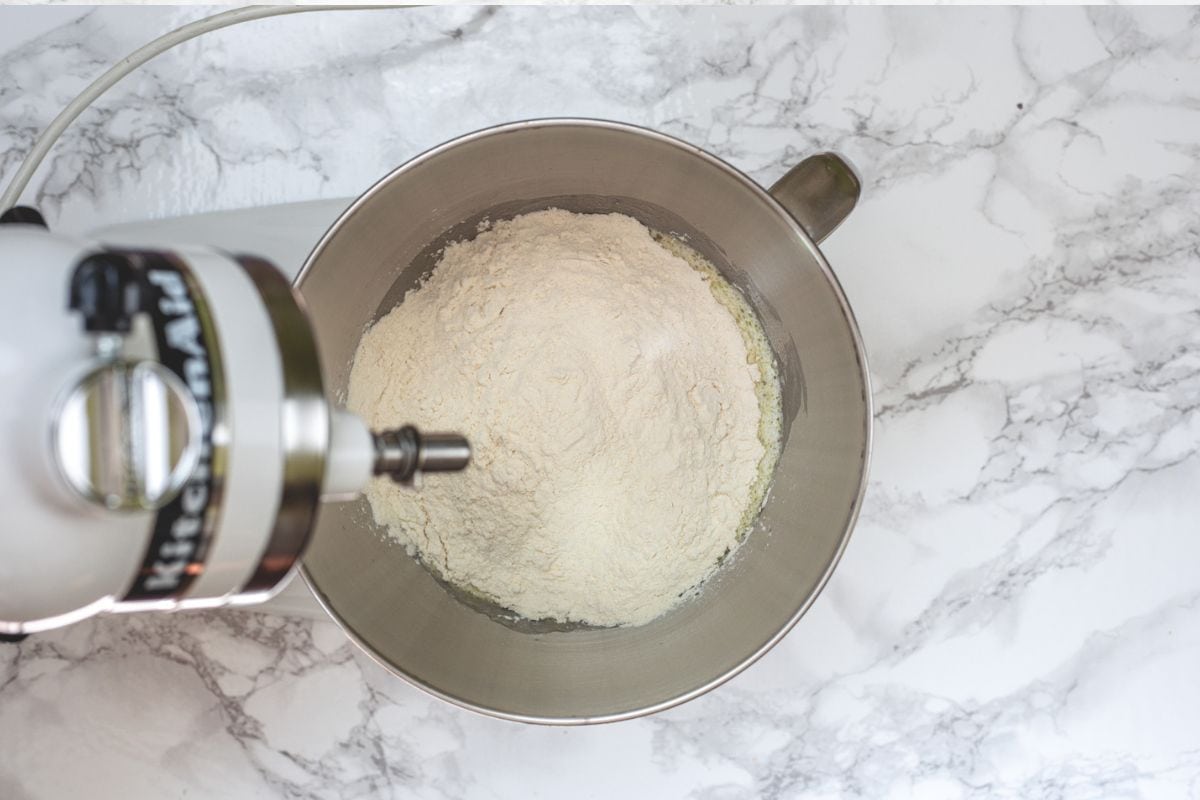
  • Add the all-purpose flour, the remaining sugar, and the salt.
    Adding flour to the stand mixer bowl.
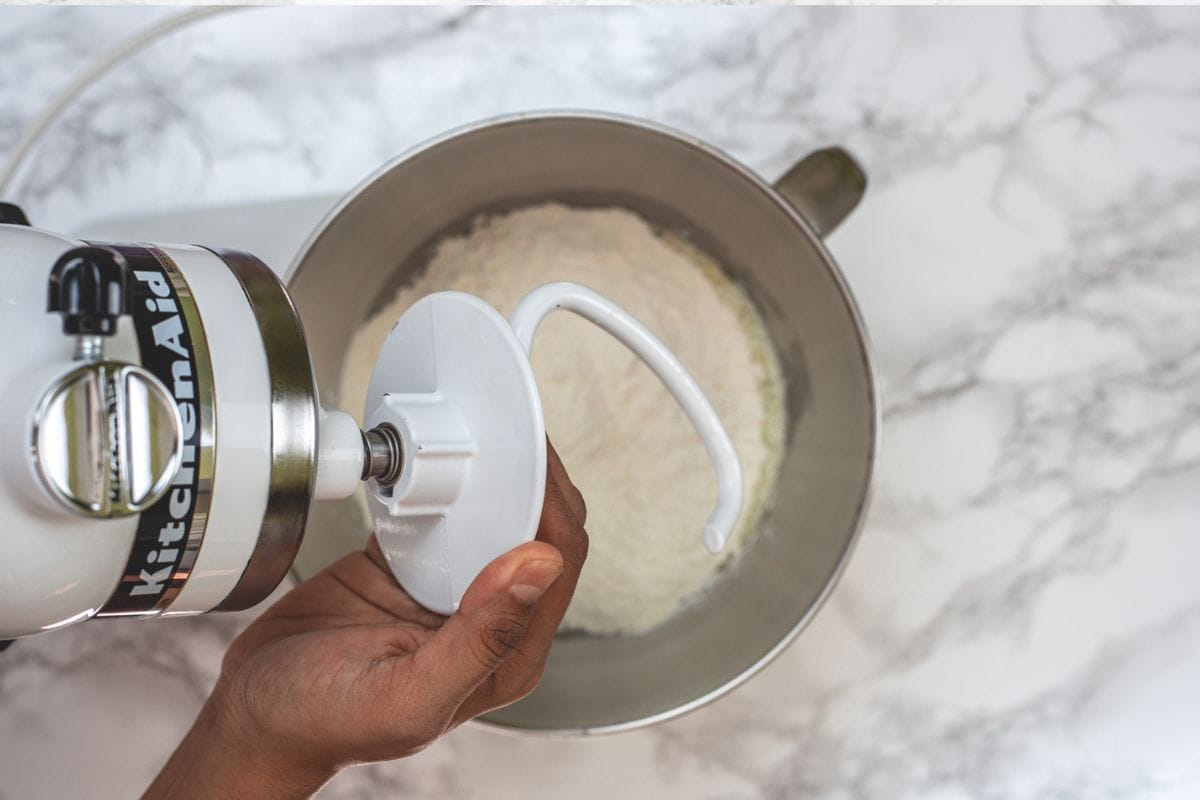
  • Attach the dough hook to the stand mixer.
    Attaching the dough hook.
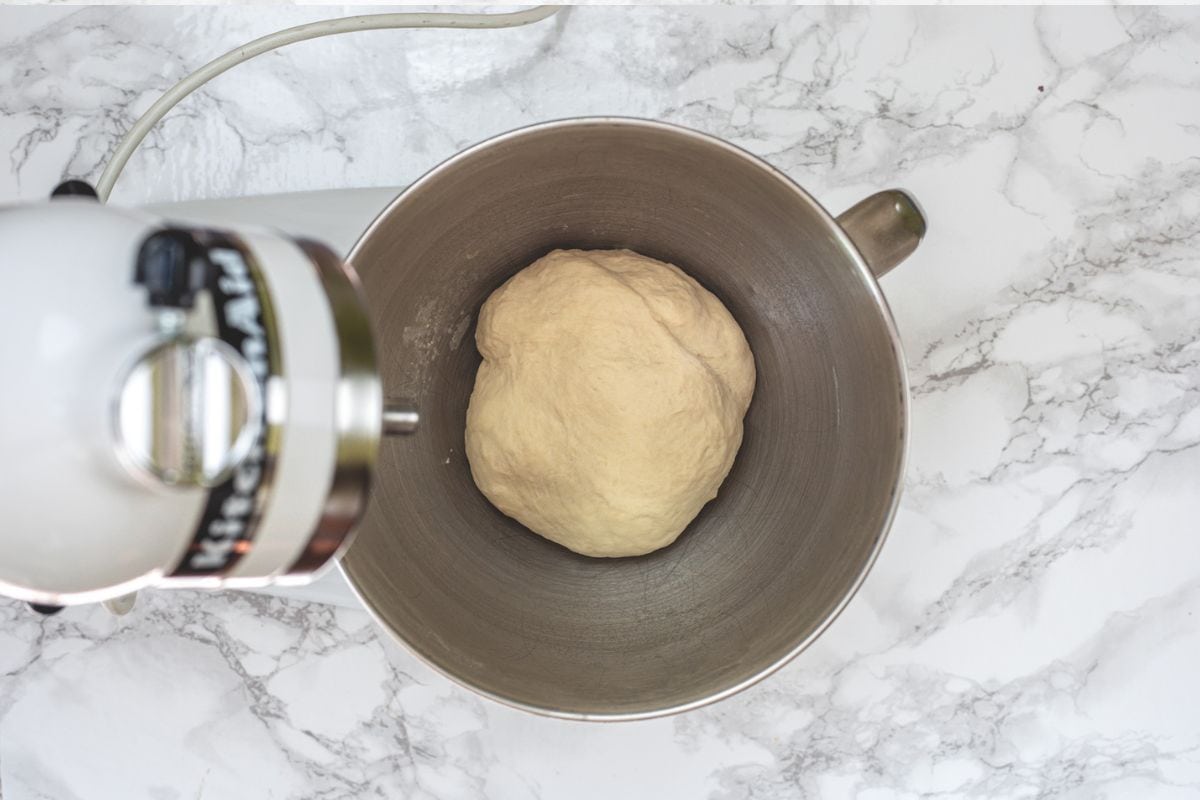
  • Turn to low speed until the ingredients just start to come together and there are no loose dry patches. Increase to medium speed and knead for 7–8 minutes until the dough is smooth, elastic, and pulls cleanly away from the sides of the bowl. The dough should feel soft and slightly tacky — not stiff.
    No stand mixer? Turn the dough onto a lightly floured surface and knead by hand for 10–12 minutes until smooth and elastic.
    Breaksticks dough is ready.
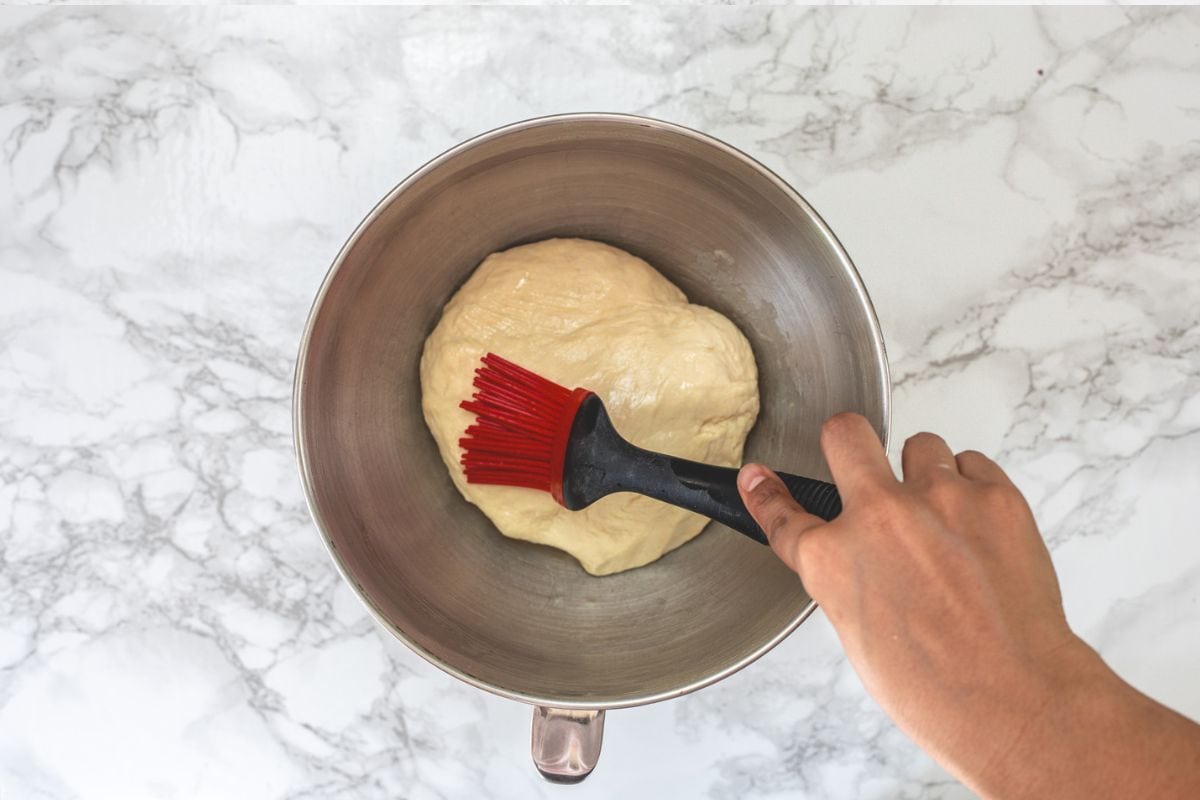
  • Step 3 — First Proof: Lightly grease the inside of the mixer bowl with oil. Shape the dough into a smooth ball and place in the bowl. Drizzle a little oil on top of the dough ball and brush to coat with oil.
    Brushing the dough with oil.
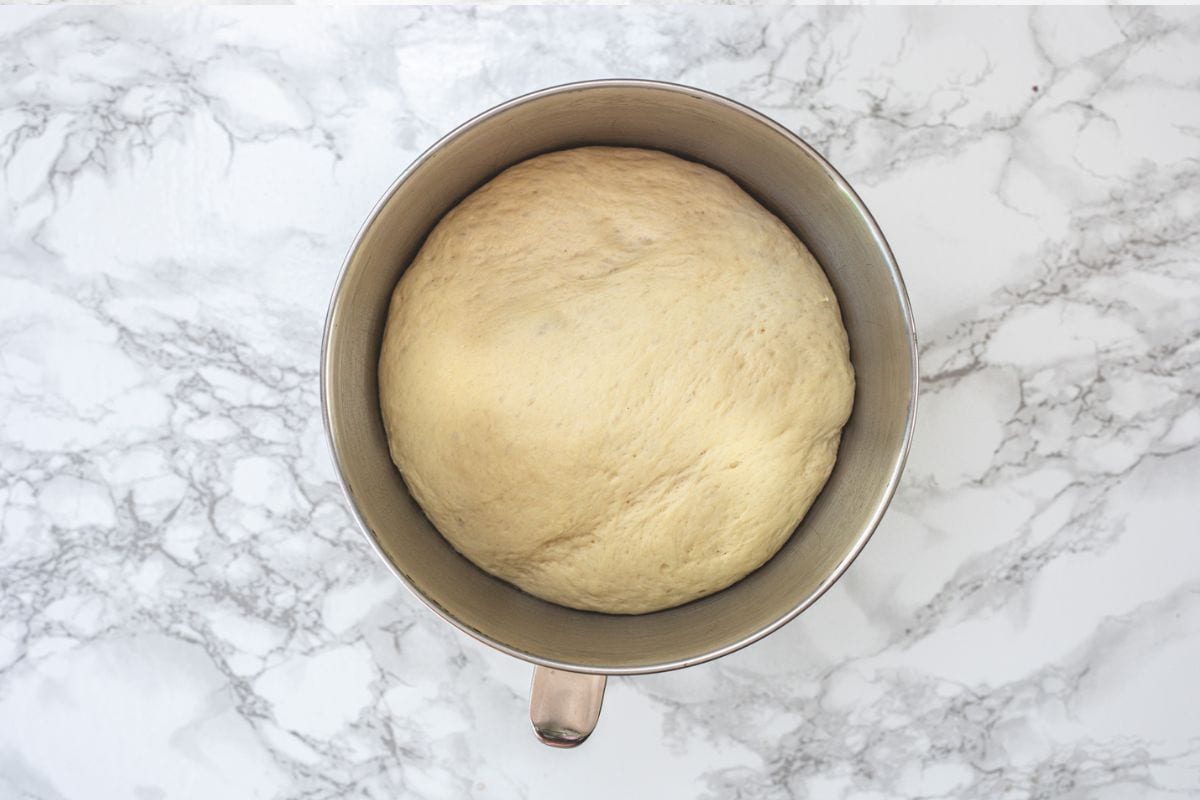
  • Cover tightly with plastic wrap or a clean kitchen towel. Place in a warm spot — inside a microwave over a stovetop, or in an oven with just the light on. Let it proof for 45–90 minutes, or until the dough has doubled in size. The time will depend on the warmth of your kitchen.
    Proofed dough for breadsticks.
  • Step 4 — Shape the Breadsticks: Line 2 large baking sheets with parchment paper. Set aside.
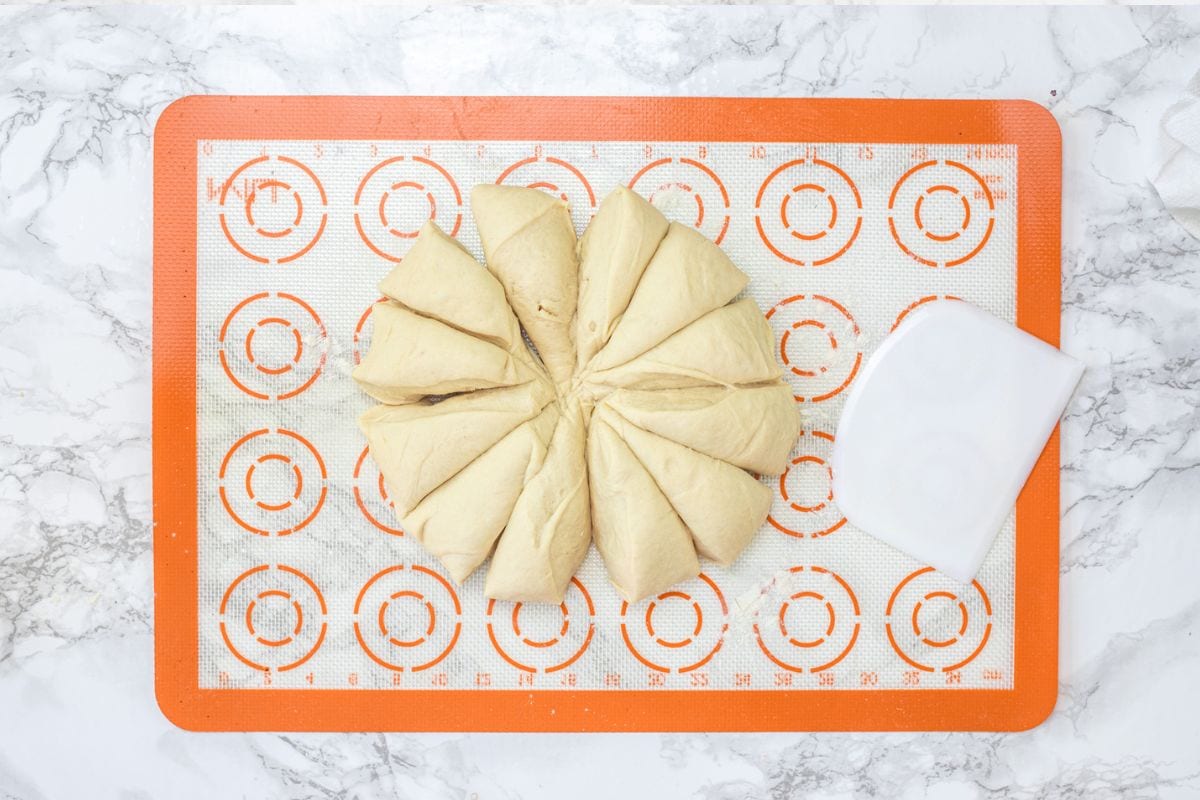
    Once doubled, gently punch the dough down and transfer it to a lightly floured surface (a silicone mat works very well here). Using a dough scraper or a sharp knife, divide the dough into 12 equal portions.
    Dough divided into 12 equal parts.
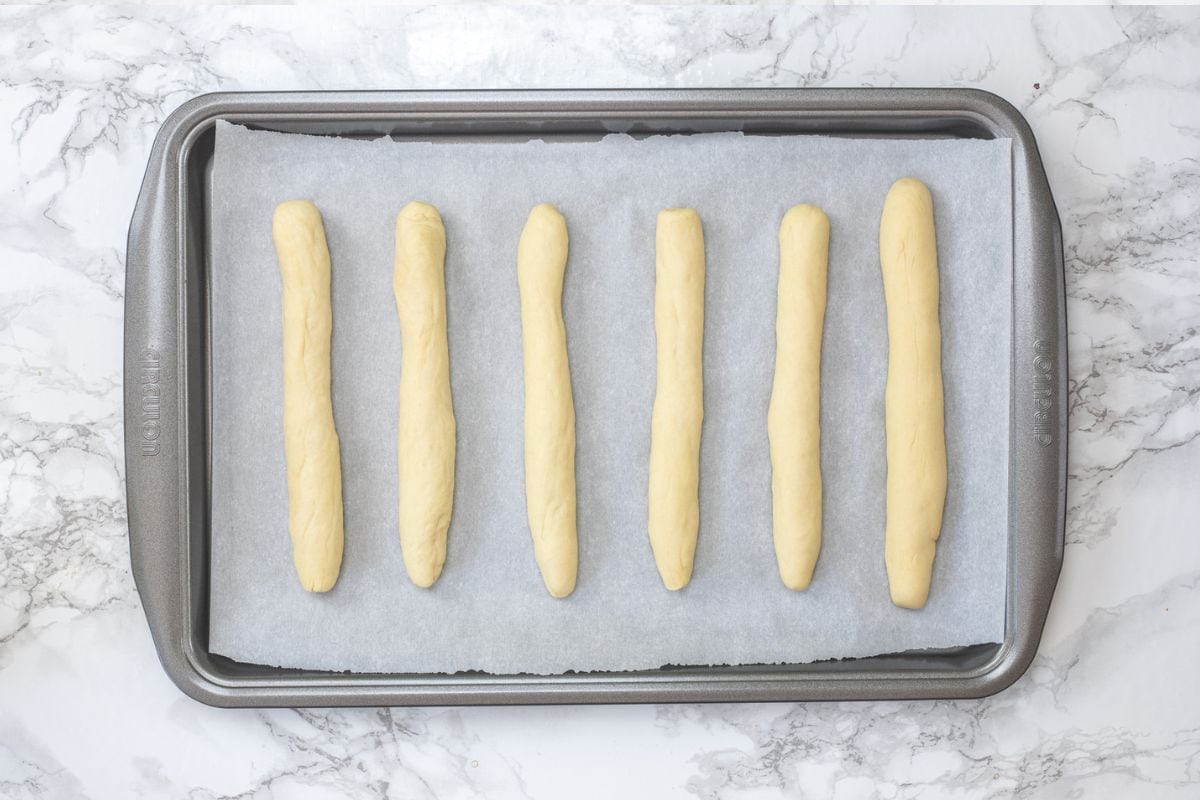
  • Take one portion and roll it back and forth under your palms, working from the center outward, into a smooth rope approximately 9 inches long. Place on the prepared baking sheet. Repeat for all 12 portions, keeping at least 2 inches of space between each breadstick on the tray — 6 per tray.
    6 rolled breadsticks in a parchment lined baking tray.
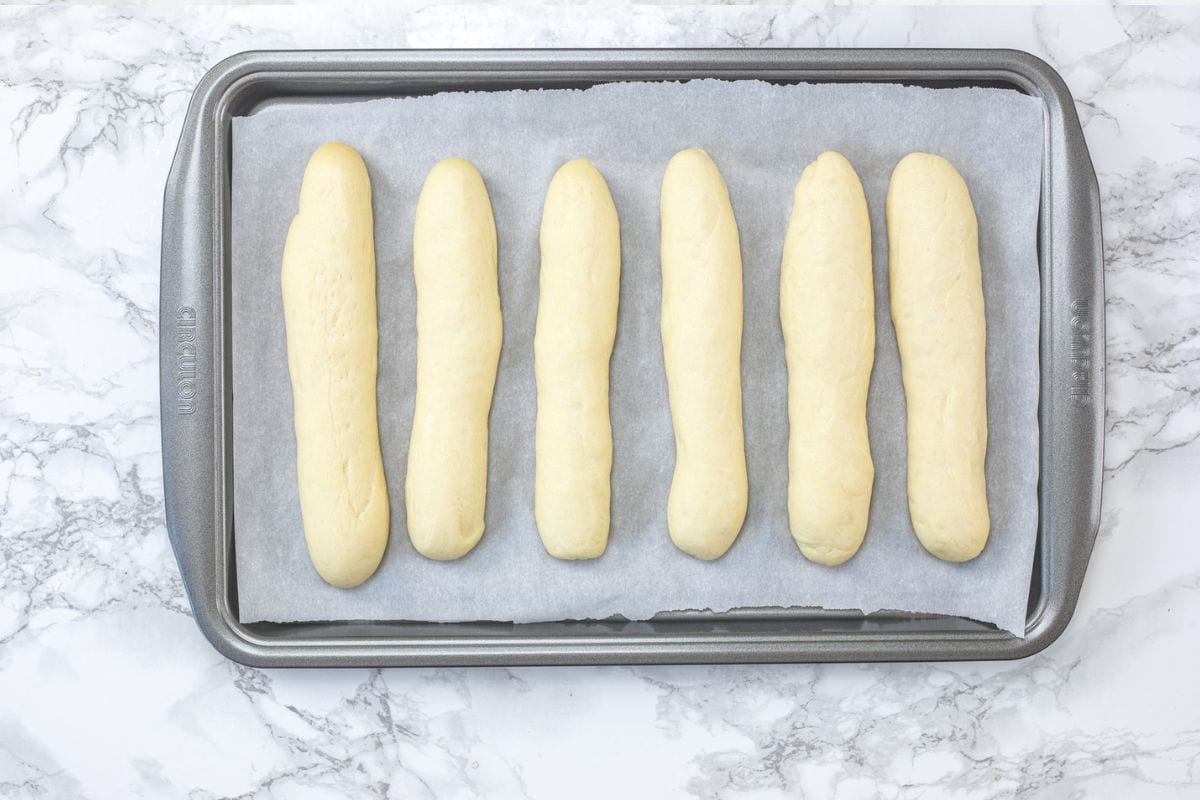
  • Step 5 — Second Proof: Cover the shaped breadsticks loosely with plastic wrap or a towel. Let them rise in a warm place for 1 hour, until noticeably puffed and plump.
    💡 IMP: Do not skip this rise — it is what creates the soft, airy interior.
    About 10–15 minutes before this rise is complete, preheat your oven to 425°F (220°C).
    Proofed breadsticks in a baking tray.
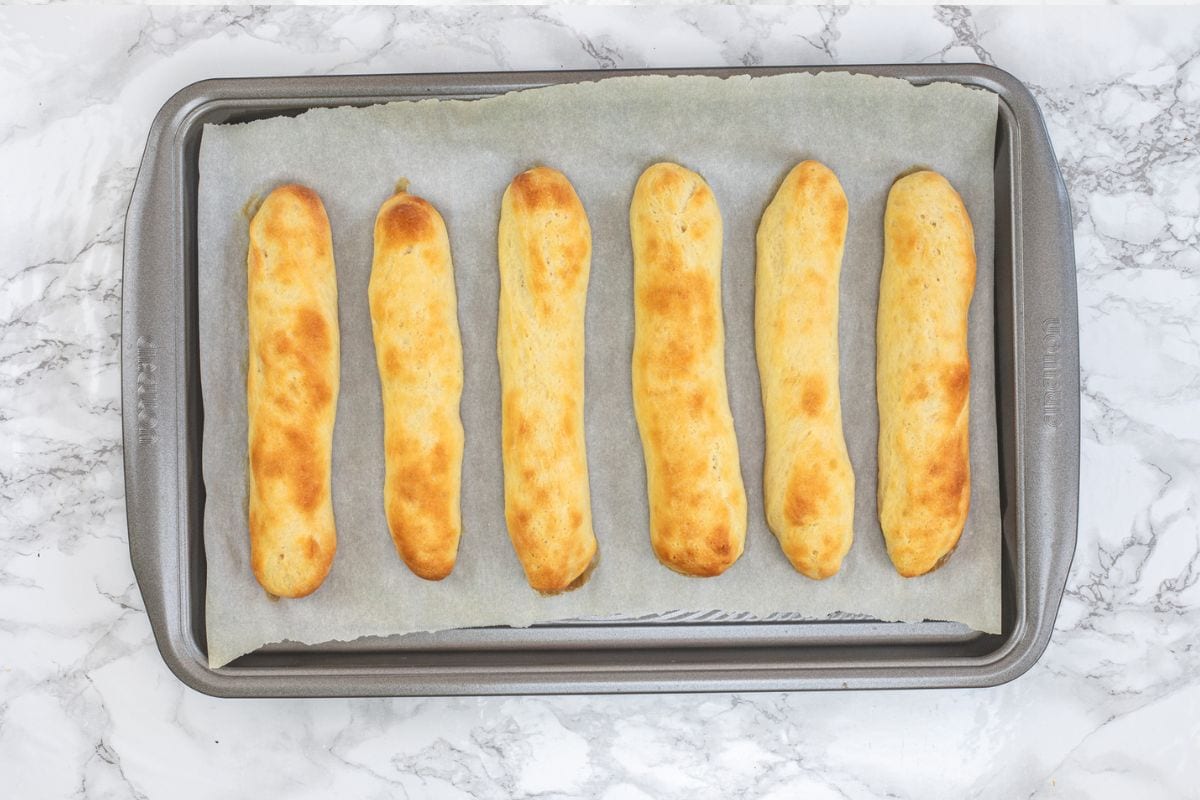
  • Step 6 — Bake: Bake in the fully preheated oven for 12 minutes, until the tops are very lightly golden. The breadsticks should look pale with just a hint of color
    Baked olive garden style breadsticks in a baking tray.
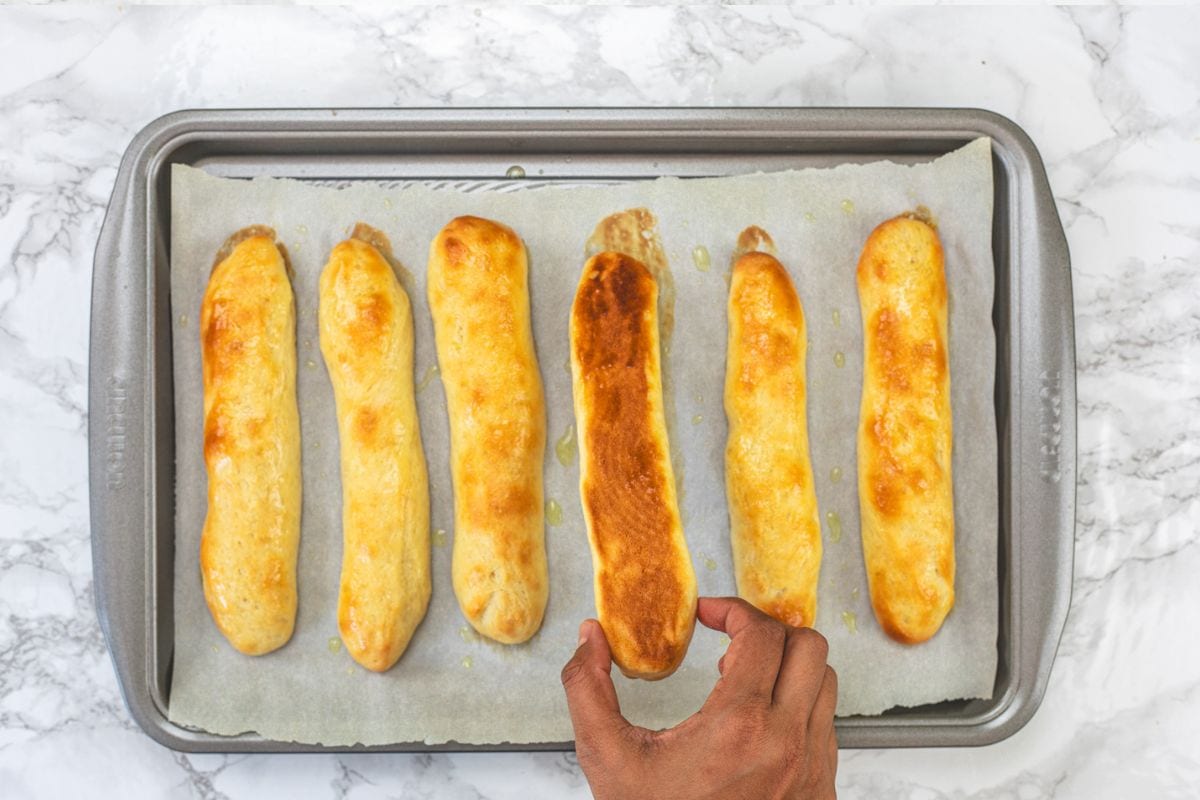
  • This is how the bottom of the breadsticks looks like – nice and golden.
    💡 TIP: Do not overbake: Bake just until lightly golden. Overbaking makes breadsticks dry and hard.
    Showing the bottom of the breadstick.
  • Step 7 — Brush and Season (Do This Immediately): While the breadsticks are baking, mix the garlic powder and salt together in a small bowl (or use garlic salt). Melt the butter and have it ready with a pastry brush.
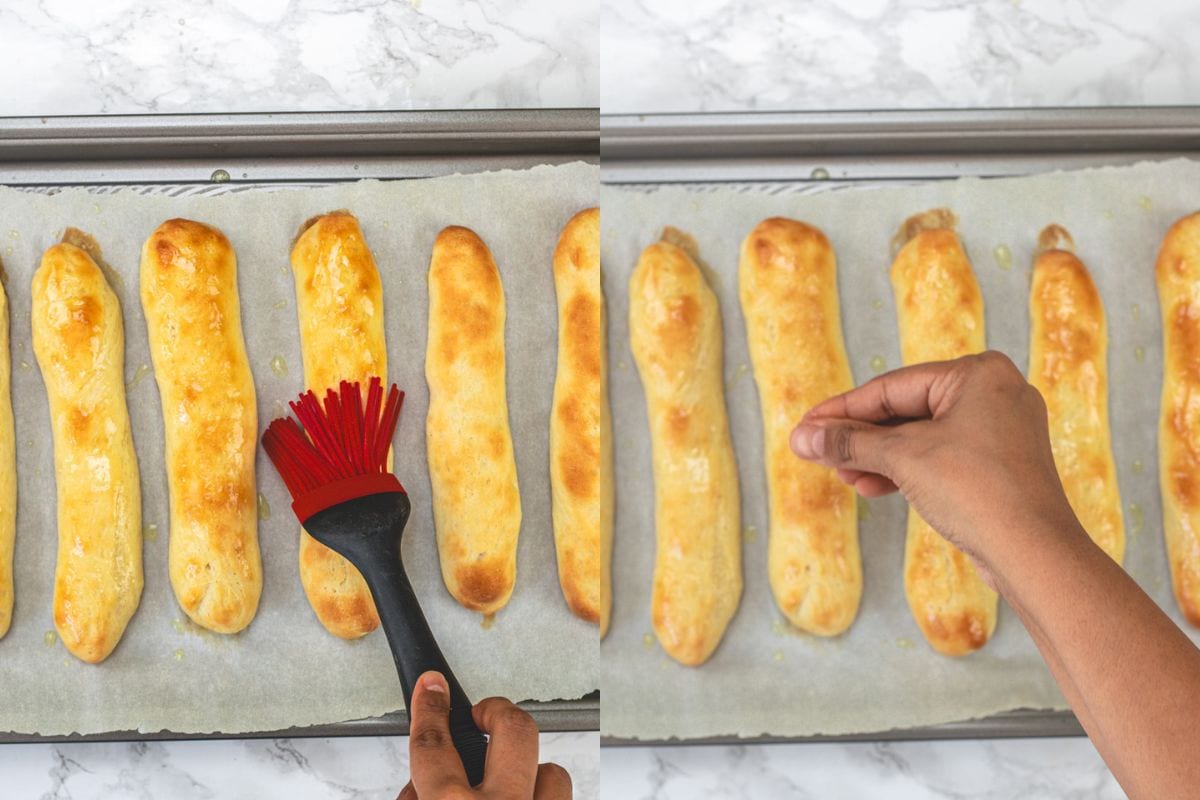
    The moment the breadsticks come out of the oven, brush each one generously with the melted butter. Immediately sprinkle the garlic-salt mixture evenly over the top.
    Brushing with garlic butter and sprinkling salt.

Notes

  • Both proofing times matter equally. The first proof builds structure and flavor in the dough. The second proof (after shaping) is what gives the breadsticks their final puff and soft interior. If you are short on time, you can shorten the first proof to 45 minutes — but do not cut the second proof short.
  • Check the oven temperature. At 425°F, 12 minutes gives lightly golden breadsticks. If your oven runs hot, check at 10 minutes. If it runs cool, they may need 13–14 minutes. Use an oven thermometer if you are not sure.

Nutrition

Calories: 190kcal (10%) | Carbohydrates: 30g (10%) | Protein: 4g (8%) | Fat: 6g (9%) | Saturated Fat: 2g (10%) | Polyunsaturated Fat: 1g | Monounsaturated Fat: 3g | Trans Fat: 0.1g | Cholesterol: 5mg (2%) | Sodium: 389mg (16%) | Potassium: 46mg (1%) | Fiber: 1g (4%) | Sugar: 2g (2%) | Vitamin A: 59IU (1%) | Vitamin C: 0.003mg | Calcium: 7mg (1%) | Iron: 2mg (11%)

🍽️ What to Dip These In / Serve With

The classic Olive Garden way is to eat them as-is alongside the Olive Garden salad. But these breadsticks are also genuinely excellent for dipping:
  • Olive Garden Alfredo Sauce (copycat) — the most classic pairing; dunking a warm breadstick into creamy Alfredo is exactly what the restaurant experience is built around.
  • Olive Garden Salad Dressing — dipping breadsticks into the house Italian dressing is a genuine Olive Garden fan move.
  • Marinara sauce — a simple tomato-based dipping sauce is the other classic choice.
  • Extra garlic butter — melt more butter with garlic and keep it warm on the side.
  • Any pasta — alongside white sauce pasta or Penne Pomodoro as a bread component of the meal.
  • Minestrone or roasted tomato soup — soaking a breadstick into soup is arguably the best way to eat them.
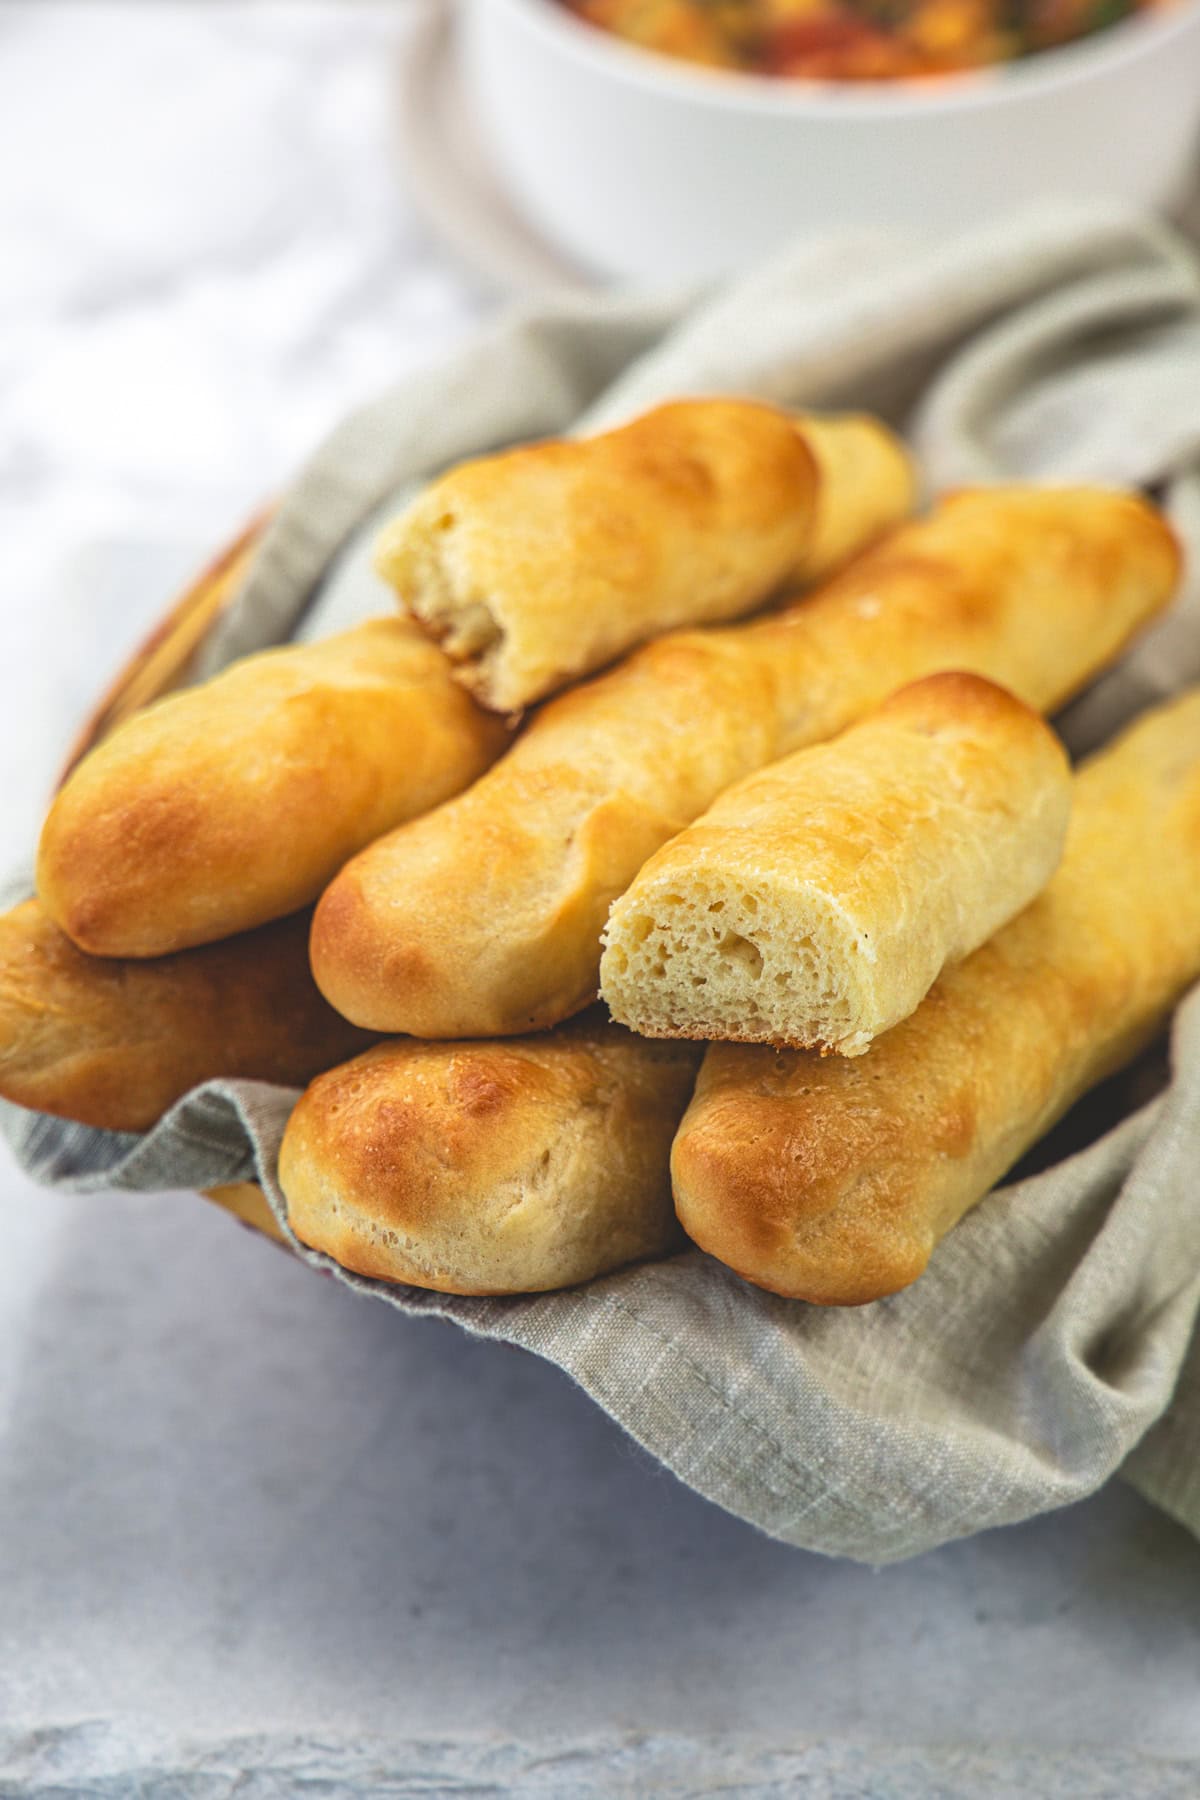
Olive Garden breadsticks in a basket with one bread cut in the half to show texture.

🧊 Storage and Make-Ahead

  • Room temperature: Store baked breadsticks in an airtight container or zip-lock bag for 2–3 days. They will soften slightly over time.
  • Reheating: Wrap in foil and warm in a 350°F oven for 5–7 minutes. You can also microwave for 15–20 seconds, but they will be softer. For best results, reheat in the oven and brush with fresh garlic butter.
  • Freezing baked breadsticks: Cool completely, Wrap individually in plastic wrap or flash-freeze and store in a freezer bag for up to 3 months. Thaw at room temperature for about 30 minutes, then warm in the oven or air fryer.
  • Make-ahead — Refrigerate the dough: After the first rise, shape the breadsticks and place them on a tray. Cover tightly with plastic wrap and refrigerate overnight (up to 16 hours)  instead of doing the second proof at room temperature. 
  • When ready to bake, remove from the fridge and let them come to room temperature and puff up for 30–45 minutes before baking.
  • Make-ahead — Freeze the dough: After shaping the breadstick ropes, arrange on parchment-lined trays and freeze until solid. Transfer to a freezer bag and freeze for up to 1 month. 
  • To bake from frozen: place on parchment-lined trays, cover, and let thaw and proof at room temperature for 2–3 hours until puffed and roughly doubled. Bake as directed.
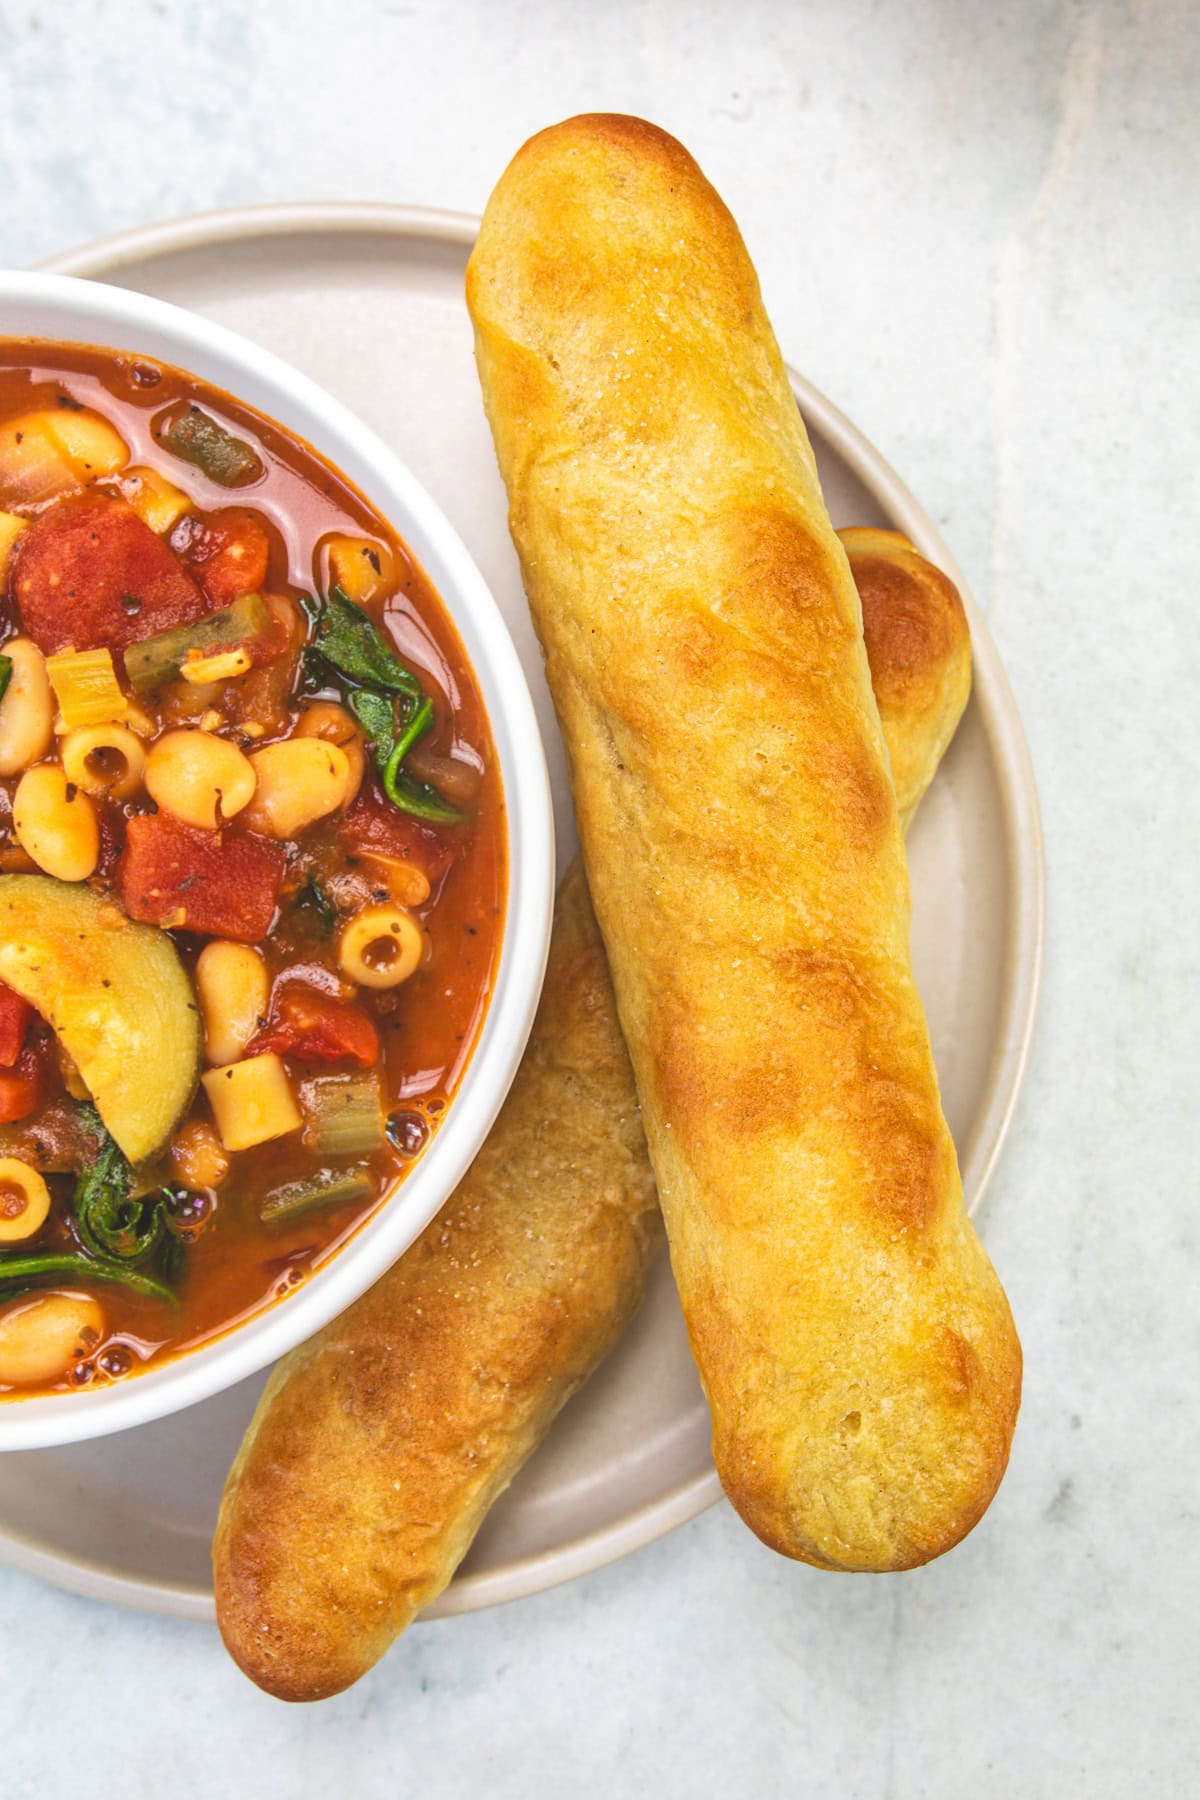
2 copycat Olive Garden breadsticks served in a plate with a bowl of soup.

❓ Frequently Asked Questions

Three things: the dough has a subtle sweetness (from the sugar) that most bread doesn’t, the double rise gives them an exceptionally soft, fluffy interior, and the immediate garlic butter brush right out of the oven creates a flavor-rich surface that absorbs into the warm bread. They are also served hot — which is everything with bread.

Yes — if using instant yeast, skip the blooming step entirely. Add the instant yeast directly to the flour with the other dry ingredients. Use the same amount (2¼ teaspoons). The proofing times may be slightly shorter — check the dough at the 45-minute mark of the first rise.

Yes — knead by hand on a lightly floured surface for 10–12 minutes until the dough is smooth and elastic. The result is identical; it just requires more physical effort.

Almost always from one of two things:

  1. Too much flour (the most common cause)
  2. The dough did not proof long enough. The dough should double in size during the first proof. If your kitchen is cold, the yeast works more slowly — give it more time rather than cutting the proof short.

Either the water was too hot (killed the yeast) or too cold (yeast didn’t activate), or the yeast was expired. The water should be 105–110°F — warm but not hot. If the yeast doesn’t become frothy after 10 minutes, discard and start again with fresh yeast and water at the correct temperature.

Yes — two options: refrigerate the shaped dough overnight (skip the second proof; do it in the fridge instead), or freeze the shaped ropes for up to 1 month. See full details in the Storage section above.

Use a kitchen scale to weigh and divide the dough into equal portions (approximately 55–60 grams each for 12 breadsticks). A dough scraper makes clean, precise cuts. Roll each portion starting from the center and working outward for an even rope.

Yes — add 2 tablespoons of finely grated Parmesan or 1 teaspoon of dried Italian herbs (oregano, basil, rosemary) to the flour before mixing for herb-and-cheese breadsticks throughout.


Did you try this Olive Garden breadstick recipe? Leave a star rating and a comment below — I especially want to know if you tried the cheesy version! Tag me on Instagram @spice.up.the.curry

More Copycat Olive Garden Recipes

Leave a Reply

Your email address will not be published. Required fields are marked *

Recipe Rating


This site uses Akismet to reduce spam. Learn how your comment data is processed.