
Fried Modak Recipe (Talniche Modak)

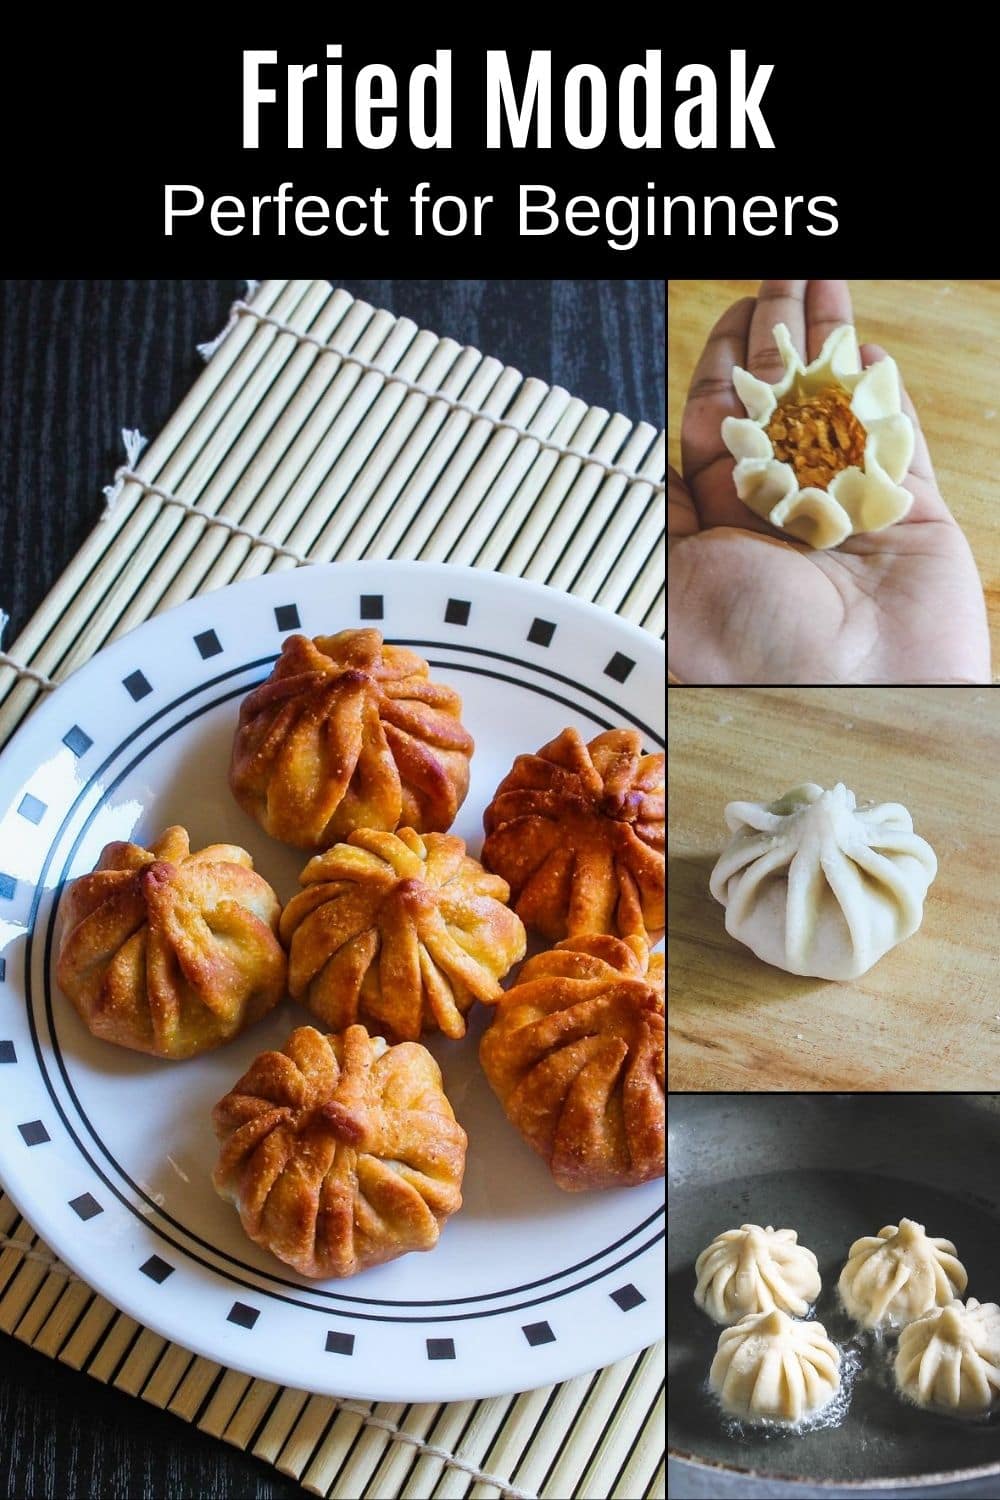
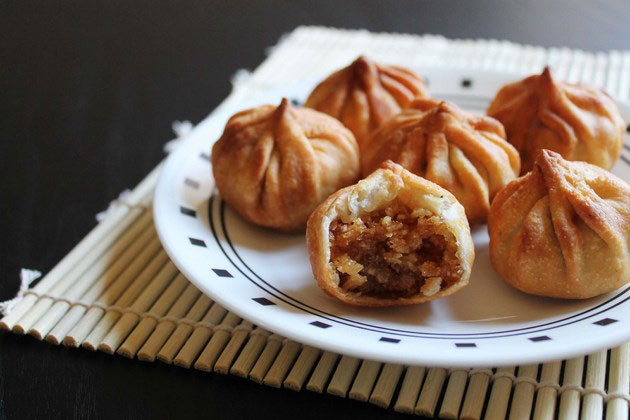
Crispy, golden, flaky on the outside — chewy sweet coconut-jaggery filling inside — fried modak is the festive prasad that is genuinely easier to make than the classic steamed ukadiche modak and delivers an incredibly satisfying crunch that everyone reaches for first.
Ganesh Chaturthi 2026 — Monday, 14 September 2026
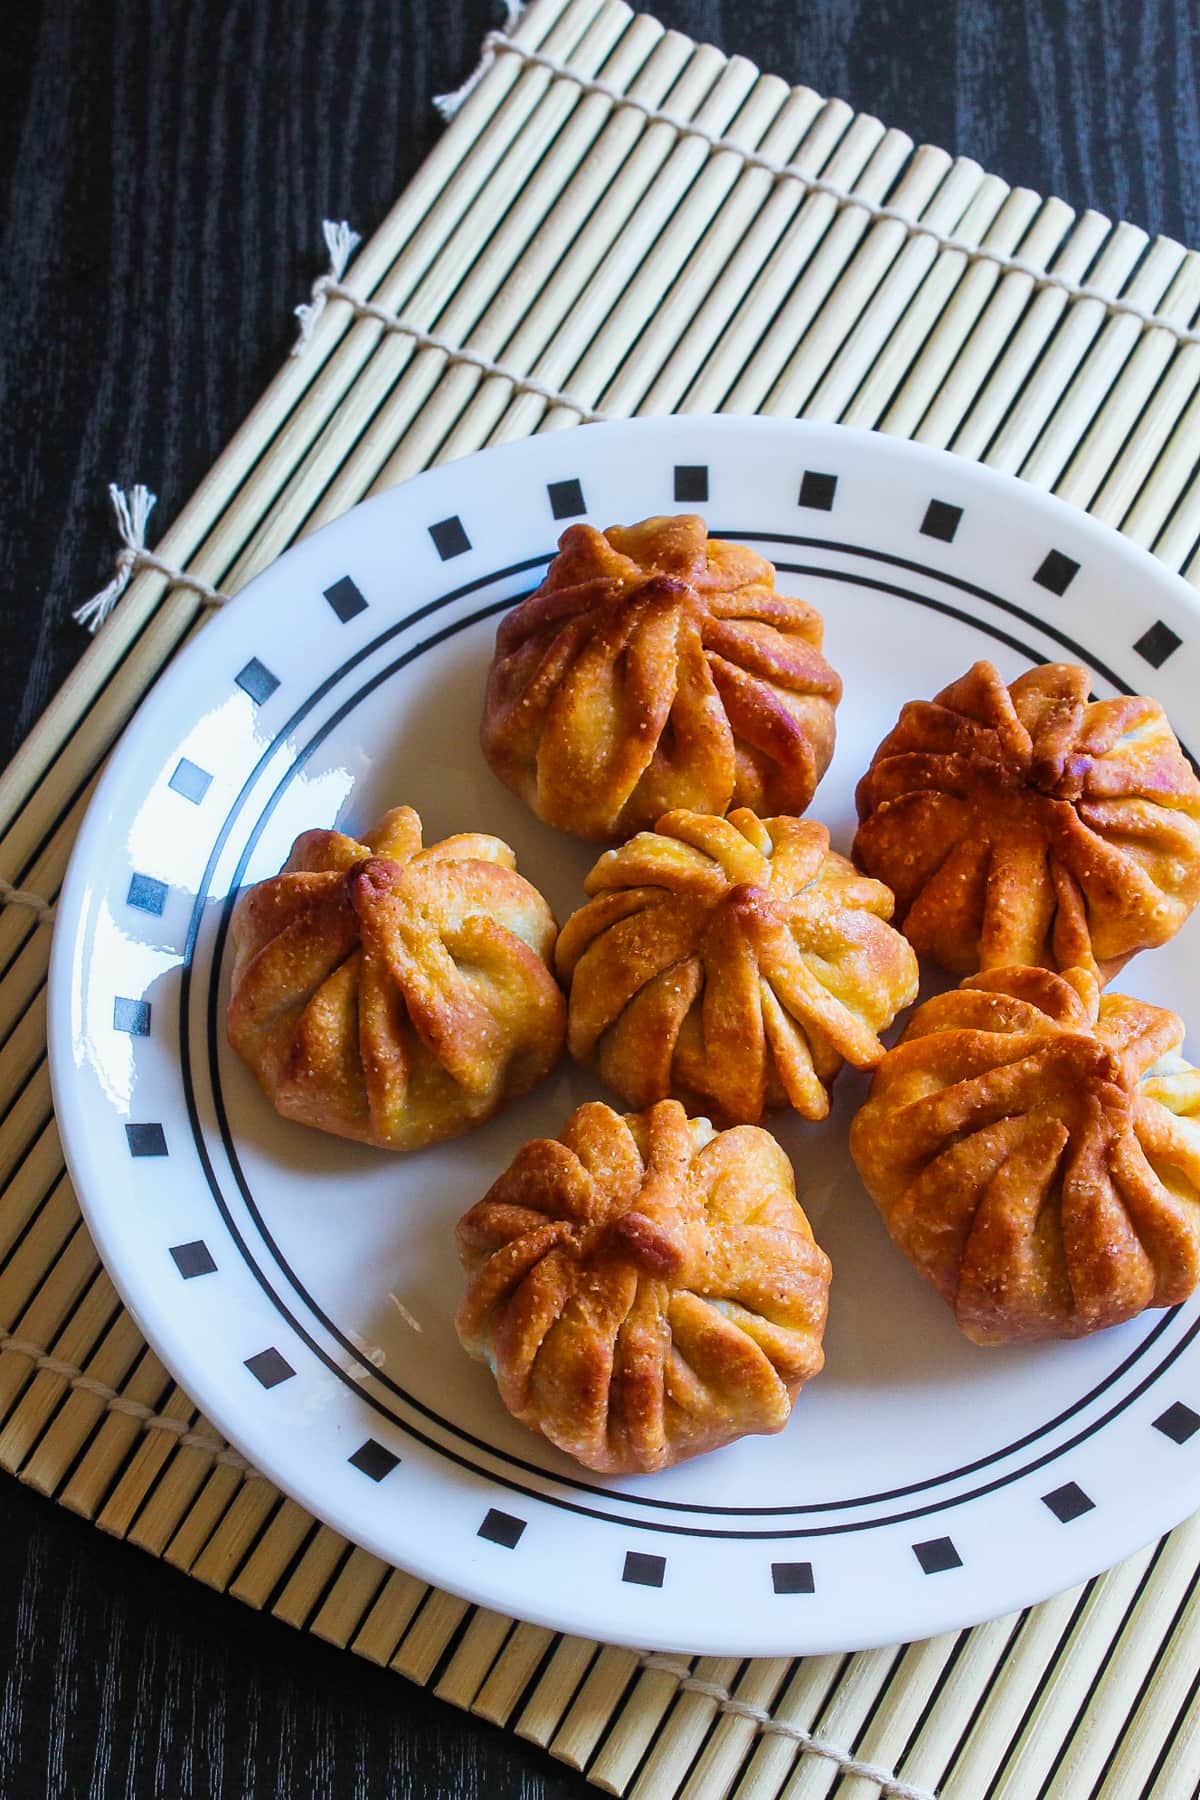
What is Fried Modak?
Fried modak — called talniche modak in Marathi (talna means “to fry”) — is the deep-fried or shallow-fried version of the traditional Ganesh Chaturthi sweet. While ukadiche modak (steamed modak) is made from a delicate rice flour dough, fried modak uses a maida-and-semolina pastry outer shell – rolled thin, pleated, filled with the same classic coconut-jaggery stuffing, and fried until golden brown and crisp.
Fried modak is offered to Lord Ganesha as prasad alongside or as an alternative to steamed modak. Both are dear to Bappa, the tradition of offering modak is what matters, not the specific cooking method.
Fried modak vs ukadiche modak — what is the difference?
|
Fried Modak |
Ukadiche Modak |
|
|
Outer covering |
Maida + semolina pastry |
Rice flour dough |
|
Cooking method |
Deep fried or shallow fried |
Steamed |
|
Texture |
Crispy, flaky, crunchy |
Soft, pillowy, melt-in-mouth |
|
Shaping difficulty |
Easier — pastry dough is forgiving |
Harder — rice flour dough is delicate |
|
Shelf life |
2–3 days at room temperature |
1 day at room temperature |
|
Beginner-friendly? |
✅ Yes |
Requires practice |
The most important practical difference: the maida-semolina pastry dough is much more forgiving for hand-shaping and pleating. The dough has gluten and elasticity — unlike the rice flour dough of ukadiche modak, which cracks easily. This makes fried modak the better starting point for anyone new to making modak.
About This Recipe
Fried modak was my gateway into making modak at home. I love the pleated shape of traditional modak, but every time I tried to pleat ukadiche modak by hand, the dough would crack before I could make more than 5 pleats. Fried modak dough is completely different — the all purpose flour gives it elasticity, and the semolina gives the finished shell that incredible crunch. The pleats stay put, the dough stretches instead of cracking, and the whole process feels manageable even without years of practice.
The role of semolina in this recipe is worth understanding: semolina doesn’t just add texture — it absorbs some of the moisture from the filling during frying, which is part of why fried modak stays crisper for longer. It also creates that distinctive slightly rough, almost craggy surface that catches the light and looks beautiful on the prasad plate.
⭐ Why You’ll Love This Recipe
- The maida-semolina dough is more forgiving than rice flour dough — pleating is genuinely easier
- Ready in under 1 hour from start to finish
- Stays crispy at room temperature for 2–3 days — better shelf life than steamed modak
- Uses the same classic coconut-jaggery filling as ukadiche modak
- Only 8 ingredients — a very simple pantry list
- Can be made 1–2 days ahead — ideal for Ganesh Chaturthi preparations
🧾 Ingredient Notes
Complete list of ingredients and amounts is written in the recipe card below.
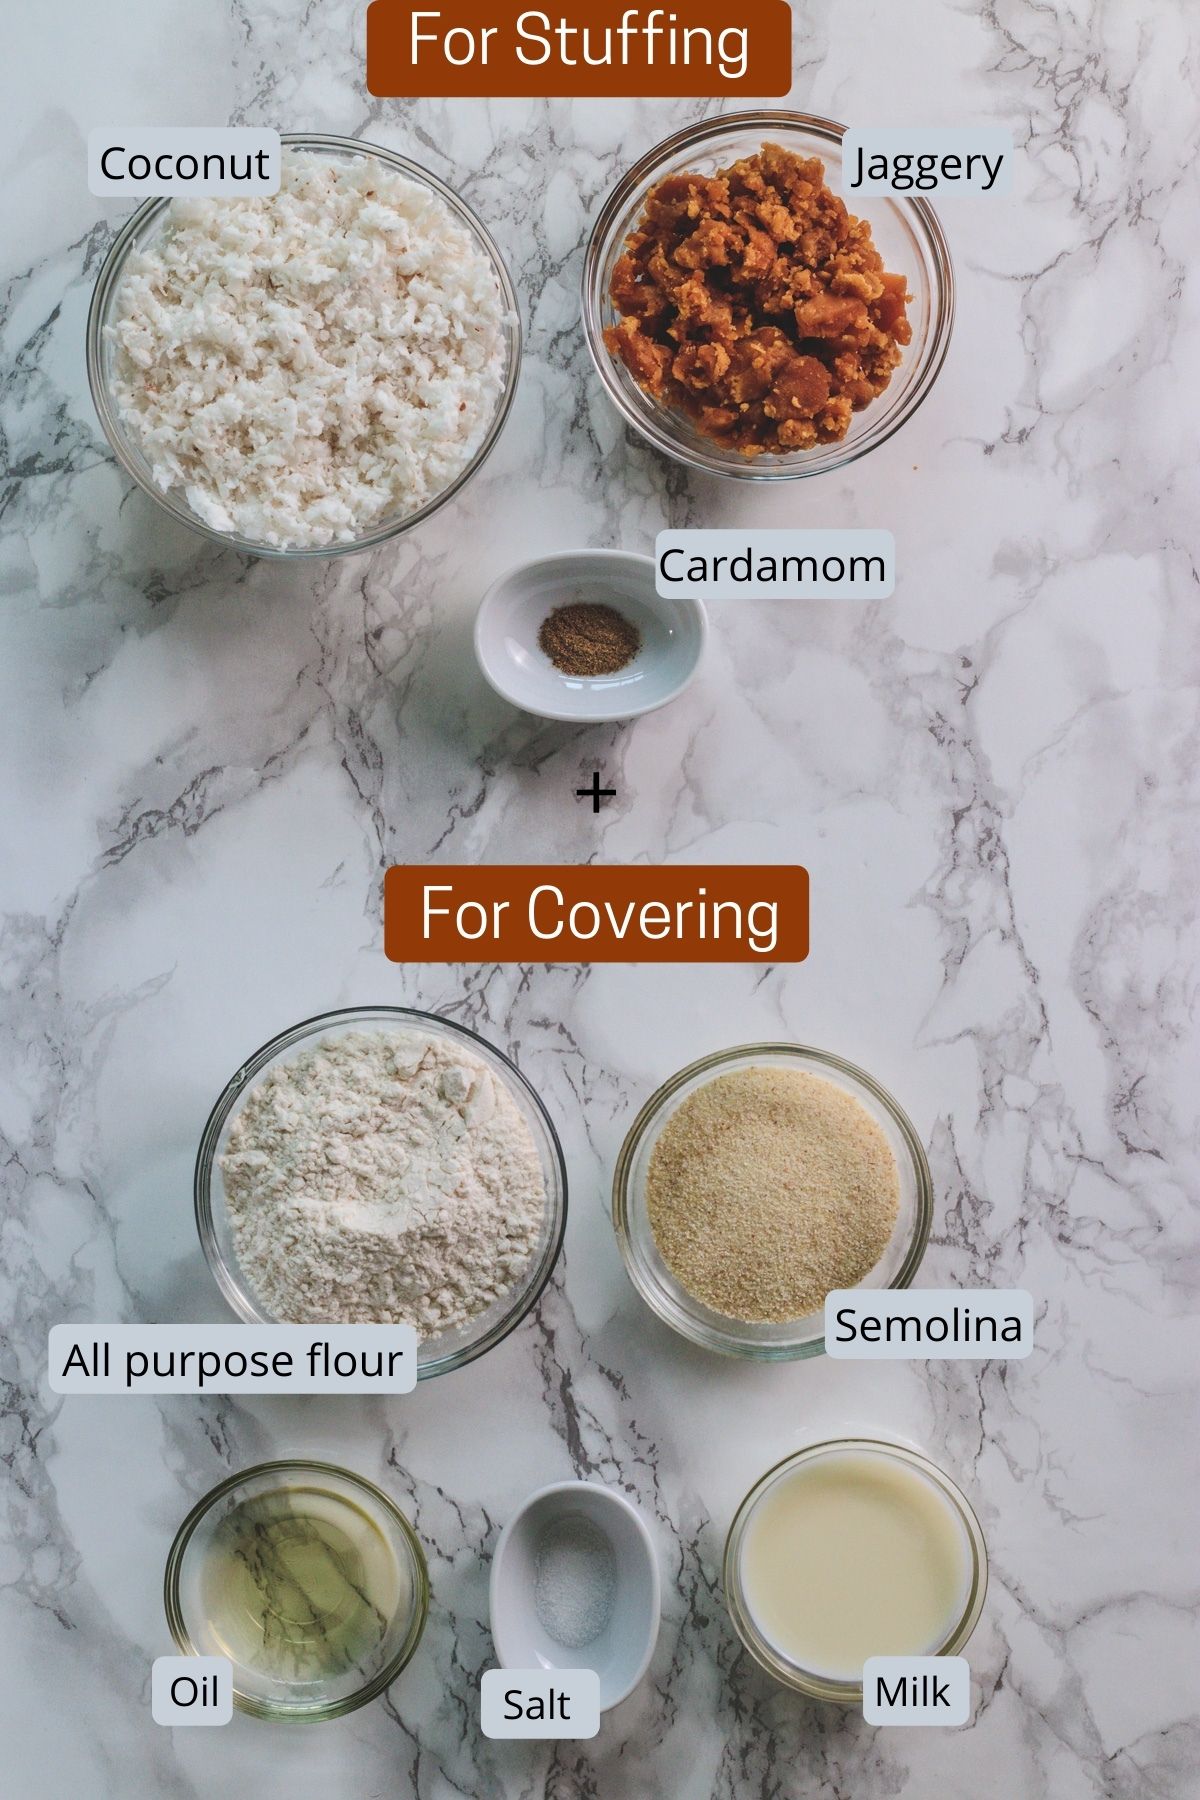
For the Filling
For the Outer Covering Dough
Tried this recipe? A star rating ⭐️ and a quick comment below help others (and me!) know how it went.
Fried Modak Recipe (Talniche Modak) — Crispy & Flaky
US measuring cups are used (1 cup = 240 ml)
Ingredients
For Stuffing:
- 2 cup Coconut, grated (fresh or frozen)
- 1 cup Jaggery (Gur)
- ½ teaspoon Green cardamom seeds powder
For Outer Covering:
- 1 cup All purpose flour (Maida)
- ½ cup Sooji (rava or semolina)
- ¼ teaspoon Salt
- 2 tablespoon Oil
- ½ cup Milk
- Oil, for frying
Instructions
Make the Filling
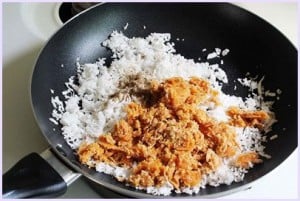
- Step 1 — Cook the coconut and jaggery: Take the grated coconut, jaggery, and cardamom powder together in a heavy-bottomed pan on medium heat.

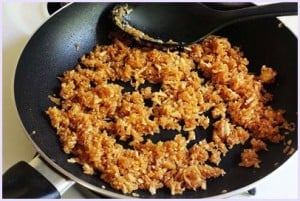
- As it heats, the jaggery will melt and the mixture will loosen. Continue cooking, stirring frequently, until all the moisture evaporates and the mixture thickens and comes together — about 8-10 minutes (depends on the quantity you're making).The filling is ready when: it holds together when pressed and doesn't release any liquid. Press a small amount between your fingers — it should clump together, not feel wet.Do not overcook — if the mixture sticks dramatically to the pan and looks very dry, the jaggery has overcooked and the filling will turn chewy and hard after frying.
- Step 2 — Cool completely: Remove the filling to a plate and spread it out. Let it cool completely to room temperature before using — at least 15–20 minutes. Hot filling makes the dough soggy and causes the pleats to slip open before frying.
Make the Dough
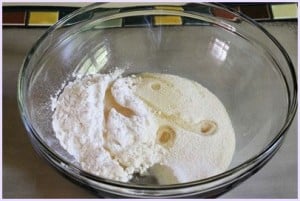
- Step 3 — Mix the dry ingredients and fat: Take the all purpose flour, semolina, and salt in a bowl. Add the oil. Mix by rubbing the mixture between your fingertips and thumb until it resembles fine breadcrumbs.
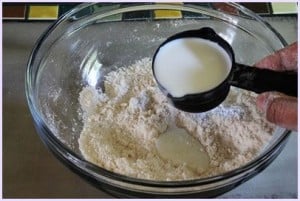
- Step 4 — Knead the dough: Add milk little at a time, mixing after each addition, until the dough just comes together.
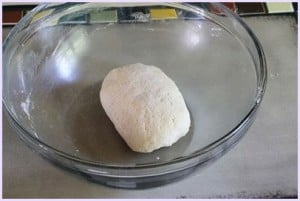
- Knead for 2–3 minutes until smooth and semi-stiff. It should feel firmer than roti dough — not soft, not crumbly. Cover with a clean kitchen towel and let rest for 10 minutes. After resting, knead once more briefly before dividing.
Shape the Modak
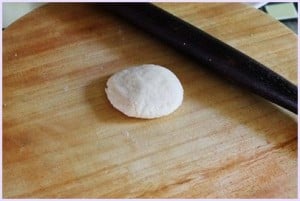
- Step 5 — Divide and roll: After resting, knead the dough briefly and divide into 10 equal portions. Roll each into a smooth ball and flatten with your palm. Keep the unrolled portions covered while you work.
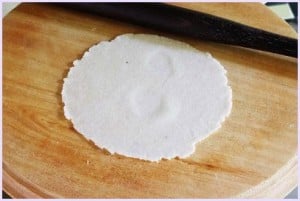
- Take one flattened disc on your rolling board. Using a rolling pin, roll it into a 4-inch diameter circle — slightly thinner at the edges than at the center. Thinner edges are easier to pleat and seal cleanly; a thicker center holds the filling without breaking through.
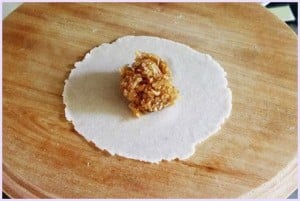
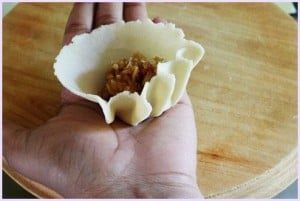
- Step 6 — Fill the modak: Place 2 teaspoons of the completely cooled filling in the center of the disc. Do not overfill — the dough needs room to pleat over the filling without tearing.Using your fingertip or a pastry brush, apply a thin layer of water or milk along the entire edge of the disc. This moisture activates the gluten and helps the edges seal firmly during pleating.
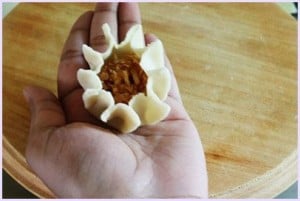
- Step 7 — Pleat and seal: Using your thumb and index finger, start making small pleats along the moistened edge of the disc — pinching and folding a small section of dough toward the center.
- Then repeating all the way around. Work quickly but carefully.
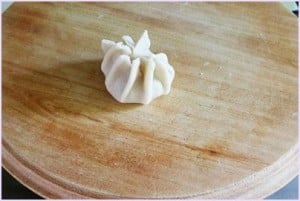
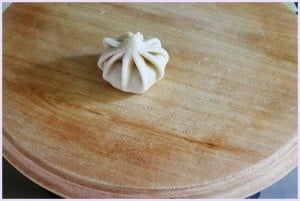
- Once all the pleats are made, bring them together at the top and pinch firmly to seal.
- Twist the very top slightly to create the characteristic pointed tip. Press the sealed tip firmly — an unsealed tip will burst open in the oil and ruin the frying oil.
- Keep shaped modak covered while you shape the rest.
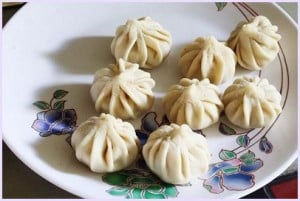
Fry the Modak
- Step 8 — Heat the oil to the right temperature: Heat oil in a kadai or deep pan on medium heat. Test the oil by dropping a small piece of dough into it:– Rises immediately: Oil is too hot — lower the flame and wait.– Sinks and takes long to rise: Oil is not hot enough — wait longer.– Rises within 1–2 seconds: This is the correct temperature — approximately 325–340°F (160–170°C).
- Step 9 — Fry until golden: Gently slide 3–4 shaped modak into the oil, do not overcrowd the pan. Fry on medium heat, gently turning with a slotted spoon to ensure even browning on all sides. This takes approximately 5–7 minutes per batch.
- For shallow frying: Use less oil and flip more frequently — every 1–2 minutes — to ensure all sides brown evenly. Shallow frying takes slightly longer than deep frying.
- Step 10 — Drain and cool: Remove to a plate lined with paper towels. Let them drain and cool for at least 10–15 minutes before offering as prasad or serving. The filling inside is extremely hot immediately after frying. The shell also crisps up further as it cools.
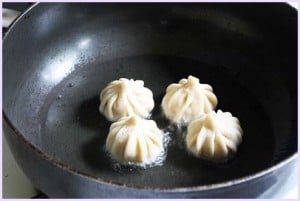
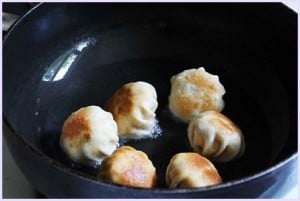
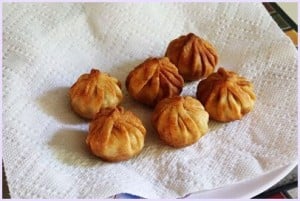
Notes
- Make the dough semi-stiff, not soft. This is the most common mistake. A soft dough puffs up like a poori and loses the flaky, flat shape. If your modak are coming out puffy, the dough was too soft — reduce the milk next time.
- Seal the top firmly — this is the most important step. If the pleats are not fully sealed at the top, the filling will burst out the moment the modak hits the hot oil. It ruins the oil and the modak’s appearance. Pinch firmly, twist slightly, and check each one before frying.
- Keep the oil temperature consistent. Between each batch, let the oil return to the right temperature before adding the next. Oil that’s too cool gives greasy modak; too hot gives uneven browning.
Nutrition
🛠️ Troubleshooting
🔄 Variations
🍽️ How to Serve and Offer
Let the fried modak cool completely before placing on the prasad plate — at least 15–20 minutes. They continue to crisp as they cool, and the filling sets from molten to chewy. Offering hot-from-the-oil modak risks scalding the plate and can make the modak look shiny rather than crisped.
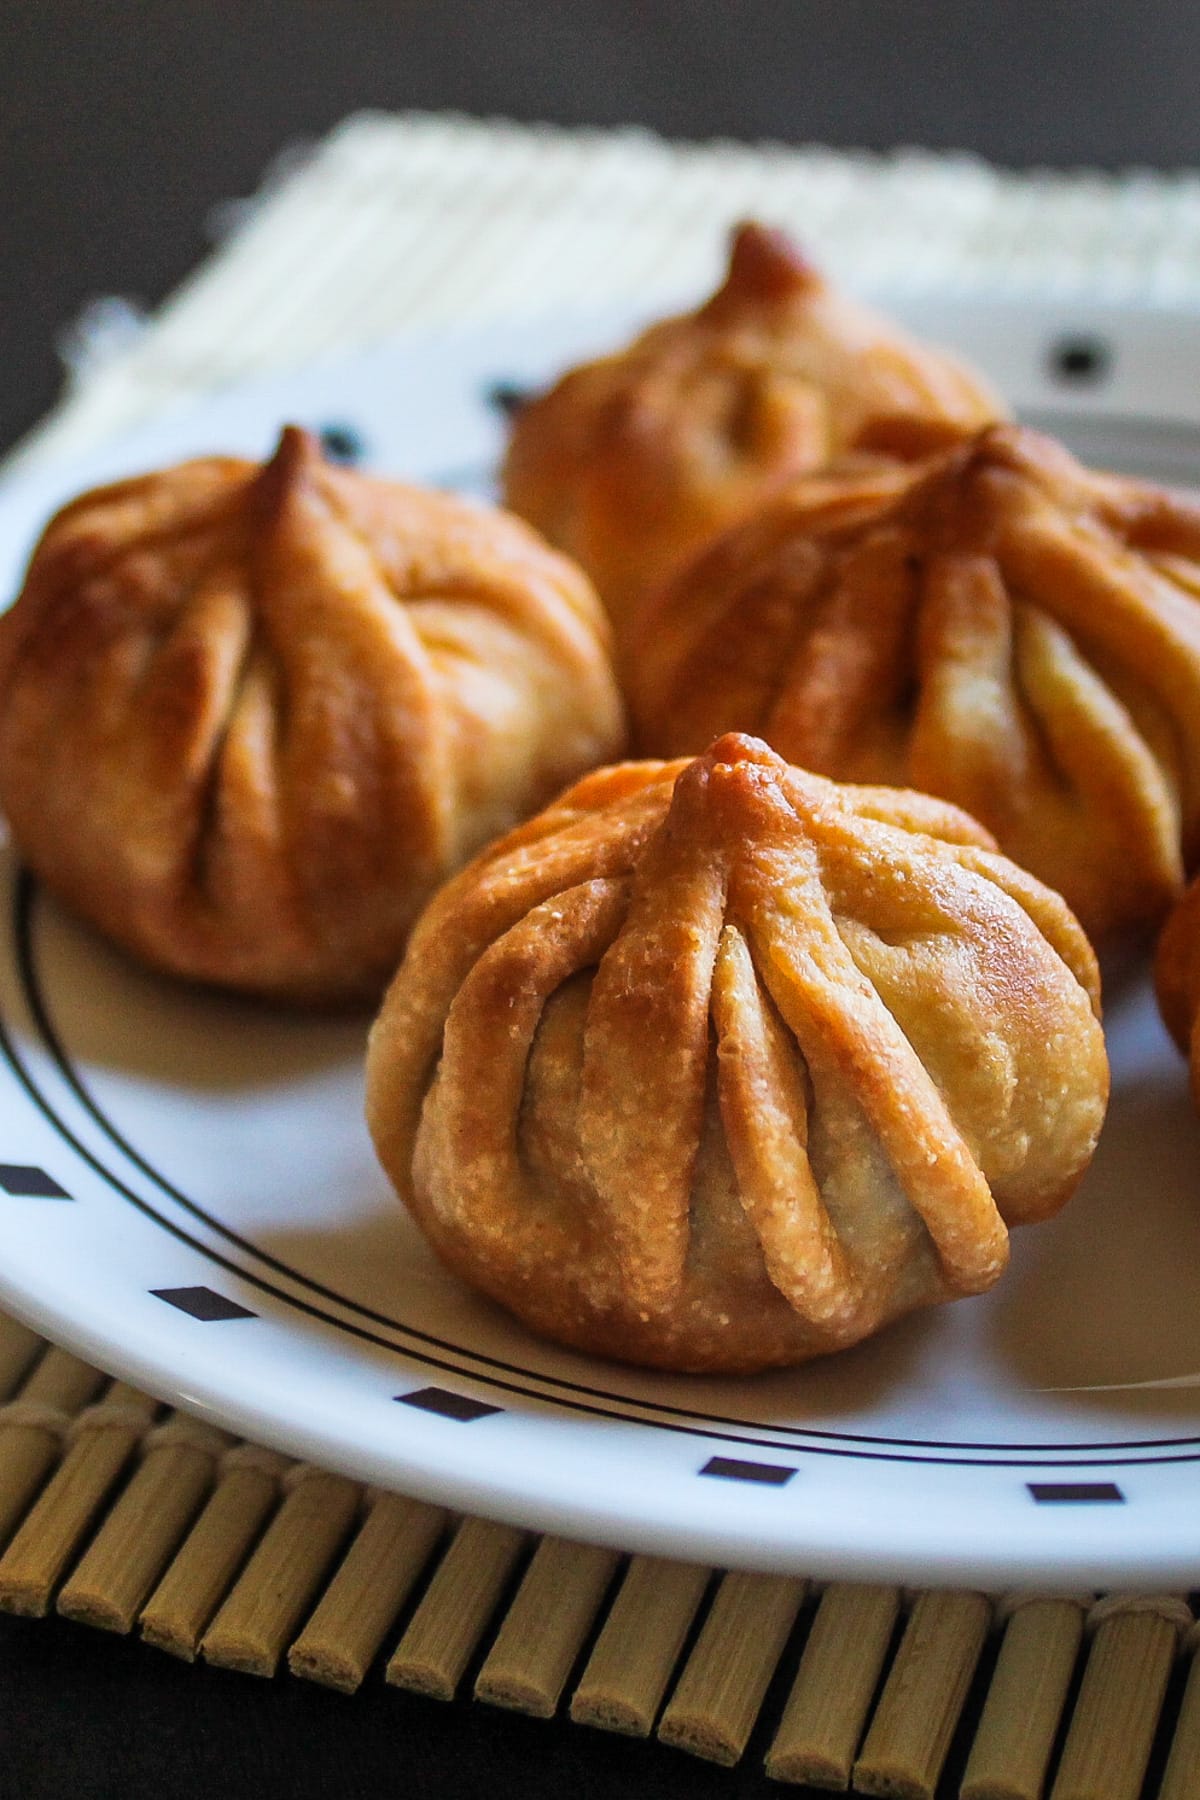
For the traditional prasad presentation, arrange on a steel plate or banana leaf. Fried modak look beautiful on their own without any garnish — the golden, pleated shape is its own decoration.
🧊 Storage
❓ Frequently Asked Questions
More Modak Recipes
- All 12 Modak Recipes for Ganesh Chaturthi
- Rava Modak
- Chocolate Modak
- Mawa Modak
- Kaju Modak
- Coconut Modak
More Ganesh Chaturthi Recipes
- Ganesh Chaturthi Recipes (Full Collection)
- Puran Poli
- Besan Ladoo
- Panchamrut
PS Tried this fried modak recipe? Please leave a star rating in the card below and/or a review in the comment section. I always appreciate your feedback! Plus, Subscribe to my newsletter and follow along on Pinterest, Instagram, and Facebook for all the latest updates.

Thanks you so much for this recipe
you’re welcome.
Thanks for this recipe, seems really very simple and nice
yes it is easy