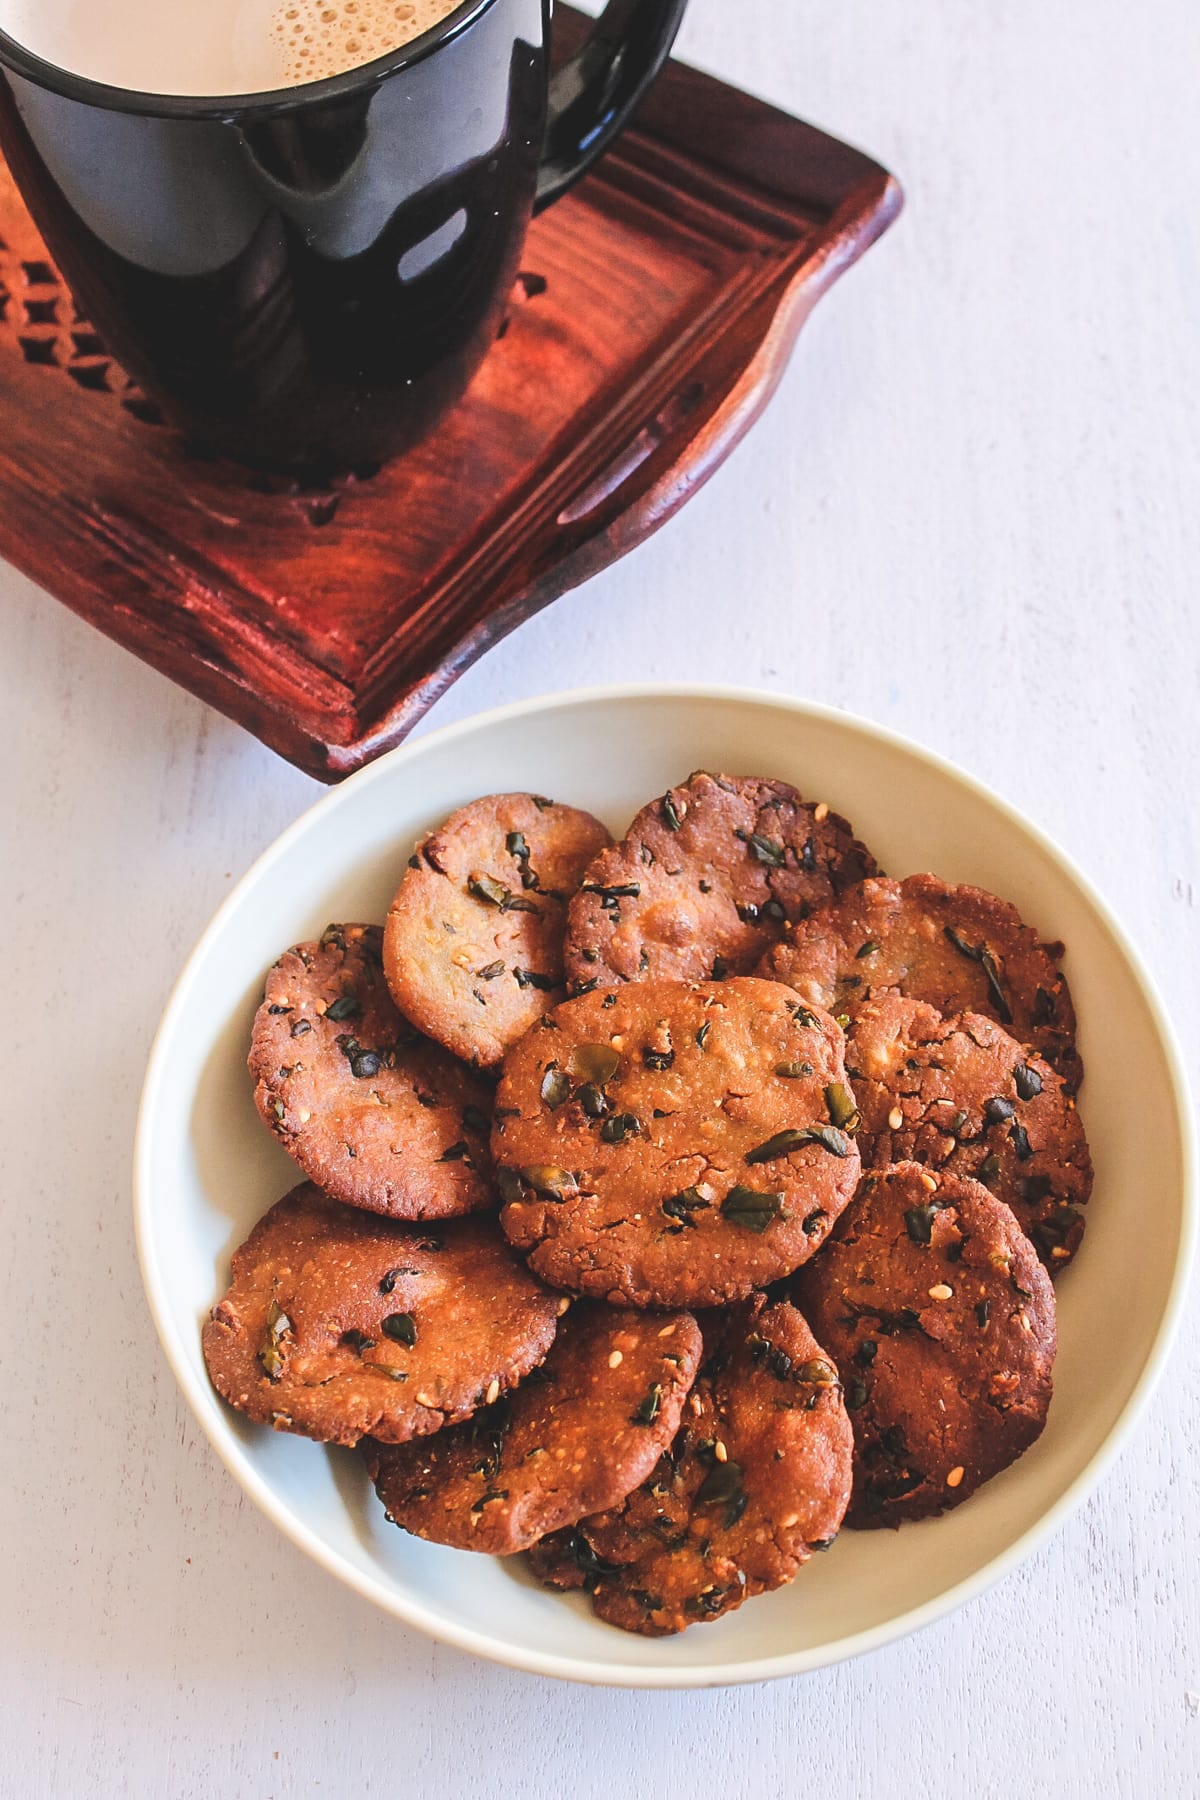
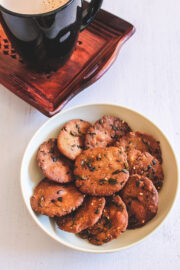
This methi bajri vada recipe is a classic Gujarati snack made from millet flour, fenugreek leaves and a few spices.
Jump to:
❤️ You'll Love This Bajri Vada Recipe
- Taste: Medium spicy, garlicky, with a balance of sweet and sour flavor.
- Texture: Crispy and slightly chewy.
These bajri vada make a great snack to enjoy with a cup of chai (tea).
This goes well with mango chunda or methia keri (athanu).
Prefer a crispy or soft texture? If you like crisp texture then follow the recipe as mentioned. If you like a soft and chewy texture then reduce the amount of oil and add some water while kneading the dough.
When Bajri Vada Is Made?
- During the winter season: Bajri atta (pearl millet flour) is a heat-producing to your body and hence perfect for winters. Plus, fresh methi is easily available during winter months.
- A day before sitla satam: The ones who follow sitla satam day, do not cook (which means don't turn on the gas) for that day only and they eat cold, a day before made food. Methi bajri vada is one of the food made a day before (aka randhan chhath) as it kept well for a couple of days. Also, many people make dhebra as well.
🧾 Ingredient Notes
- Pearl millet flour (Bajra atta): Always use fresh millet flour to get the best flavor and taste.
- This bajra flour should be consumed during winter months only. As bajra is sweet in taste but it turns pungent after digestion and hot in nature. So it will keep you warm and helps to beat the winter chills. Plus, bajra keeps you energetic during winter.
- Whole wheat flour (Chapati atta): A small amount of wheat flour is added for binding purpose only as millet flour is gluten-free and stays crumbly.
- Fenugreek leaves (Methi): I always use fresh methi that is easily available during winter months. If fresh is not available then you can use kasoori methi or frozen methi.
- Sesame seeds: Again these are good during winter months for your health. Plus, it adds a nice texture and flavor.
- Ajwain (carom seeds): Always crush the ajwain between your palm slightly to release its flavor.
- Garlic - Green chili: Both are crushed together, you can use a wet jar of your spice grinder or use mortar and pestle. These bajri vada are garlic heavy, so if you don’t like the super garlicky flavor then reduce its amount.
- Jaggery: It’s sweetness that compliments well the bitterness of methi leaves. Also, the sweetness is balanced by adding sour yogurt.
- Sour yogurt: Make sure that yogurt (curd) is sour enough to get a slightly tangy flavor in the vada.
👩🍳 How To Make Methi Bajri Vada? (Pics)
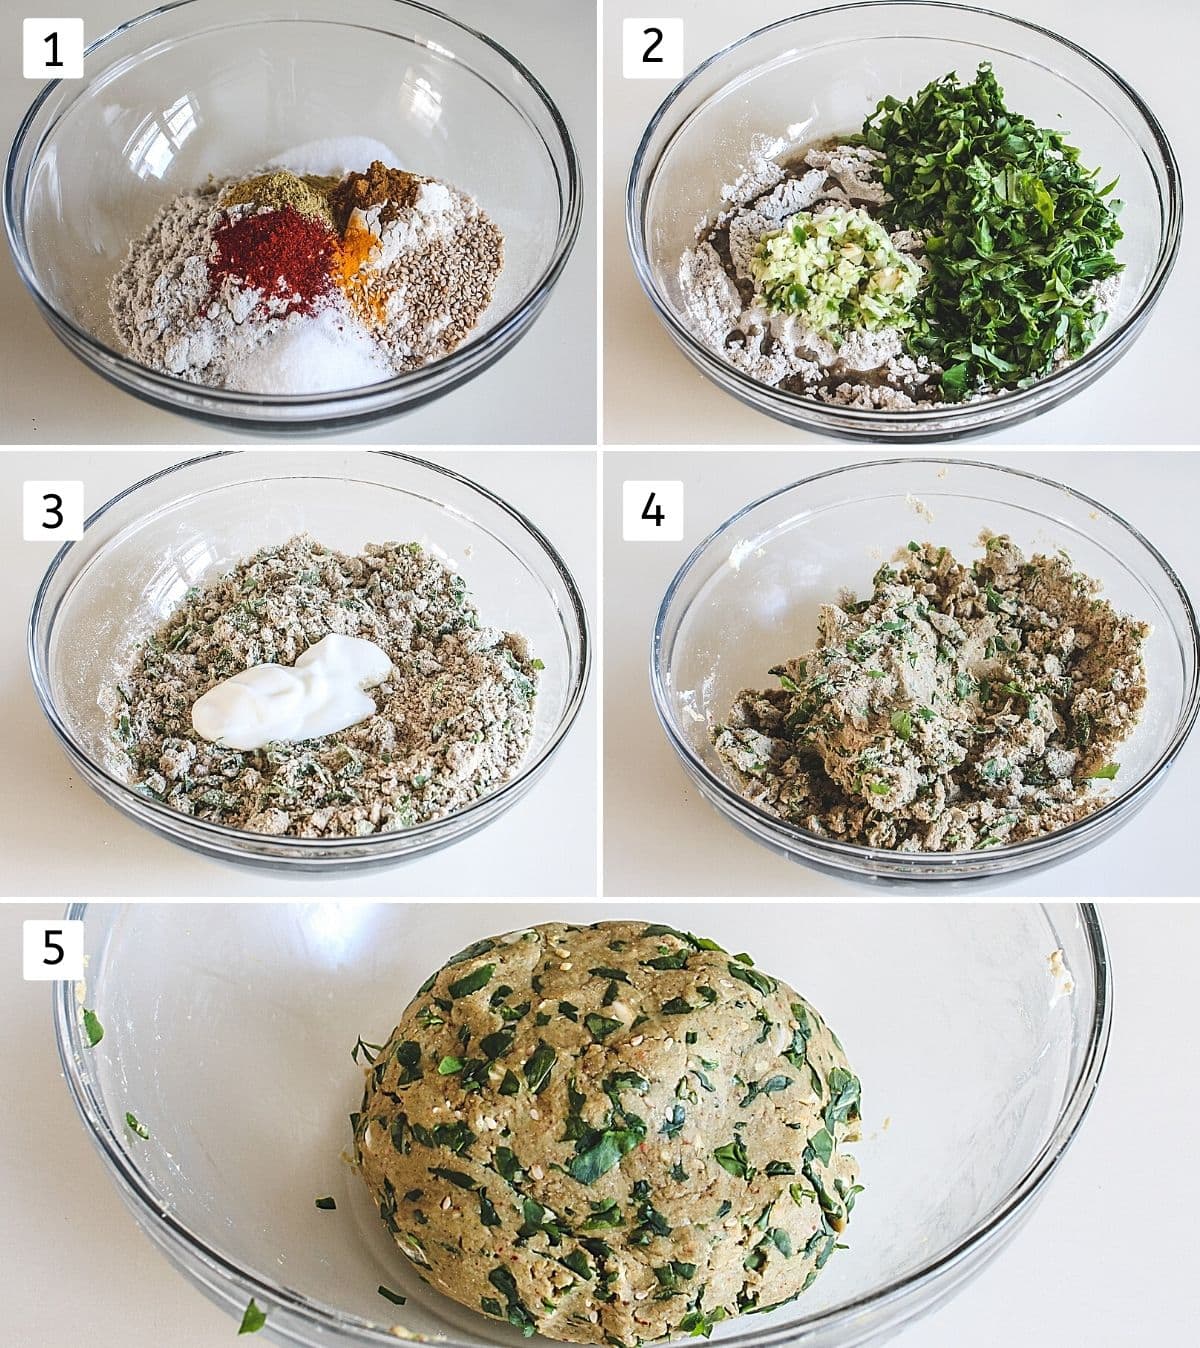
1) Take bajra flour, chapati atta, red chili powder, turmeric powder, coriander powder, garam masala, sugar, salt, sesame seeds and ajwain in a bowl. Mix well.
2) Add oil, crushed garlic-green chilies and methi leaves. Rub it with your fingertips, so the oil gets incorporated well along with the flour.
3) Add yogurt.
4) Mix and start kneading the dough. The mixture comes together yet it is dry.
5) Add about a teaspoon of water at a time and start kneading the dough. Make a stiff yet smooth dough.
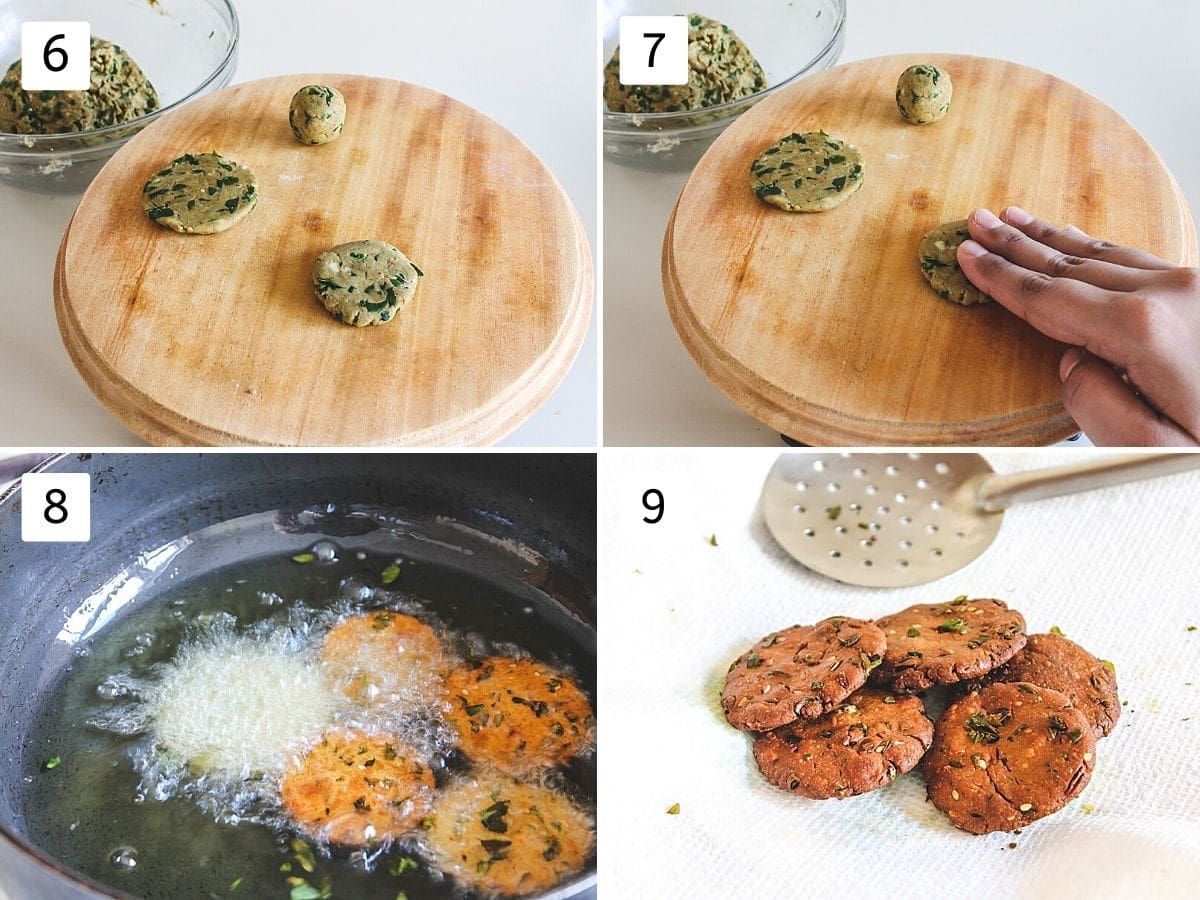
6) Take a small marble-sized portion and make a smooth ball and flatten it out.
7) Now using your fingers flatten it evenly and seal it if any cracks around the edges. Vada should be ⅛ inch thick and about 1 ½ inch in diameter. Keep the shaped vada on a plate and cover the plate with a clean towel.
8) When you are about to finish shaping the vada, heat the oil in a pan on medium heat for frying. Oil should be medium hot. Once hot slide a few bajri vada into the hot oil and fry. Flip them in between for even browning.
9) When they are crispy and golden brown from both sides, remove them to the paper towel lined plate using a slotted spatula.
💭 Expert Tips
- Do not rest the dough otherwise, methi releases its water and the dough will become soft.
- If using frozen methi or kasoori methi then reduce the amount as frozen or dried ones are compacted compared to fresh leaves.
- You can add fresh green garlic if it is available in season.
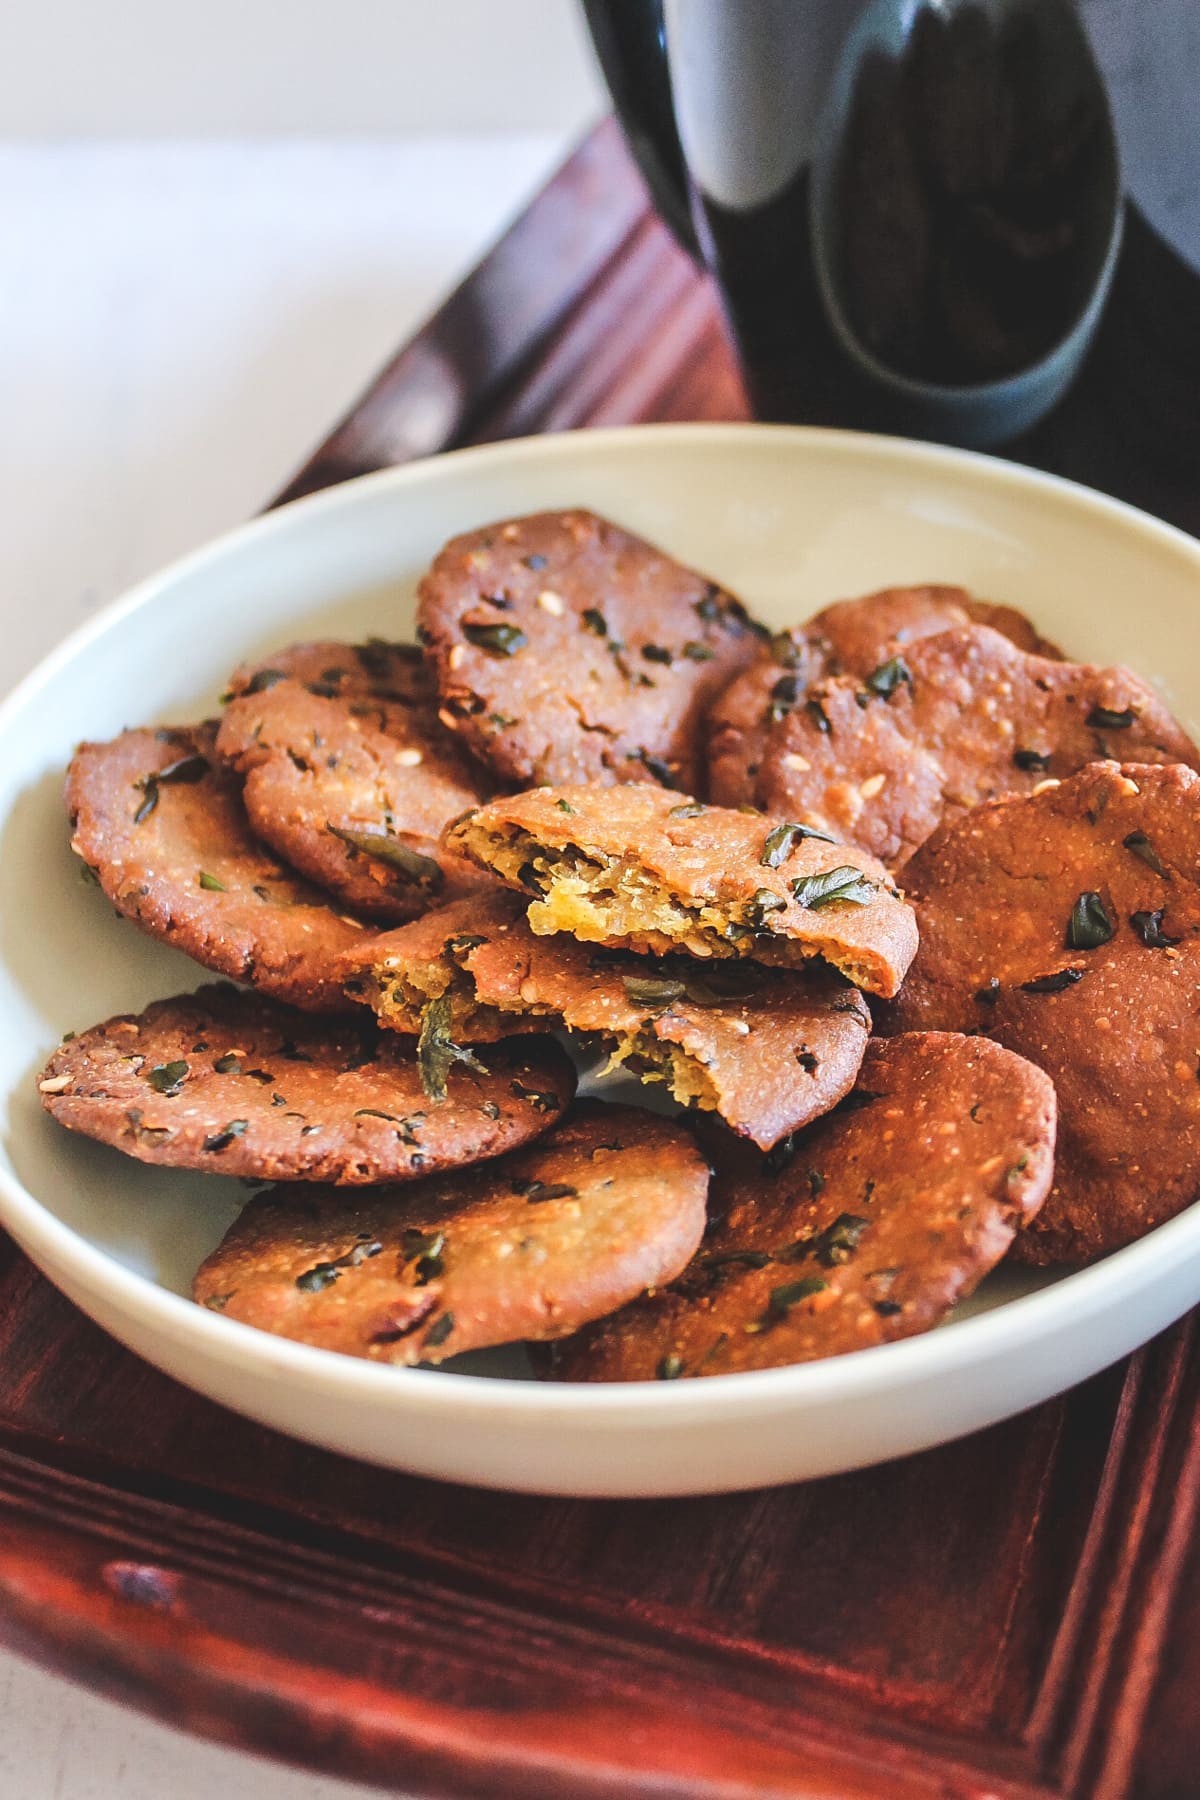
- Storage: methi bajri vada stays fresh for 3-4 days at room temperature in an airtight container. So it is good for traveling.
Check Out Other Gujarati Recipes
Did you try this bajri vada recipe? I’d love to hear about it! Leave a review in the comment section below.
Recipe Card
Methi Bajri Vada Recipe
Ingredients
- 1 cup Bajra flour (Millet flour)
- ¼ cup Whole wheat flour (chapati atta)
- 1 ½ teaspoon Red chili powder
- ⅛ teaspoon Turmeric powder
- ½ teaspoon Coriander powder
- 1 ½ teaspoons Jaggery (Gur) or Sugar
- ½ teaspoon Garam masala
- 1 ½ teaspoons Sesame seeds
- ½ teaspoon Ajwain (carom seeds)
- 2-3 Green chilies crushed
- 4-5 cloves Garlic crushed
- Salt to taste
- 3 tablespoons Oil + more for deep frying
- 1 cup Fenugreek leaves (methi leaves) plucked, measured, washed and then chopped
- ¼ cup Yogurt (curd or dahi) Must be sour yogurt
- 2-3 tablespoons Water more or less as needed
Instructions
- Take bajra flour, chapati atta, red chili powder, turmeric powder, coriander powder, garam masala, sugar, salt, sesame seeds and ajwain in a bowl. Mix well.
- Add oil, crushed garlic-green chilies and methi leaves. Rub it with your fingertips, so the oil gets incorporated well along with the flour.
- Add yogurt. Mix and start kneading the dough. The mixture comes together yet it is dry.
- Add about a teaspoon of water at a time and start kneading the dough. Make a stiff yet smooth dough.
- Take a small marble-sized portion and make a smooth ball and flatten it out.
- Now using your fingers flatten it evenly and seal it if any cracks around the edges. It should be ⅛ inch thick and about 1 ½ inch in diameter. Keep the shaped vada on a plate and cover the plate with a clean towel.
- When you are about to finish shaping vada, heat the oil in a pan on medium heat for frying. Oil should be medium hot. Once hot slide a few bajri vada into the hot oil and fry. Flip them in between for even browning.
- When they are crispy and golden brown from both sides, remove them to the paper towel lined plate using a slotted spatula.
Notes
- Do not rest the dough otherwise, methi releases its water and the dough will become soft.
- If using frozen methi or kasoori methi then reduce the amount as frozen or dried ones are compacted compared to fresh leaves.
- You can add fresh green garlic if it's available in season.
- Storage: methi bajri vada stays fresh for 3-4 days at room temperature in an airtight container. So it is good for traveling.
- Prefer a crispy or soft texture? If you like crisp texture then follow the recipe as mentioned. If you like a soft and chewy texture then reduce the amount of oil and add some water while kneading the dough.

SJ
Will be trying out the recipe shortly.
Please advice approximately how much salt to add to the ingredients
Kanan Patel
The amount of salt used may vary person to person. At home, we just use a touch of salt in most of the recipes because some family members' health condition.
So I can't give exact measurements here.
But I would say start with 1/2 teaspoon. Once dry ingredients are mixed, just taste a pinch of flour mixture and decide if needed more.
Pooja
I have made this vadas so many times now and every single time they come out delicious! Thank you so much for an easy recipe!
Kanan Patel
very happy that vada came out good.