Instant Pot Pav Bhaji
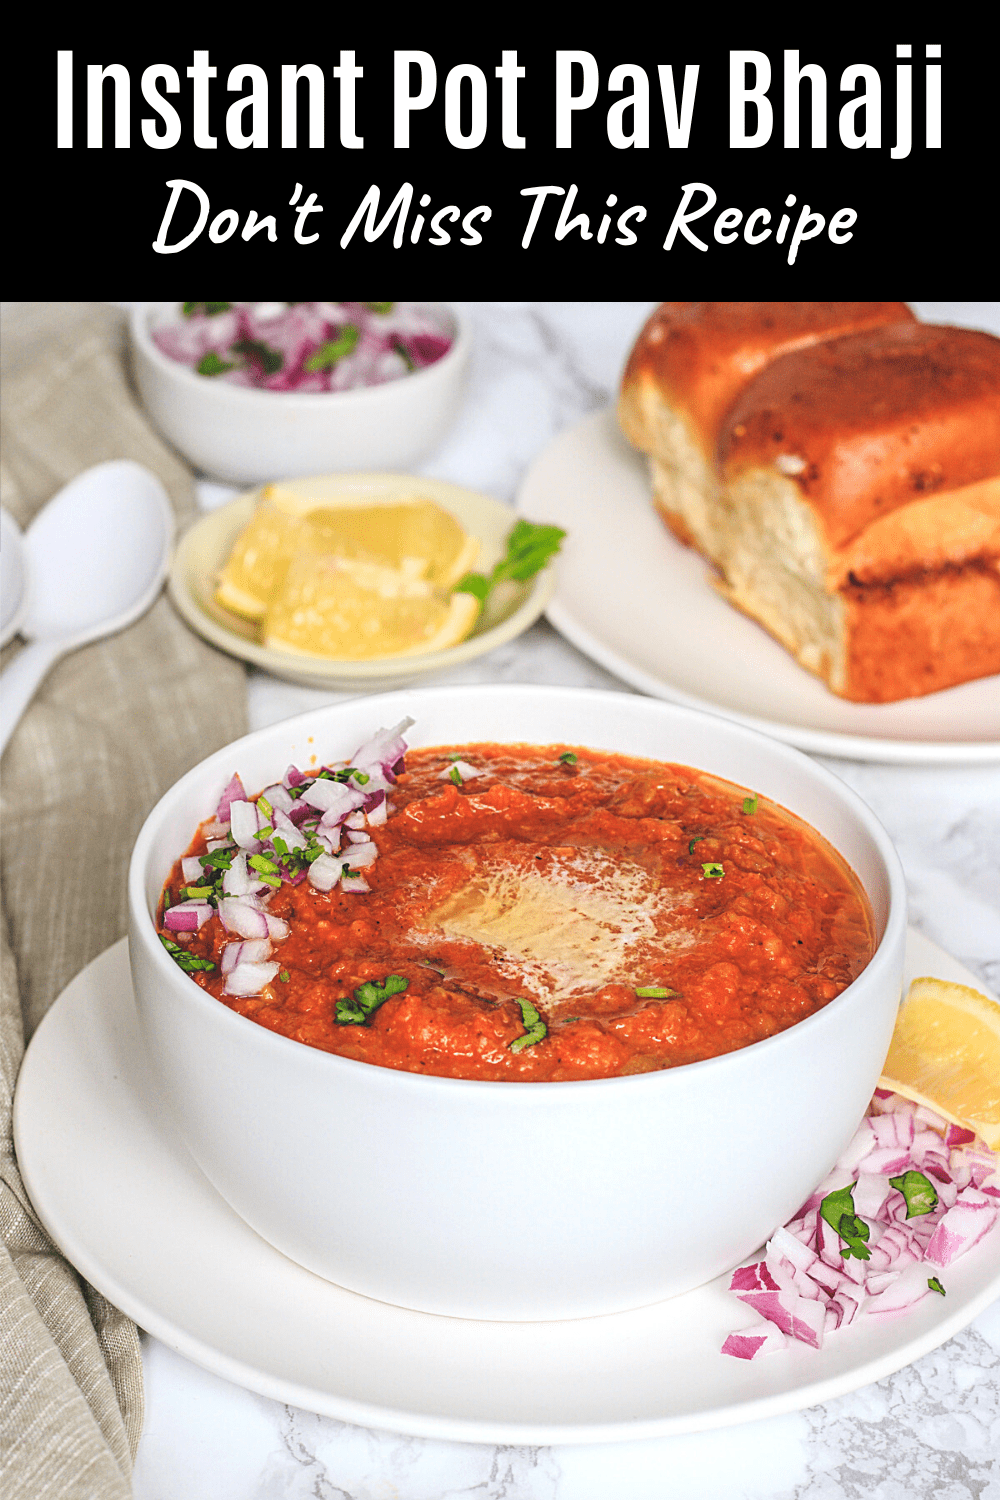
The most beloved Mumbai street food, made in your Instant Pot in 30 minutes flat — from chopping to serving. Spiced, buttery, mashed vegetable bhaji served with butter-toasted ladi pav. This Instant Pot Pav Bhaji is perfect dinner, parties, or freezer meal prep.
One reader Raksha commented “The pav bhaaji came out amazing. Thanks for the precise steps and measurements. ⭐⭐⭐⭐⭐”
What is Pav Bhaji?
Pav bhaji is one of the most iconic street foods of Mumbai, Maharashtra. “Pav” means bread — specifically ladi pav, a soft, slightly sweet dinner roll that is a staple of Mumbaikars. “Bhaji” means a vegetable preparation. Together, pav bhaji is a thick, spiced, mashed vegetable curry loaded with butter, served with butter-toasted buns and garnished with finely chopped raw onion, fresh coriander, and a squeeze of lemon.
The History: The dish was born on the streets of Mumbai in the 1850s, originally created as a quick, filling, affordable meal for textile mill workers who needed something substantial during short lunch breaks. A vendor named Mhatre at a stall near Tardeo is often credited with the original recipe. What started as a humble worker’s food became one of the most celebrated street foods in all of India.
Traditionally, pav bhaji is made on a large flat iron tawa (griddle) over high heat. Vegetables are pressure-cooked separately, then mashed and simmered aggressively on the tawa with butter, tomatoes, and pav bhaji masala until a thick, deeply flavored bhaji forms. The pav is toasted on the same tawa in the butter and masala residue.
In this recipe, the Instant Pot handles what would normally require a pressure cooker plus a tawa — all in one pot and 30 minutes. The bhaji tastes just like the street version.
About My Instant Pot Pav Bhaji Recipe
I spent years making pav bhaji the long way — pressure cooking the vegetables separately, then transferring to a tawa/pan, then toasting the pav separately. Delicious, but slightly time consuming. This Instant Pot version cuts all of that down to a single pot and 30 minutes without losing any of the flavor.
Two things make this recipe work better than most:
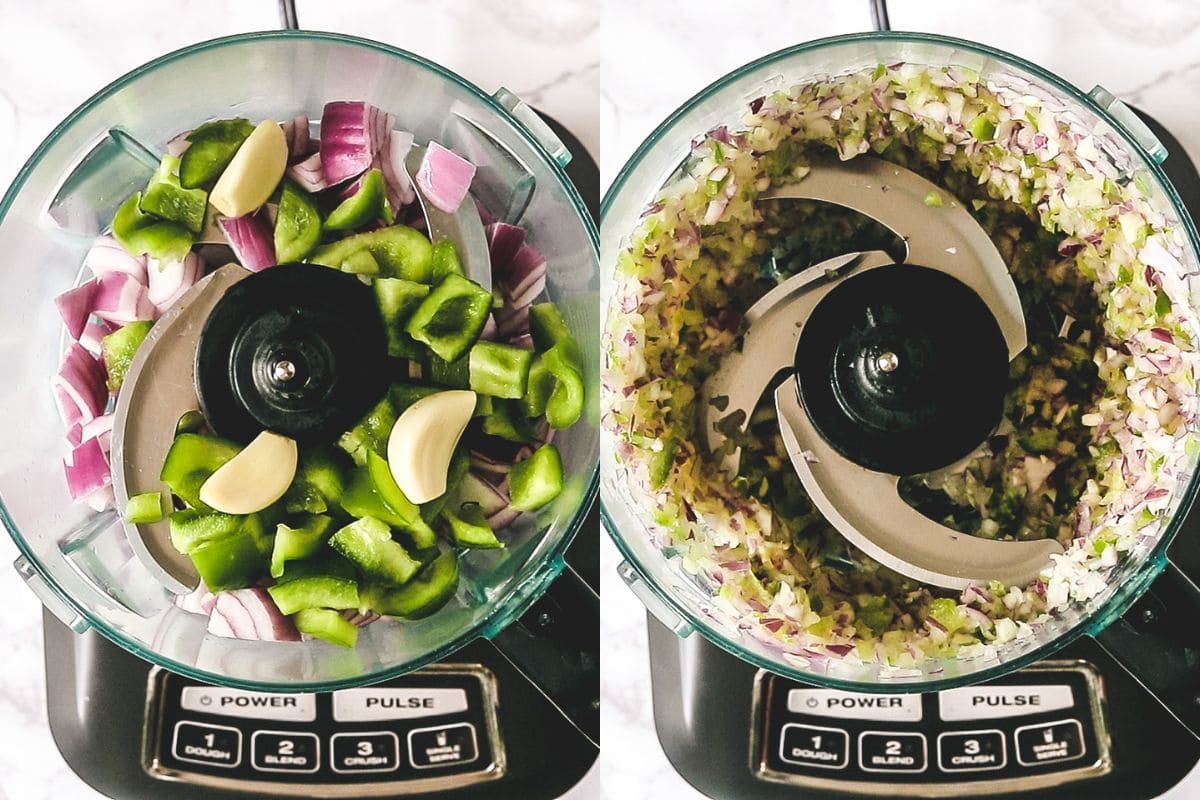
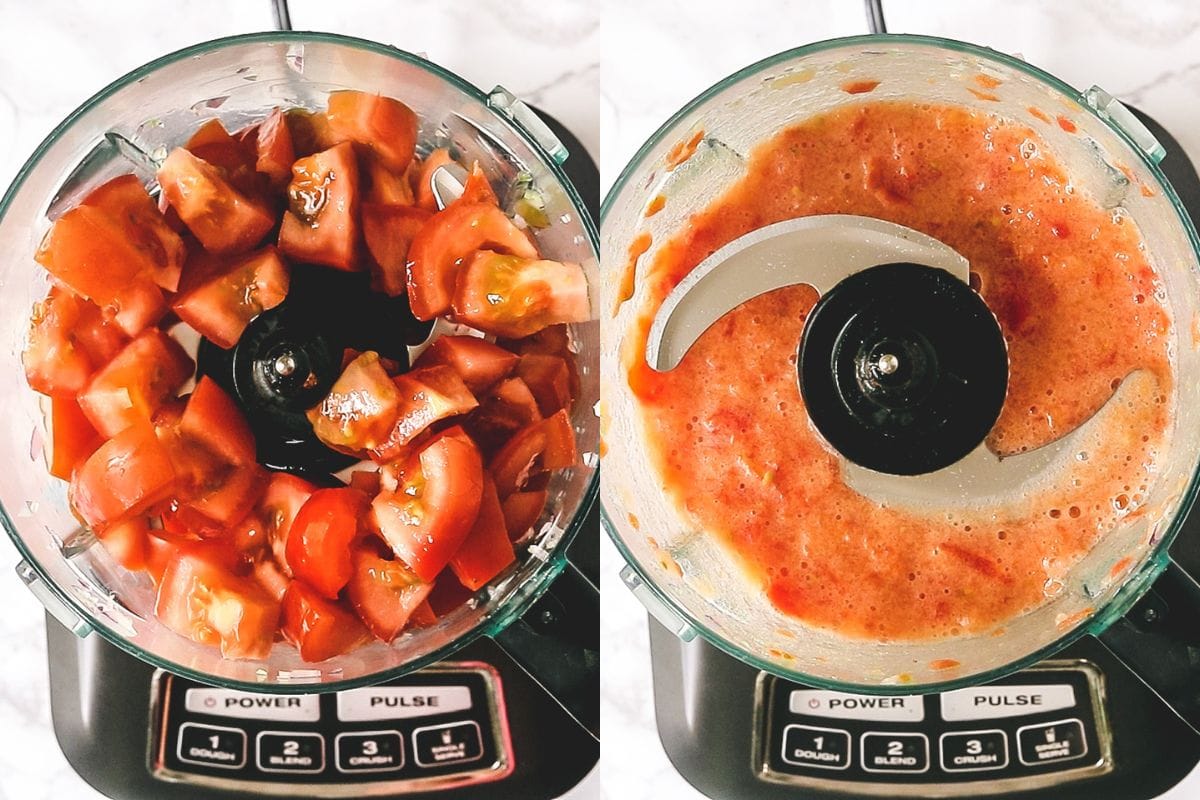
- The food processor technique. Instead of finely chopping the onion, capsicum, garlic, and tomatoes by hand, I pulse them in the food processor — first the onion, capsicum, and garlic together, then the tomatoes. This saves at least 10-15 minutes of hand-chopping prep. This is the step that makes the 30-minute claim actually realistic.
- Pav bhaji masala goes in AFTER pressure cooking — not before. This is the single most important technique note in the entire recipe. Pav bhaji masala is loaded with aromatic compounds that evaporate under high pressure. If you add it before pressure cooking, you lose most of its flavor and fragrance. Always add it after the lid comes off — stir it into the hot mashed bhaji while simmering on sauté mode. The masala blooms in the hot butter and bhaji at that stage, giving you maximum aroma and flavor.
⭐ Why You’ll Love This Recipe
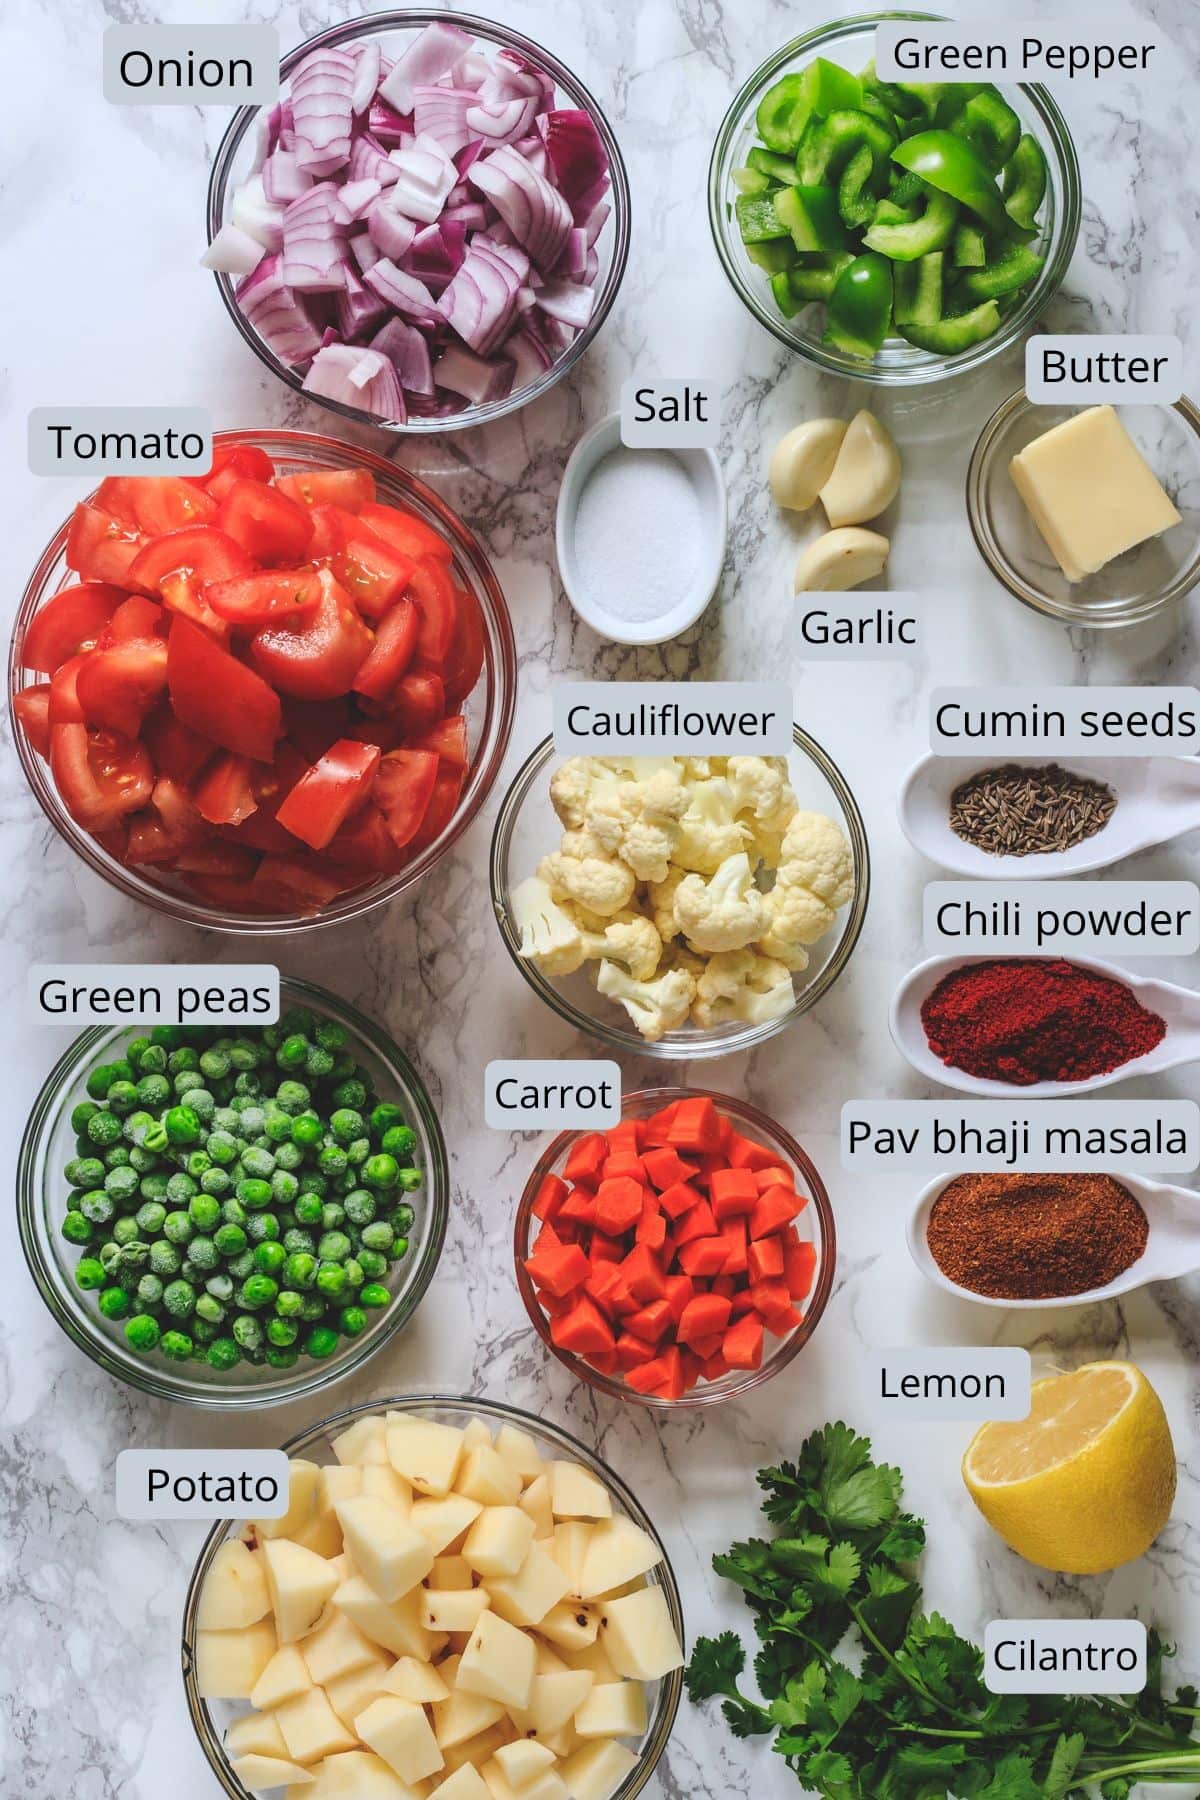
Ingredient Notes
Complete list of ingredients and amounts is written in the recipe card below.
Tried this recipe? A star rating ⭐️ and a quick comment below help others (and me!) know how it went.
Instant Pot Pav Bhaji Recipe (30 Minutes Only)
US measuring cups are used (1 cup = 240 ml)
Ingredients
- 1 + 3 tablespoons Butter
- 1 teaspoon Cumin seeds
- 1 medium or 1 ½ cups Red onion, roughly chopped
- ½ of medium or ¾ cup Capsicum (Green bell pepper), chopped
- 3 cloves Garlic
- 4 medium or 3 ½ cups Tomato, chopped
- 2 medium or 2 cups Potatoes, peeled and cubed
- ½ cup Cauliflower (gobi), cut into florets
- 1 cup Green peas
- ¾ cup Carrots, chopped
- Salt, to taste
- 1 tablespoon Red chili powder
- ¾ cup Water
- 1 ½ tablespoons Pav bhaji masala
- 3 tablespoons Cilantro or coriander leaves, finely chopped
- 1 teaspoon Lemon juice
For serving:
- 12 Ladi pav, (or you can substitute with burger buns)
- Butter, as needed to toast the pav, plus for topping
- ½ cup Red onion, finely chopped
- 1 Lemon, cut into wedges
Instructions
Making Pav Bhaji in Instant Pot
- Prep Onion Mixture: Add the roughly chopped onion, chopped capsicum, and garlic cloves to a food processor jar. Pulse 8–10 times until the mixture is finely chopped — not a paste, not chunky.
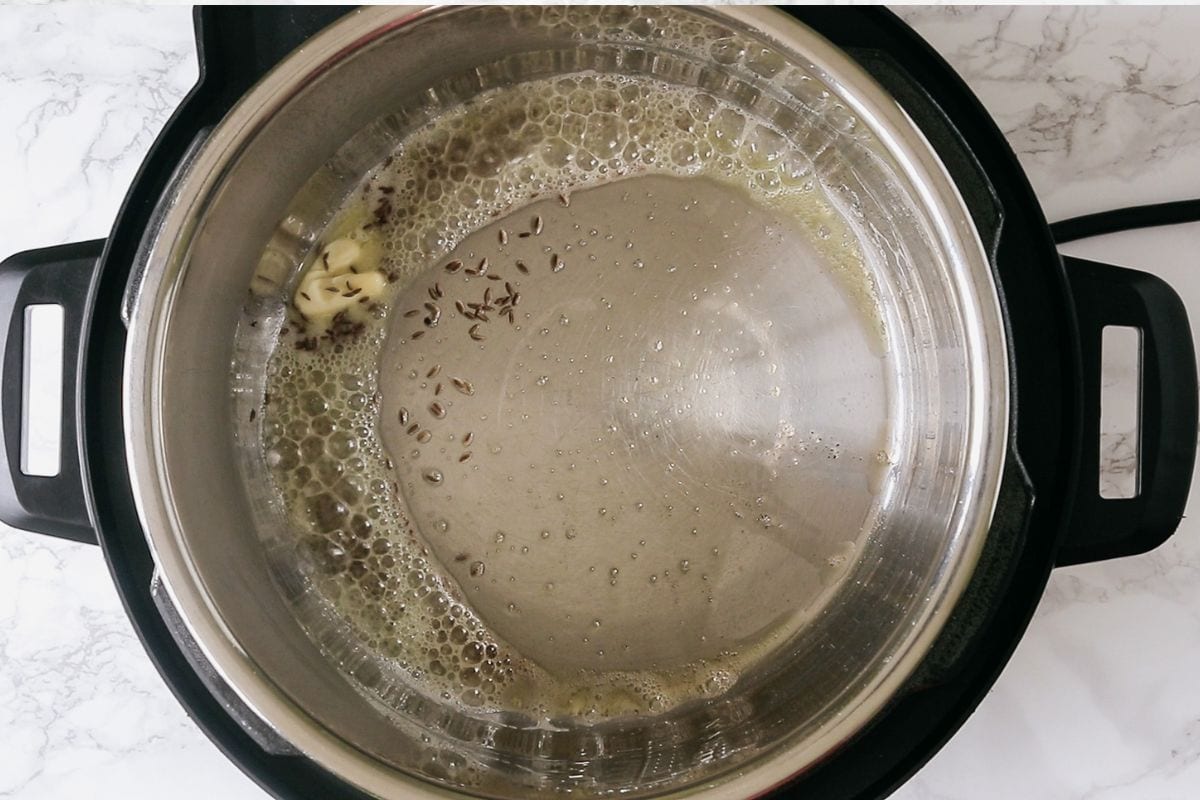
- Saute Onion Mixture: Press Sauté on the Instant Pot and let it heat. Add 1 tablespoon of butter and the cumin seeds. Let the cumin seeds sizzle for 20–30 seconds until fragrant.
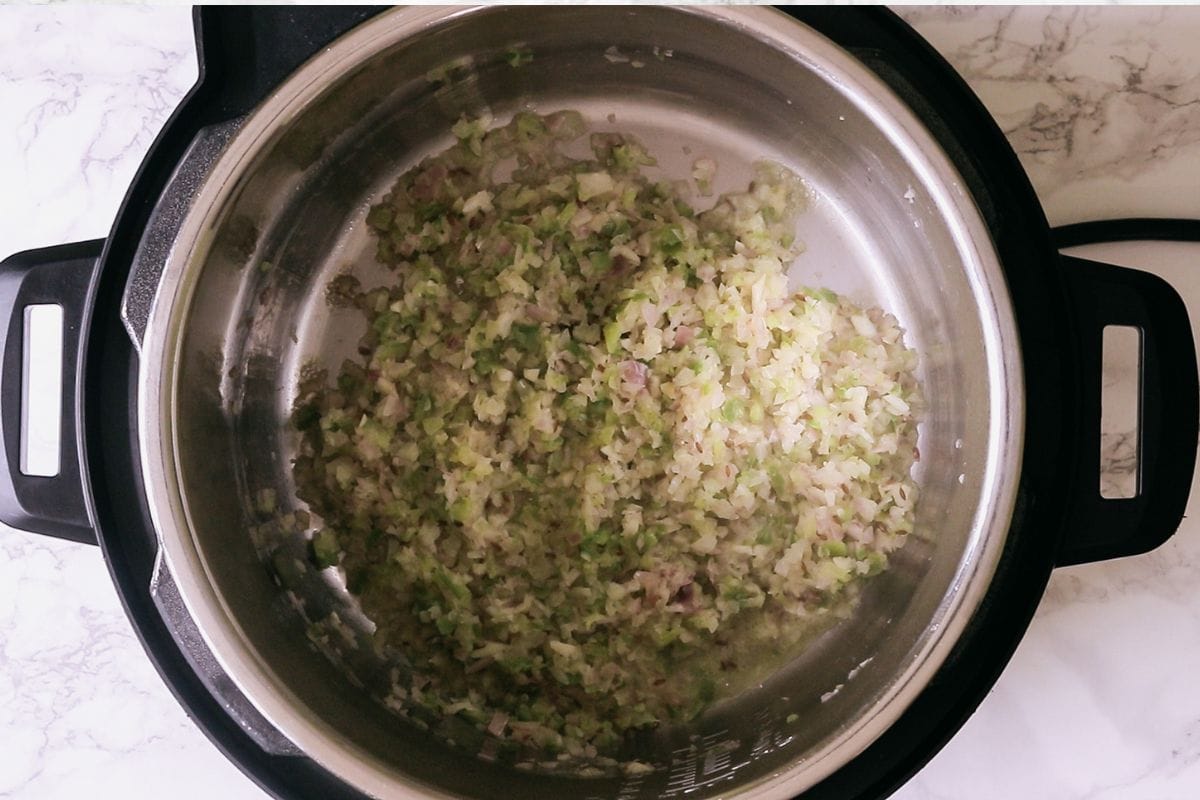
- Add the onion-capsicum-garlic mixture. Sprinkle a pinch of salt and stir. Cook, stirring occasionally, for 4–5 minutes until the onion softens and turns translucent.
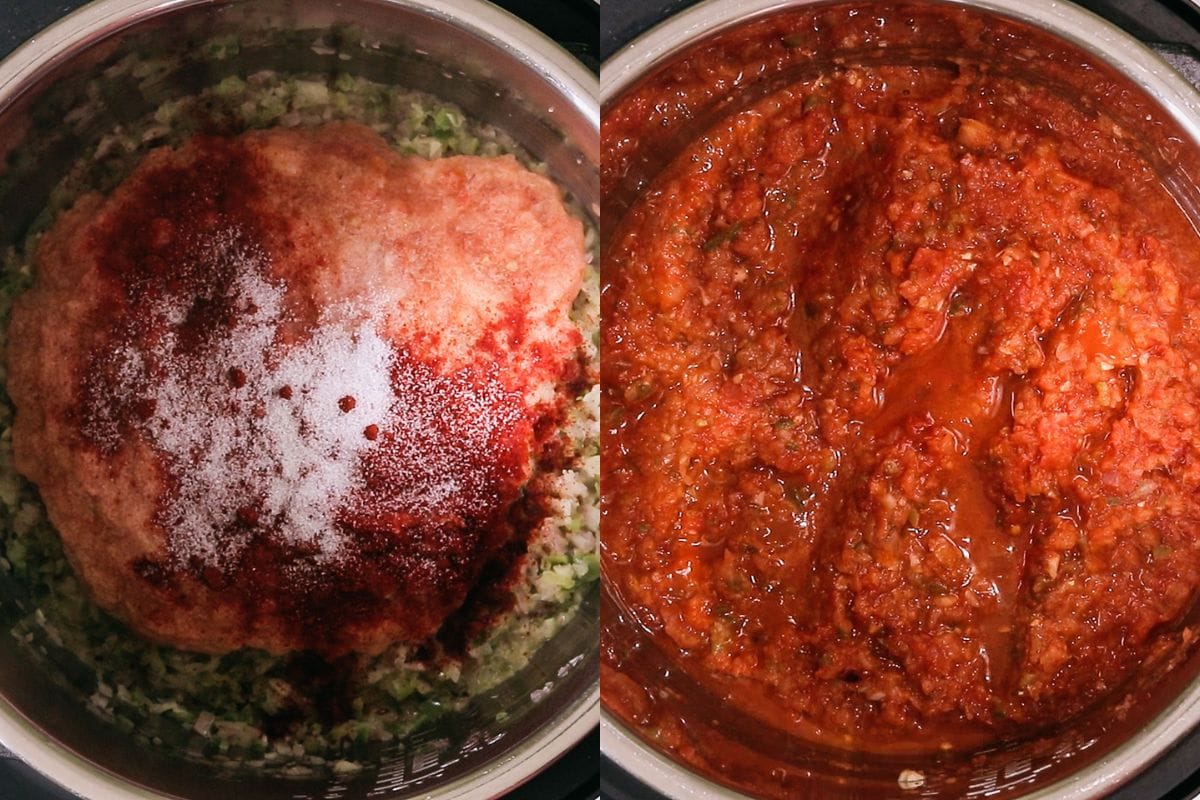
- Prep Tomato Puree: While the onion mixture is cooking, add the roughly chopped tomatoes to the same food processor jar (no need to wash it). Pulse 5–6 times until you have a coarse, chunky purée.
- Add Tomatoes and Chili Powder: Add the chunky tomato purée to the pot. Add the red chili powder and remaining salt. Mix well and cook for 2–3 minutes, stirring frequently, until the tomatoes lose their raw smell.
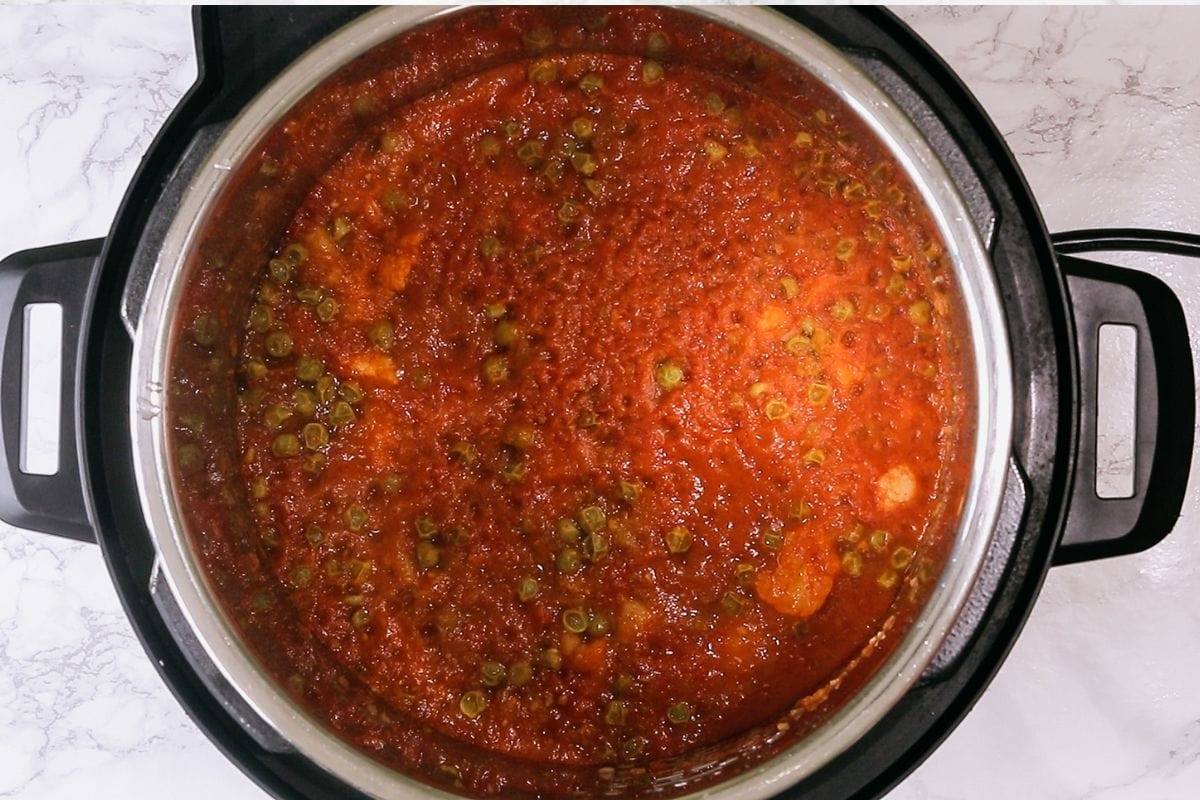
- Add Vegetables: Add the cubed potatoes, cauliflower florets, chopped carrot, and green peas. Add the water and stir everything together, making sure to scrape any browned bits from the bottom of the pot — this prevents the burn notice.

- Pressure Cook: Press Cancel to exit sauté mode. Close the lid and set the pressure valve to Sealing. Press Manual (Pressure Cook) on High Pressure for 6 minutes.Once the cooking is complete, allow Natural Pressure Release (NPR) — just leave it undisturbed for 10–15 minutes. If you are in a rush, you can do Quick Pressure Release (QPR) after 5 minutes. Once the pin drops, open the lid carefully.
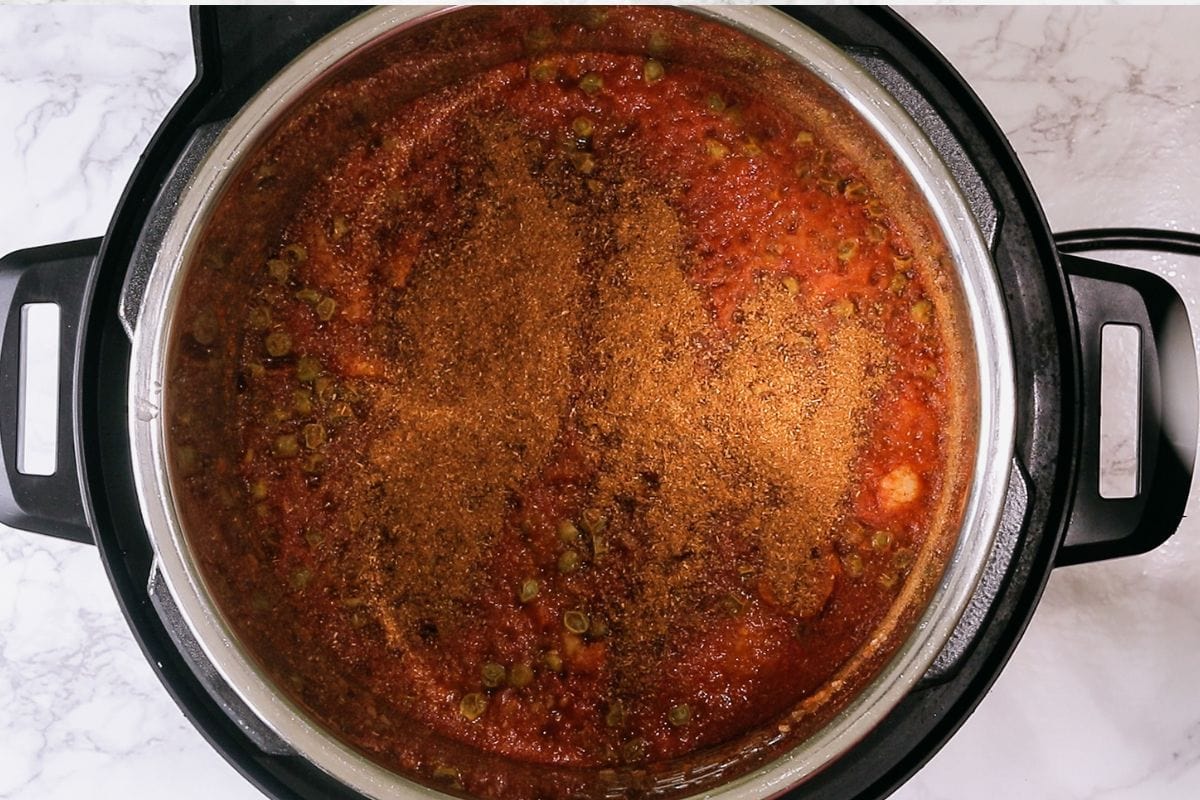
- Add Masala: Add the pav bhaji masala now — after pressure cooking, never before.
- Mash and Simmer: Using a potato masher, mash the cooked vegetables directly in the pot. Mash thoroughly, but stop before it becomes a smooth paste. Alternately, use an immersion blender on pulse mode (2–3 quick pulses maximum) for the same texture.Press Sauté again. Let the bhaji simmer for 2–3 minutes, stirring frequently. Bhaji should be thick, not watery.
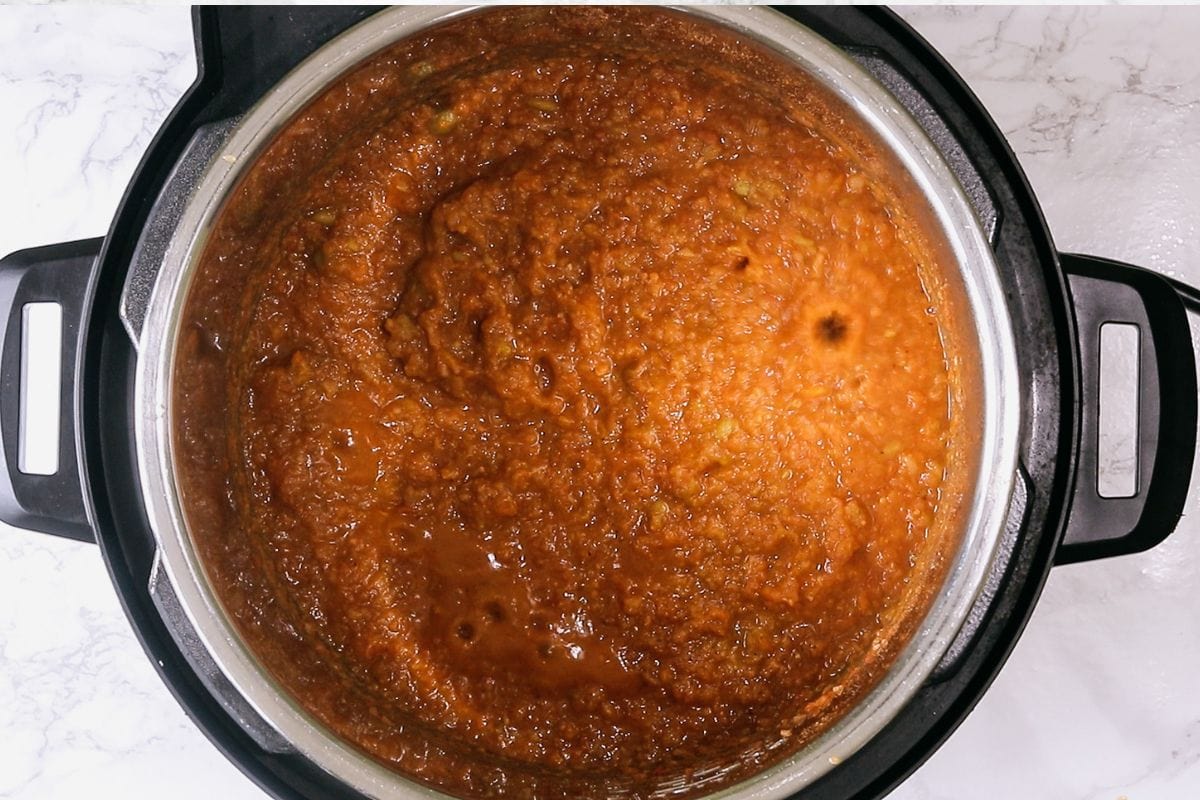
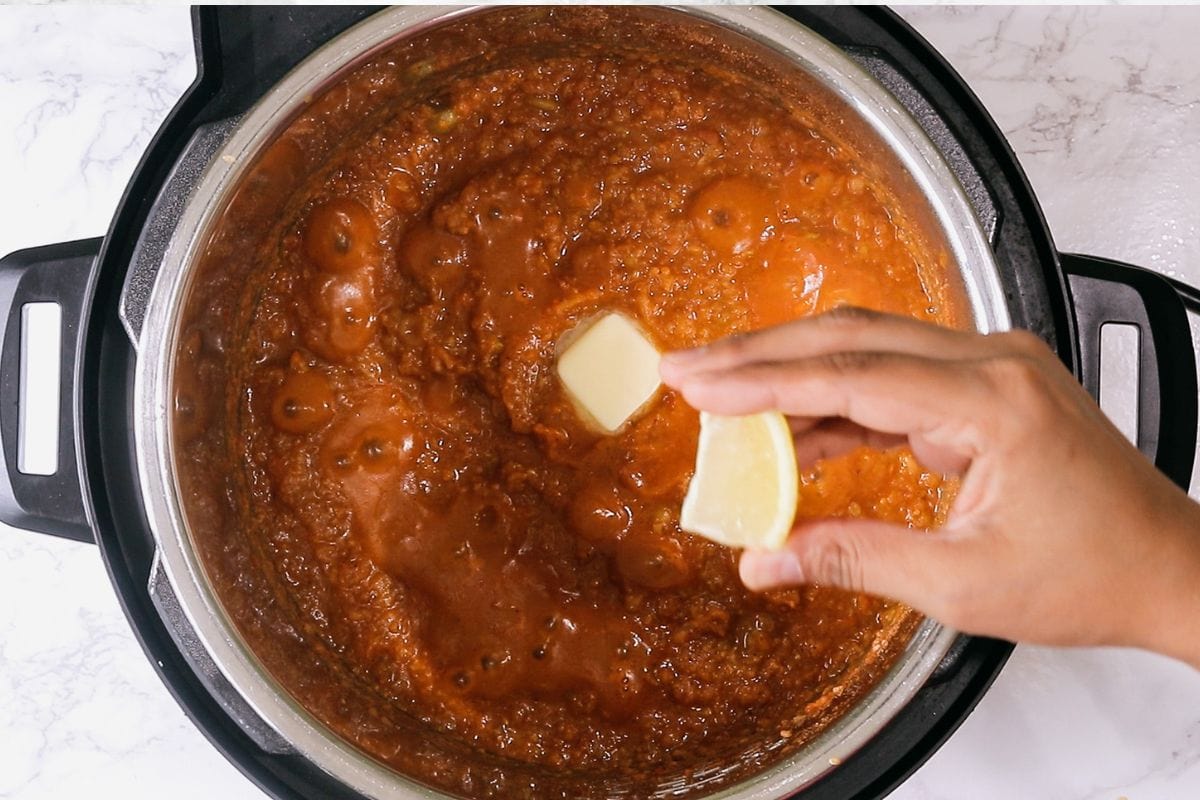
- Finishing Touches: Add the remaining butter and the lemon juice. Stir well until the butter melts completely into the bhaji. Taste and adjust salt or chili if needed.
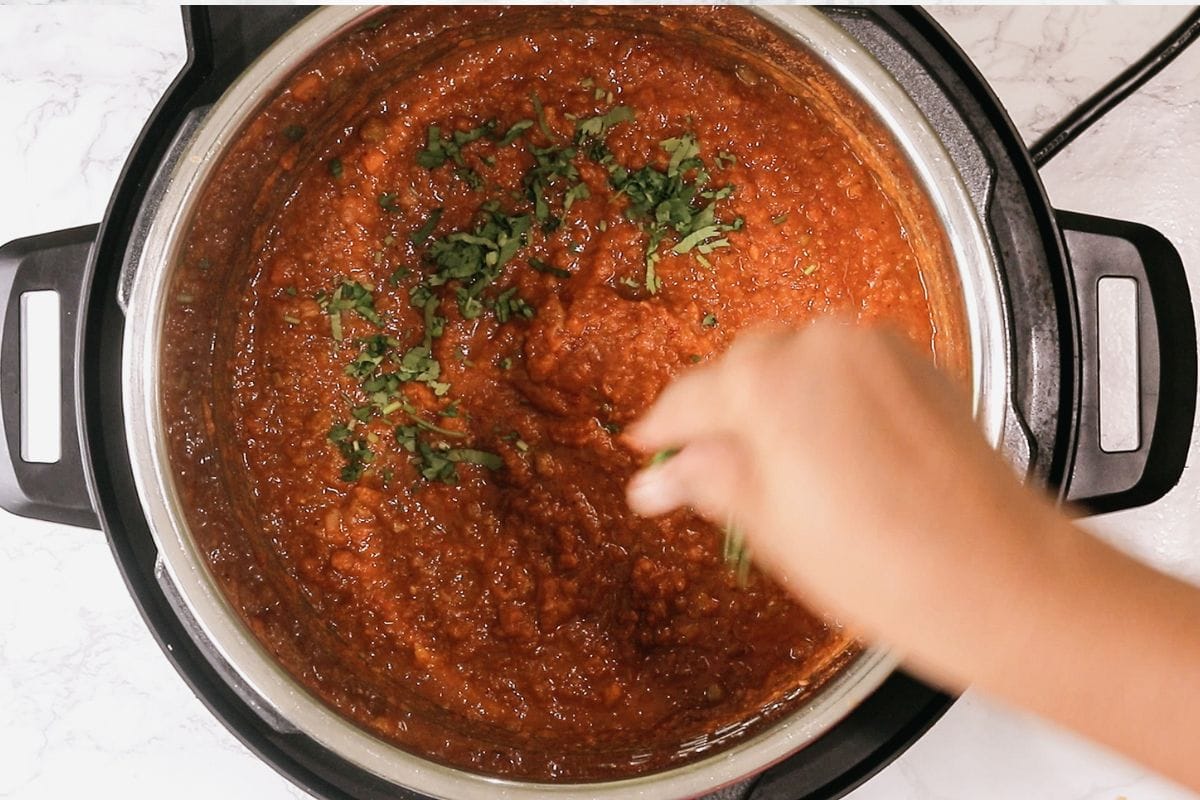
- Garnish with freshly chopped coriander (cilantro) and press Cancel to stop the sauté.
Toast The Ladi Pav
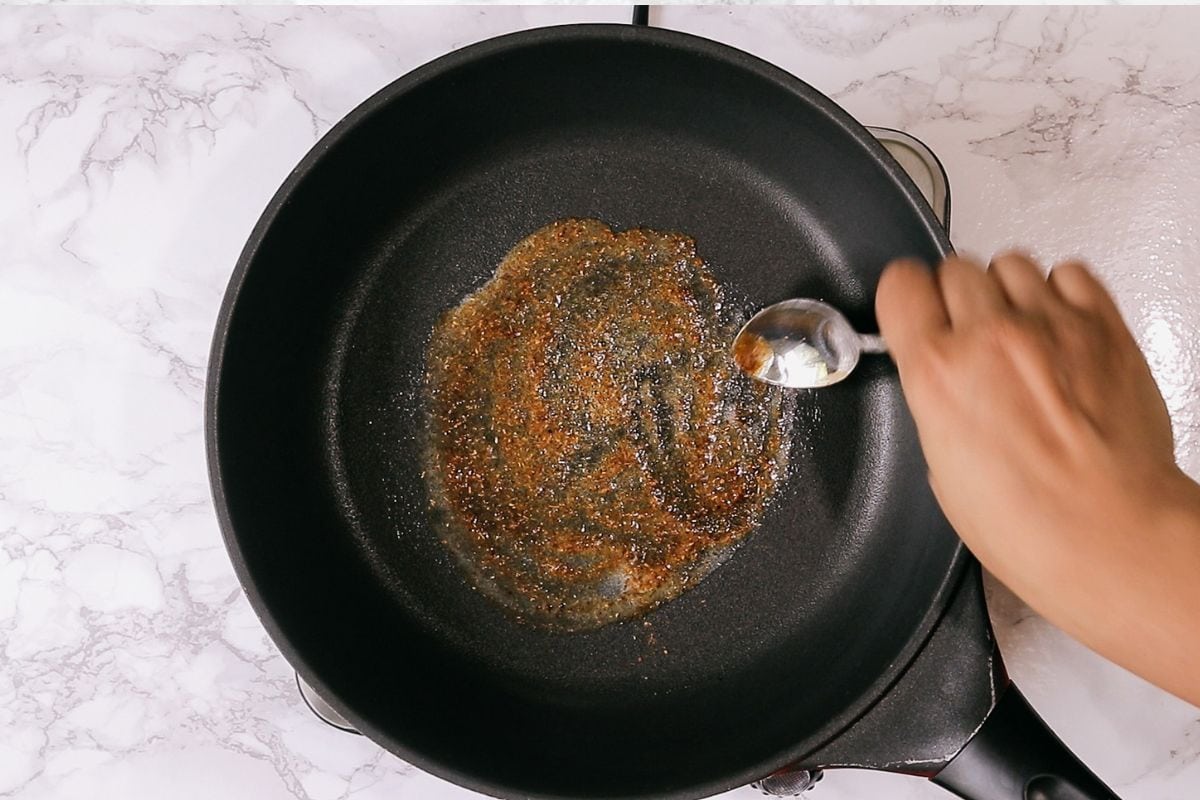
- Heat a flat pan or tawa on medium heat. Add a small knob of butter and a small pinch of pav bhaji masala — mix and spread it in the pan.
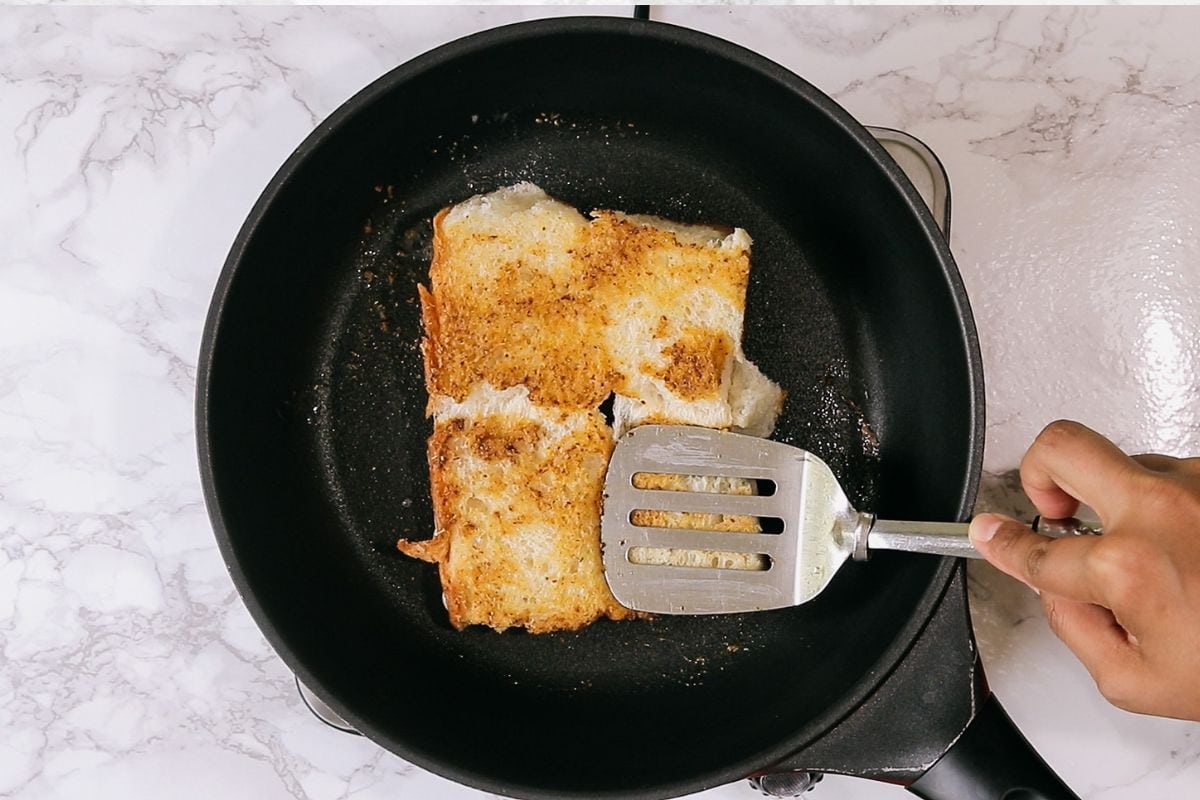
- Slice the pav open (keep the two halves connected at one edge). Place cut-side down on the buttered pan. While the bottom side toasts, apply a little more butter on the top side. Toast for about 1 minute until the bottom is lightly golden and slightly crisp.

- Flip and toast the other cut side for 30 seconds. Remove and serve immediately with the bhaji.
Video
Notes
- Butter is a must. It makes bhaji smooth and rich.
- The butter at the end transforms the dish. Stirring in the remaining butter at the end of cooking makes the bhaji glossy, rich, and smooth — this finishing butter is what makes street-side bhaji taste so much better than homemade versions
- Use good tasting pav bhaji masala. I prefer Everest or MDH brand.
- It Is Important When You Add Pav Bhaji Masala. Whenever making pav bhaji in pressure cooker, always add masala after vegetables are cooked. If added along with vegetables and then it is cooked on high pressure, the masala loses its flavor and aroma.
- Don’t over mash the bhaji. We do not want a smooth puree kind texture. It should have a grainy texture.
Nutrition
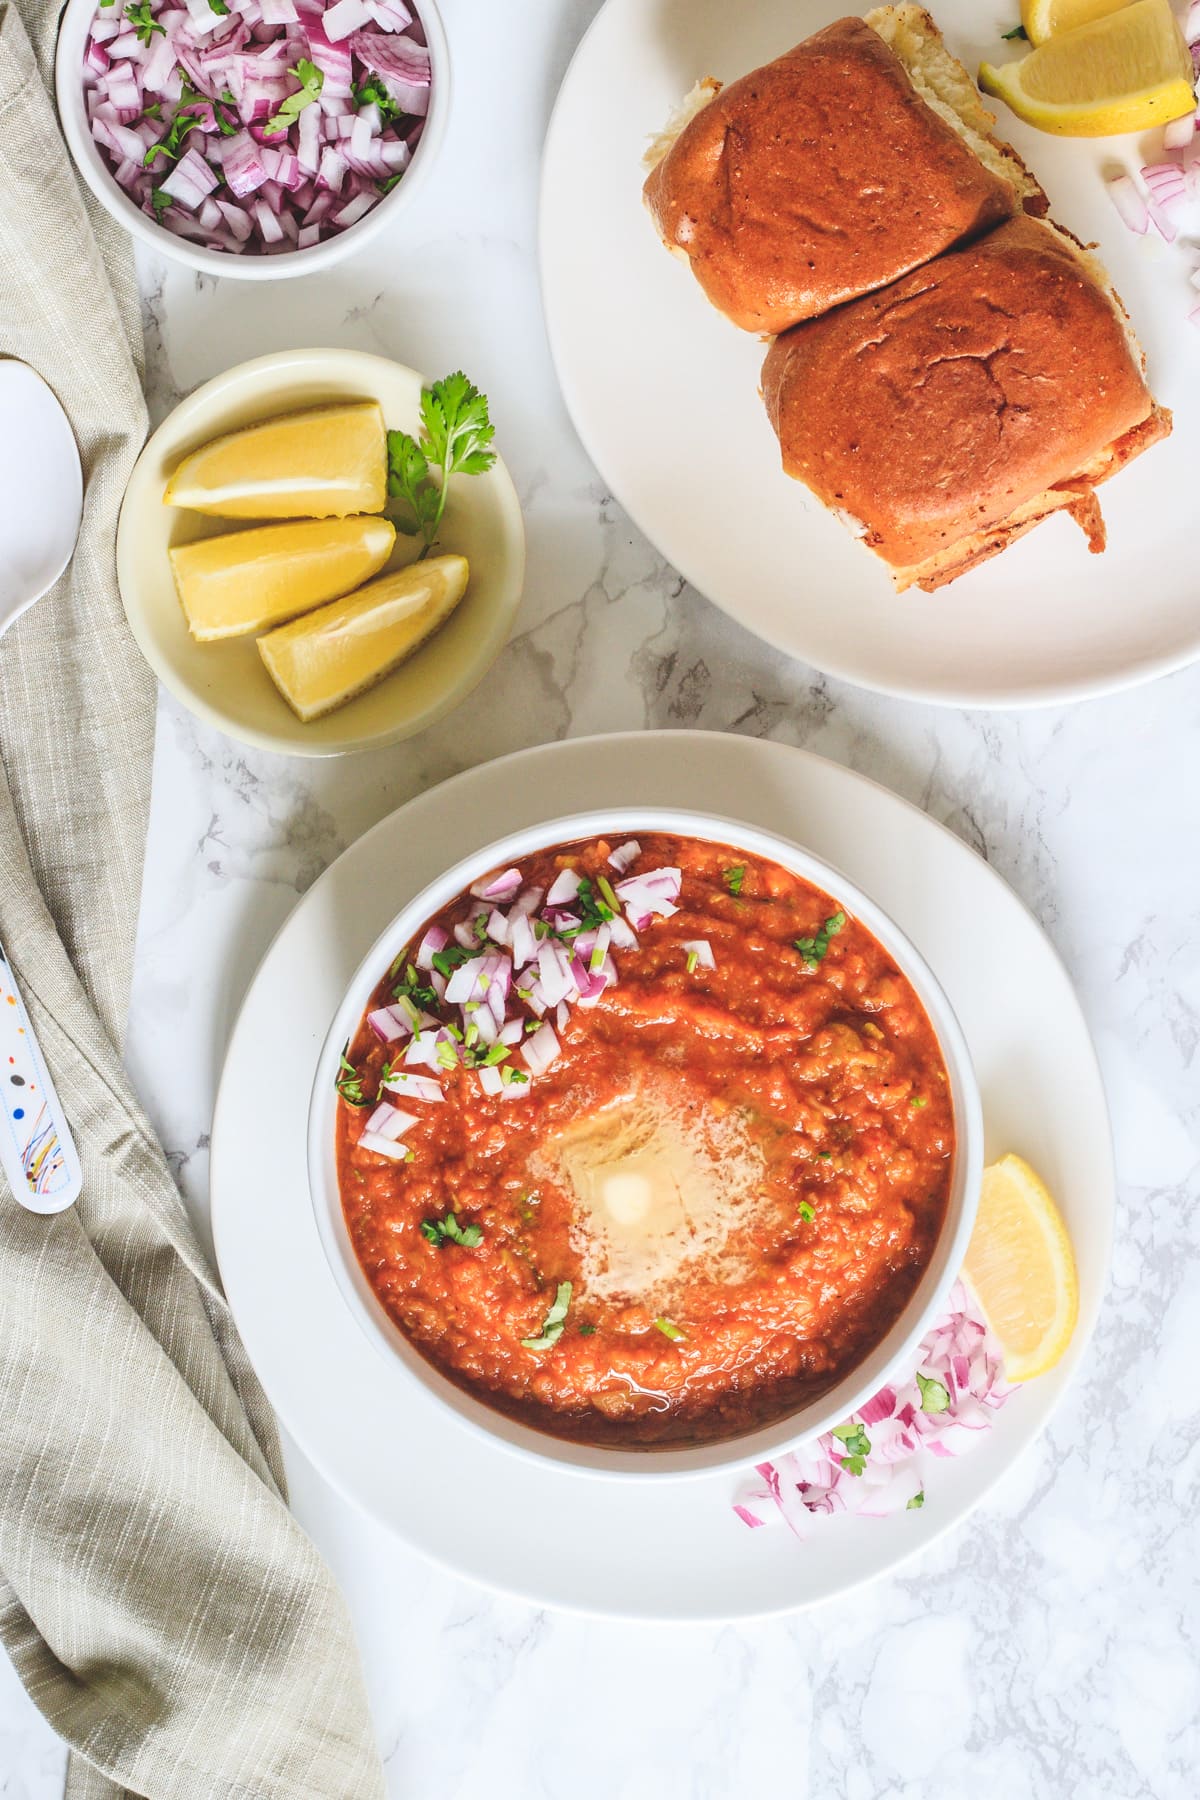
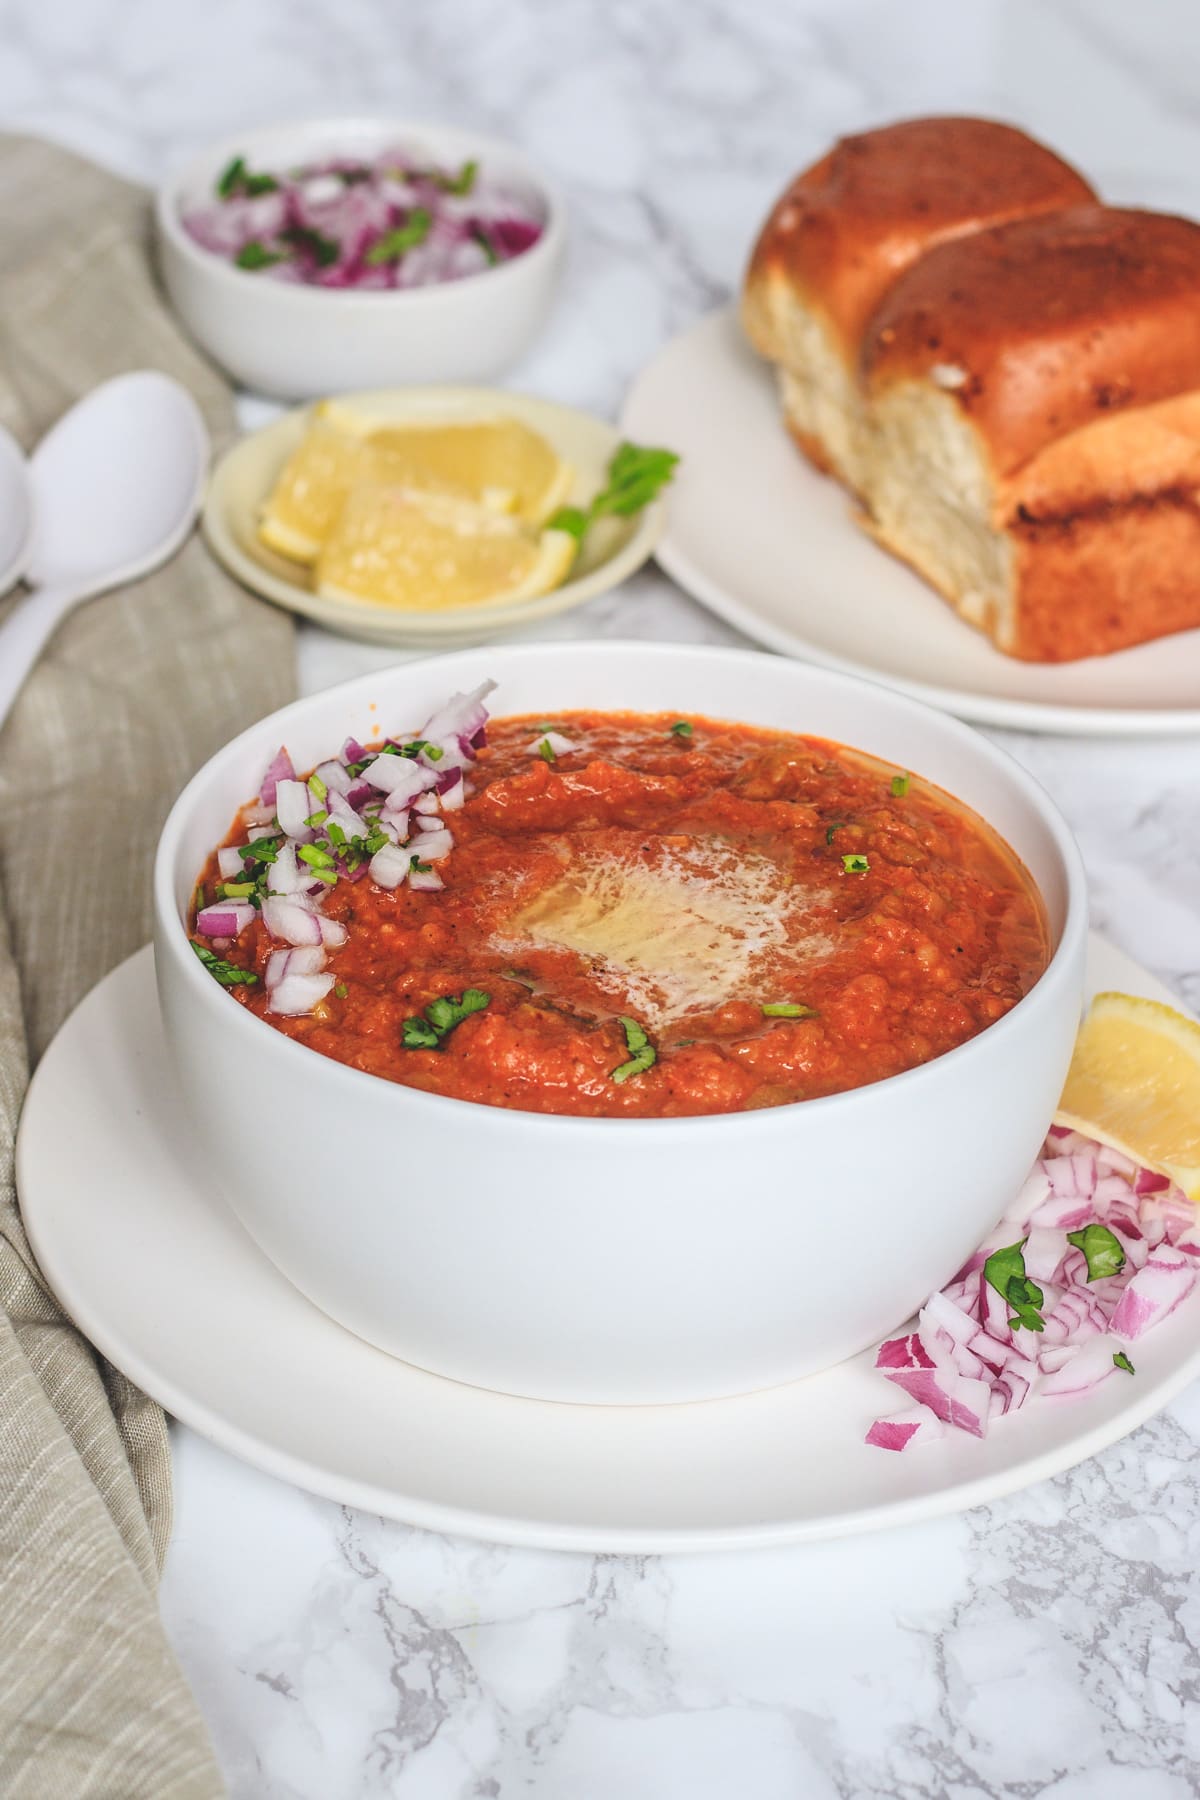
🍽 How To Serve Pav Bhaji?
Ladle the hot bhaji into individual serving bowls. Top each bowl with:
- A generous dollop of butter (this is not optional — it is part of the dish)
- A handful of finely chopped raw red onion
- A squeeze of fresh lemon juice
- Freshly chopped coriander
Serve immediately with the butter-toasted pav on the side. The classic method is to tear a piece of pav, dunk it into the bhaji, and scoop up a generous mouthful. Keep lemon wedges on the table for those who want more acidity.
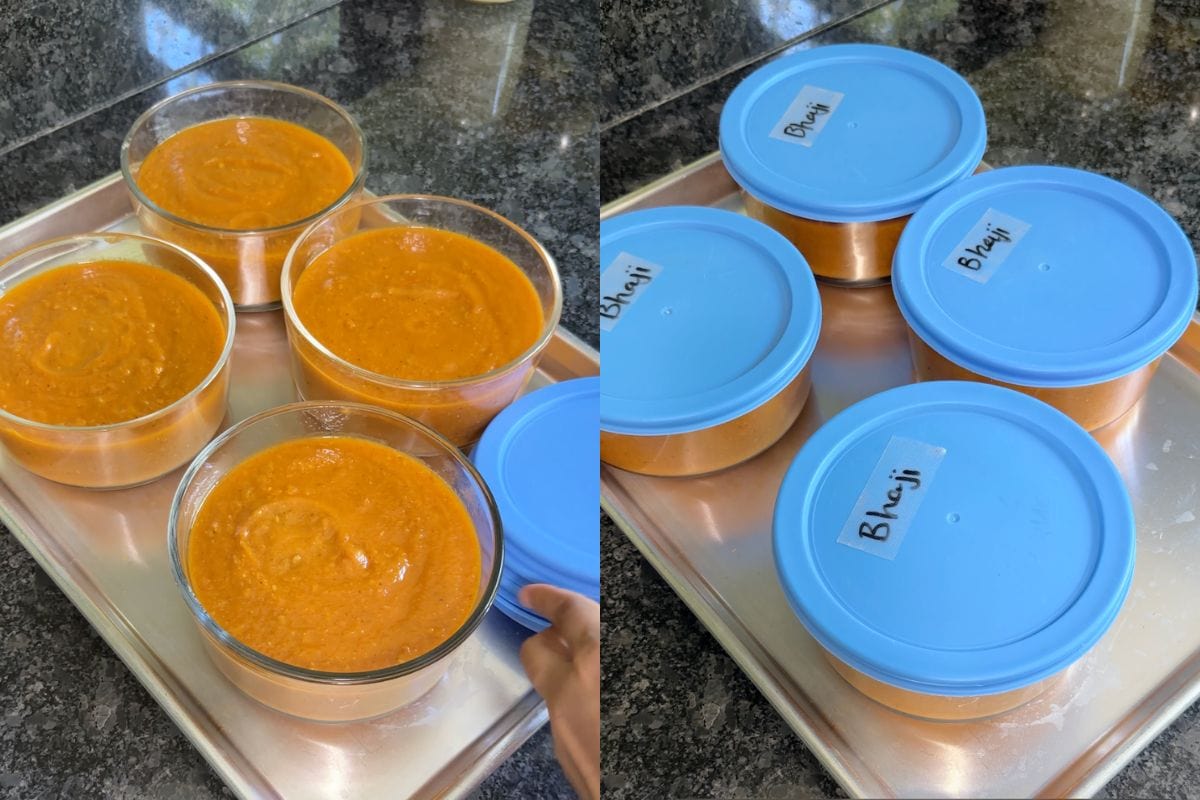
🧊 Storage and Make-Ahead
- Important: Store and freeze the bhaji only, never with the pav. Toast the pav fresh every time.
❓ Frequently Asked Questions
More Indian Street Food Recipes
PS Tried this instant pot pav bhaji recipe? Please leave a star rating in the recipe card below and/or a review in the comment section. I always appreciate your feedback! Plus, Subscribe to my newsletter and follow along on Pinterest, Instagram, and Facebook for all the latest updates.
I was feeling lazy to make pav bhaji the regular way and I stumbled upon your rexioe. This recipe came together quickly, and I really loved how easy it was to make. I just had one tiny issue: 1.5 cups water was way too much for my recipe, but I think that’s because I didn’t add all the veggies in your recipe.
The taste is delicious though and I know I’m going to make pav bhaji in the instant pot from now on!
Thank you for this recipe!
Very glad that you liked the recipe.
Just to confirm, If you have made the 4 serving quantity as mentioned here, I have used 3/4 cup of water only. You can see it is mentioned in the ingredient list.
Made this tonight. It turned out beautifully. Your ingredients and spices are always so well-balanced. Thank you!
Thank you Zarana.
Very glad to know that you liked it.