Makki Ki Roti
A classic North Indian (Punjabi) makki ki roti is made during winter months and served with sarson ka saag. These makki di roti turned out perfect and were made with 3 ingredients only. It’s easy to prepare and you’ll learn all the tips and tricks to perfect them.

What Is Makki Ki Roti?
As the name says, it is made from makki ka atta aka maize flour (yellow cornmeal).
It is a gluten-free flatbread made with 3 ingredients only (makki ka atta, salt and water).
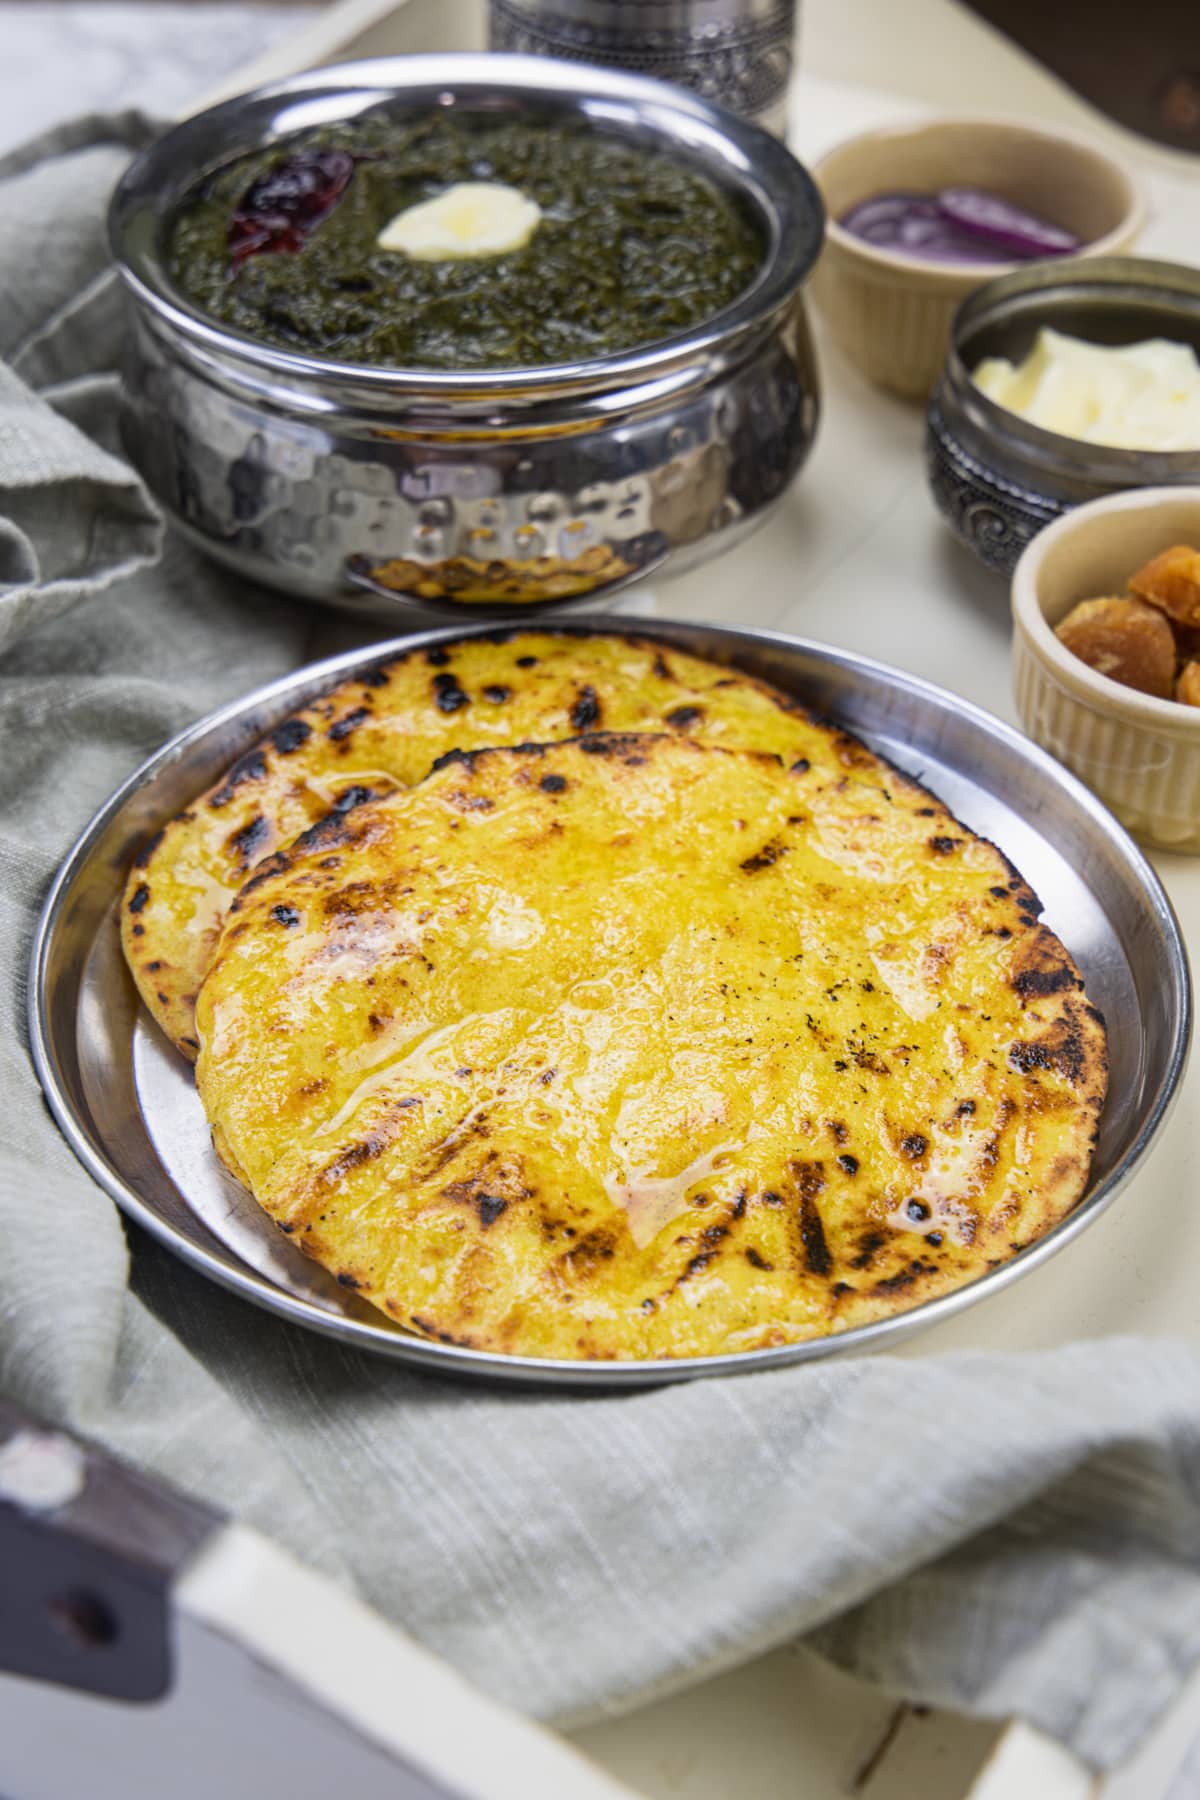
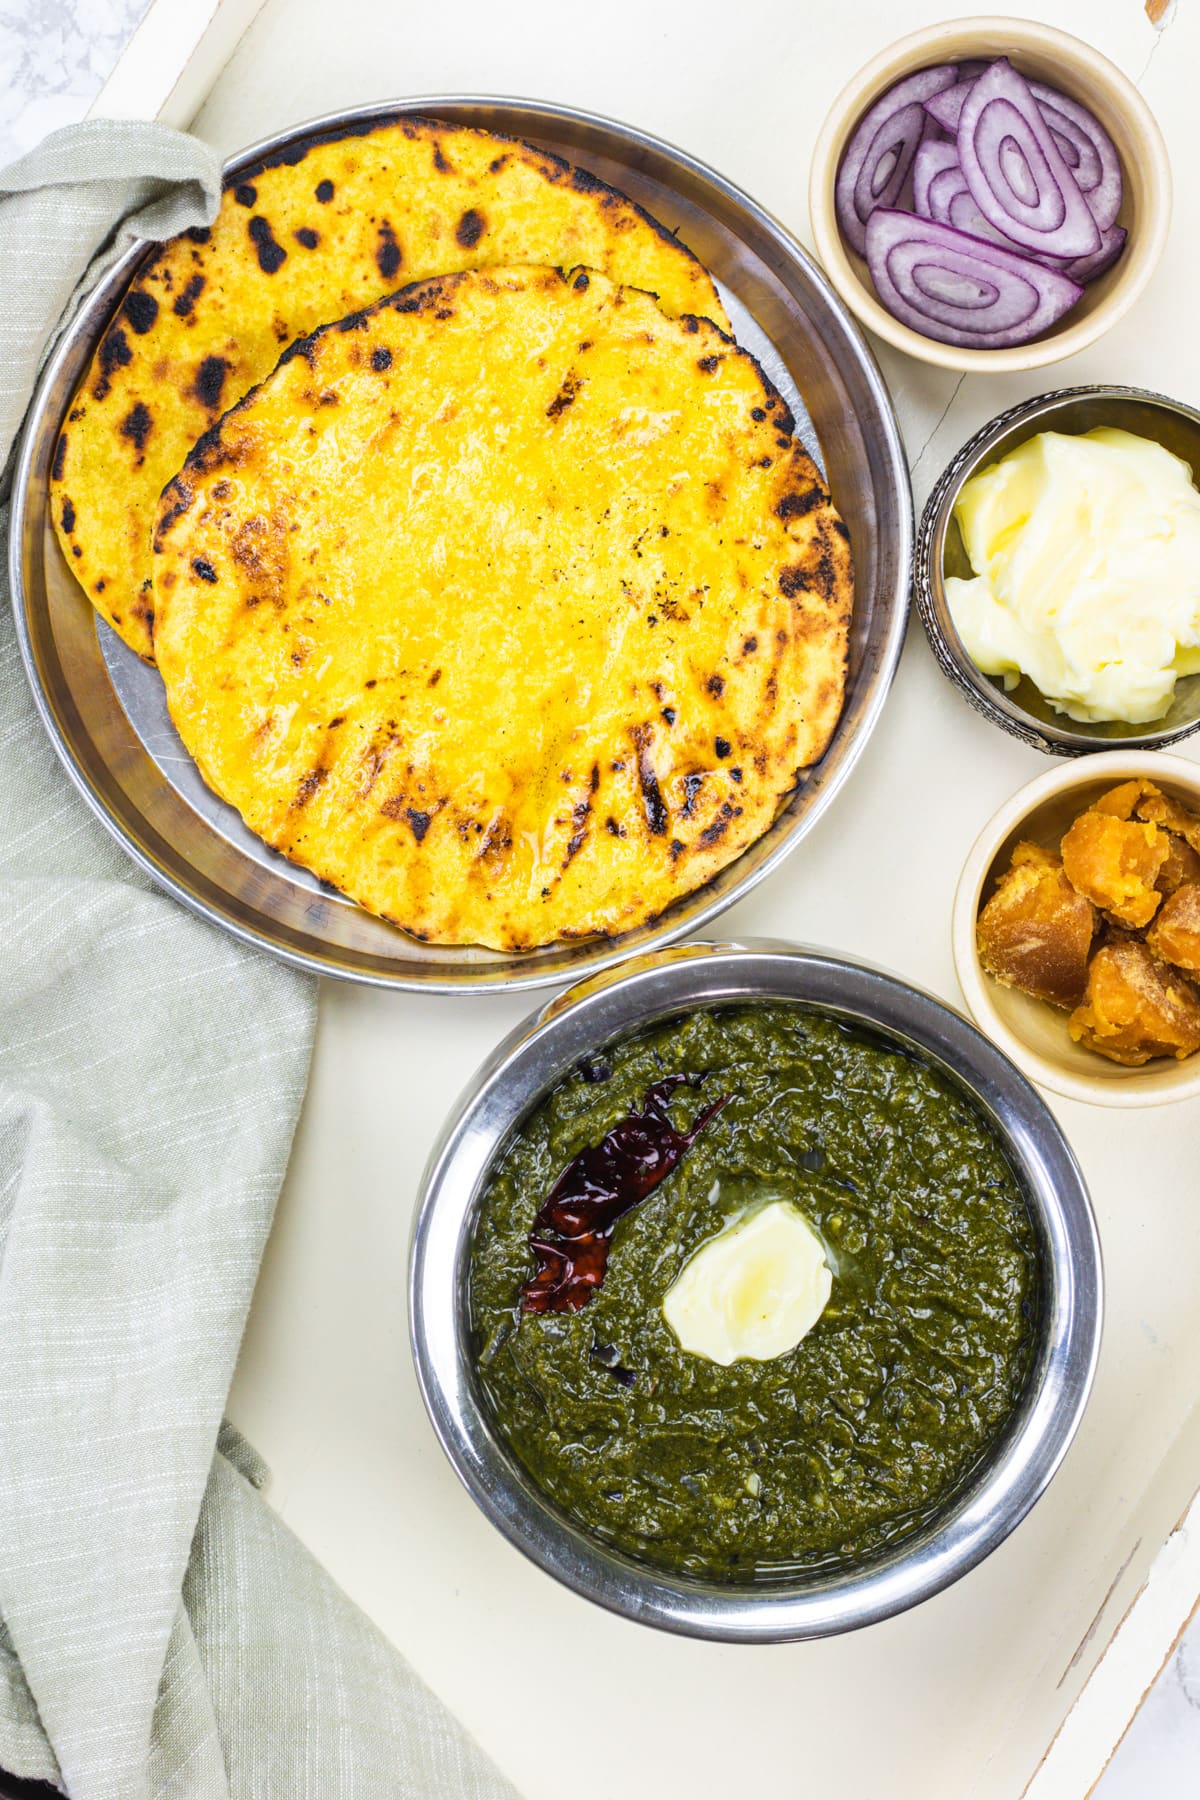
It makes a winter staple comfort meal: sarson ka saag with makki ki roti along with the sides of jaggery (gur), sliced onion, pickle and more white butter (makhan).
- Taste: It has a hint of sweetness because of maize flour. That’s why it pairs well with sarson ka saag which has a slightly bitter & pungent taste.
- Texture: It is crisp around the edges with a slightly smokey flavor and a soft and melt-in-your-mouth kind.
How Makki Ki Roti Is Made Traditionally?
- It is made in a tandoor or sometimes on chulha (earthen brick stove) with mitti tava (clay skillet). That’s how it gets its smokey flavor.
- No rolling pin or rolling board is required. It is shaped by using palms and fingers. It is shaped by pressing the dough ball between your palms in an opposite clapping motion. (if you’re Gujarati then you know how bajra rotla is made).
You’ll Love My Makki Ki Roti Recipe
- We are cooking on the stovetop with a cast-iron skillet (easily available in your kitchen than clay tawa or tandoor)
- To shape, we are patting the dough ball on the parchment paper to make the process easy.
- After cooking the roti on a cast-iron skillet we are also cooking on a direct flame (just like phulka roti recipe) to get a slightly burnt, smokey flavor.
- Also, sharing tips and things to keep in mind throughout the instructions to get the perfect makki ki roti (and it will puff up slightly or completely).
🧾 Ingredient Notes
You’ll need just 3 ingredients to make this delicious makki di roti recipe. Plus, 1 ingredient – ghee to smear on cooked roti.
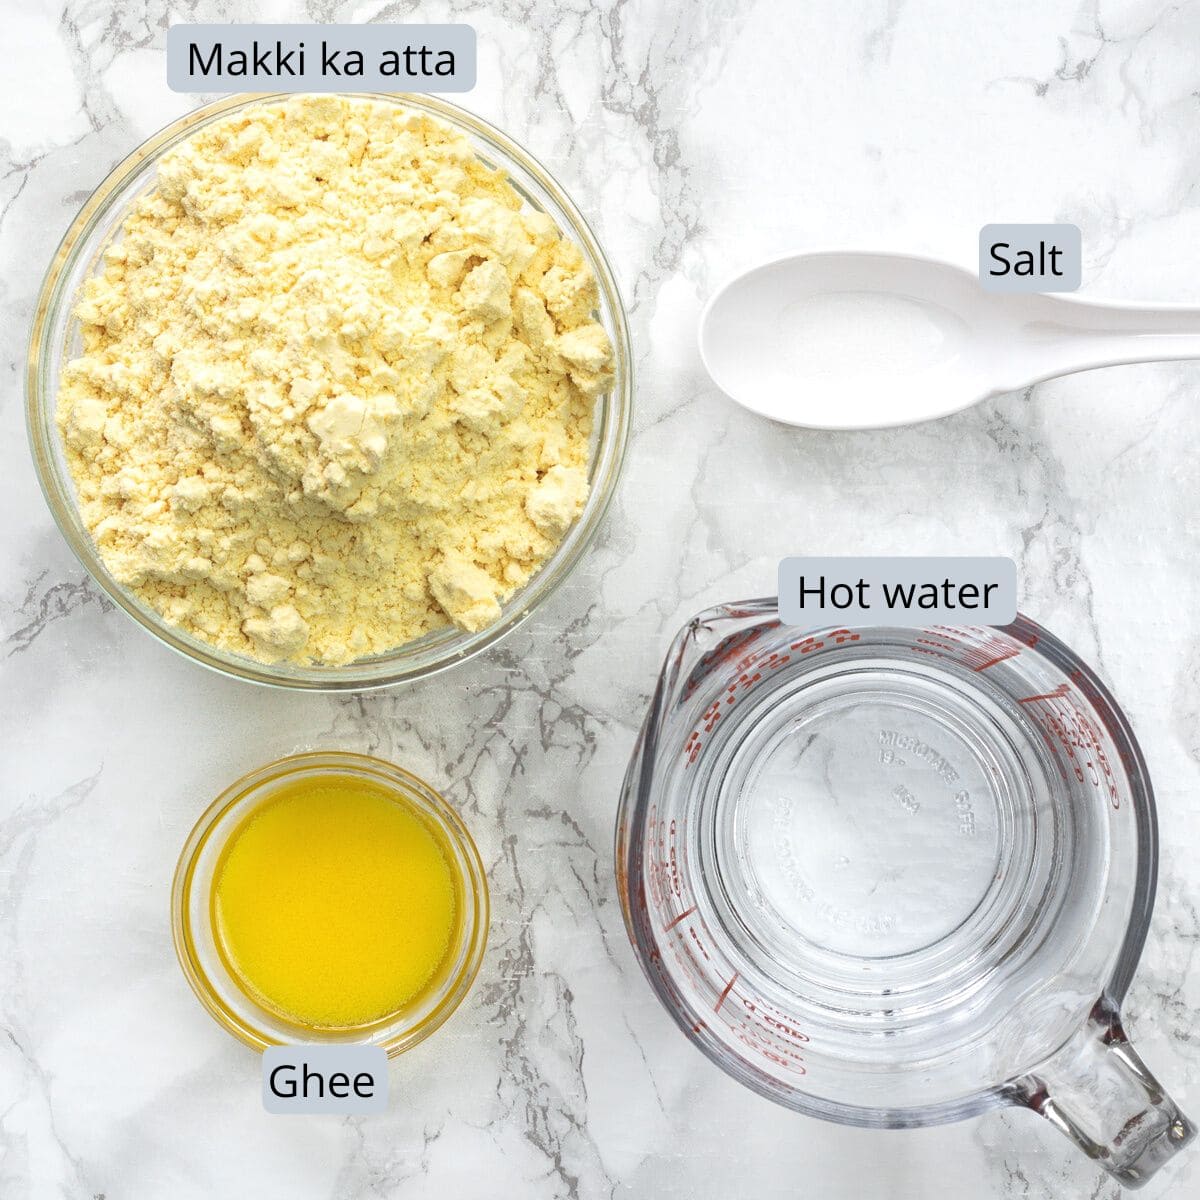
- Makki ka atta (maize flour or yellow cornmeal): This is not white corn starch or corn flour. It is yellow sweet corn flour.
- Water: You’ll need hot water (it doesn’t have to be boiling hot). I just microwave the water for 30-40 seconds and use that to knead the dough. It helps to bind the dough and makes it pliable as this is made with gluten-free flour.
- Ghee: It is smeared over the cooked roti. Instead, you can use white butter (makhan).
👩🍳 How To Make Makki Ki Roti? (Pics)
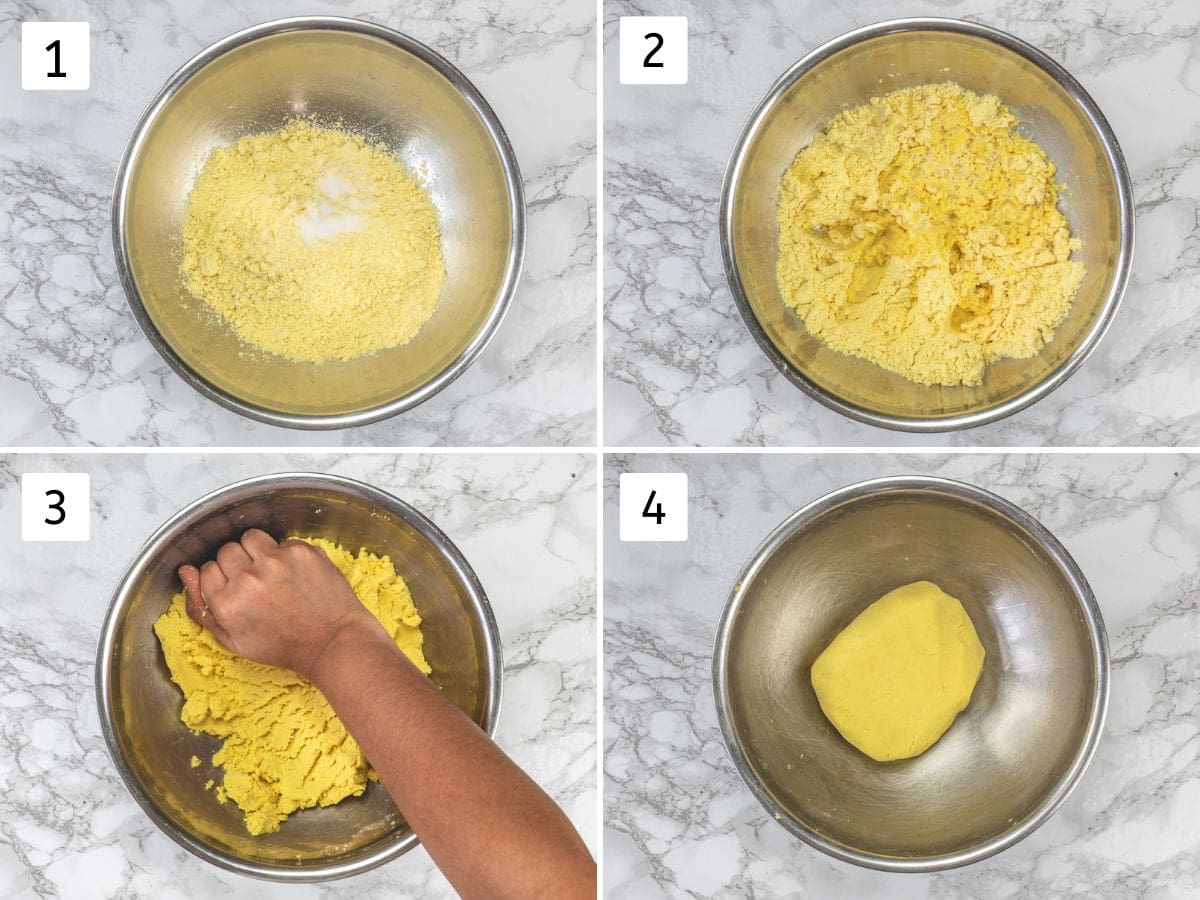
Kneading The Dough:
1) Take makki ka atta and salt in a wide bowl and mix.
2) Add hot water little at a time and start kneading the dough until the dough comes together.
3) Then continue kneading for 5-7 minutes until it looks pliable and smooth. Use the pressure from the bottom of your palm and stretch the dough (as shown in the pic) and then gather and repeat.
4) You can see the dough has fewer cracks after kneading for 5 minutes. Cover the dough with a clean kitchen napkin or a plate and rest for 10-15 minutes.
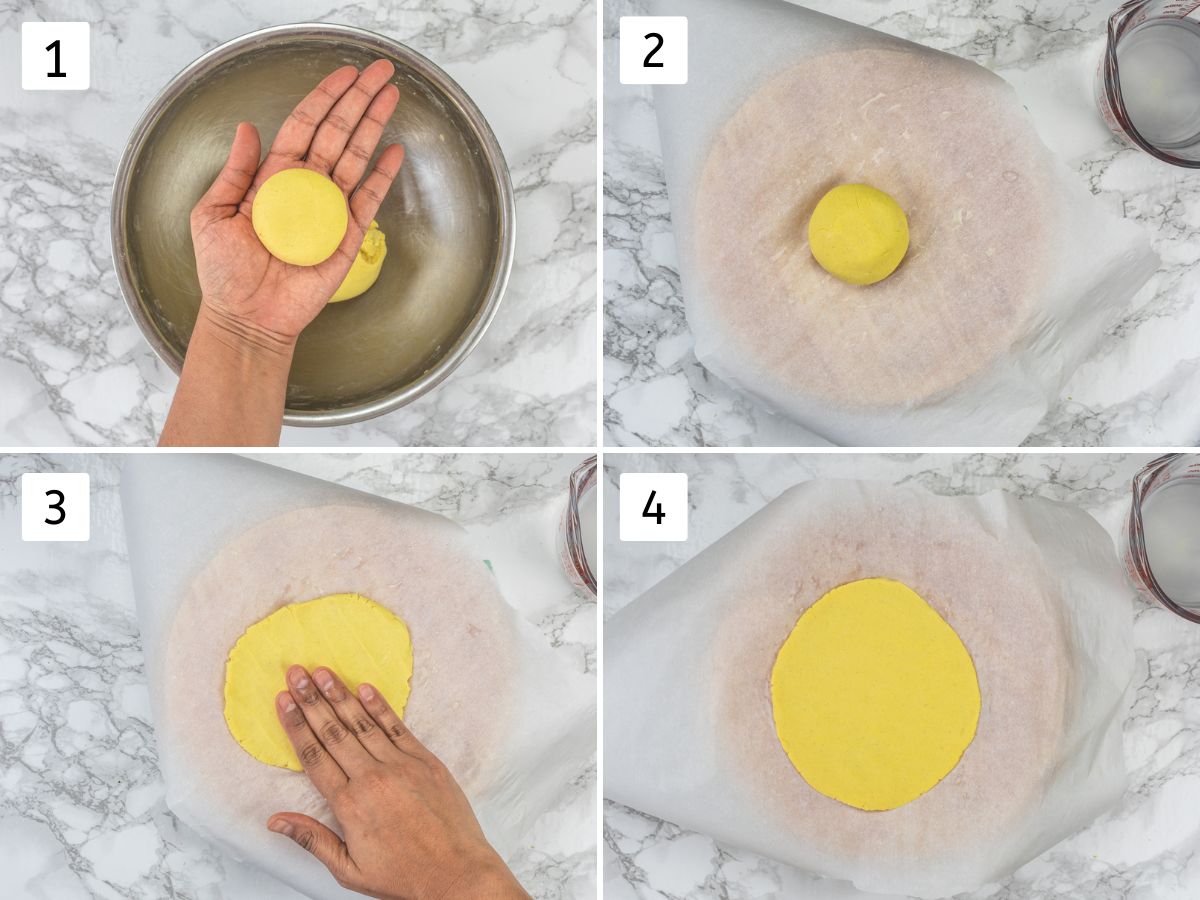
Shaping The Roti:
1) Divide the dough into 8 equal portions and work with one portion at a time. Make a smooth round ball and flatten it slightly between your palm.
2) Keep a glass of water on the side. Take a piece of parchment paper on the rolling board and wet the paper lightly. Place the flattened disk on the wet paper.
3) Now wet your fingers lightly and start patting and shaping. If it breaks from the edges then keep sealing using your finger and thumb and continue patting.
4) The round should be around 5-6 inches in diameter. Don’t make too big roti otherwise it will be hard to handle and it may break.
Cooking Roti:
1) While you were shaping the roti, heat the tawa (cast iron skillet) on medium heat. Place the roti with parchment paper on the tawa and gently peel the paper.
2) Let the bottom surface cook and it should have light brown spots. Before you flip the roti, apply some water on the top surface of the roti using your fingers (If not comfortable then use a pastry brush).
3) After applying water, flip the roti using a pair of tongs. Let the other surface cook until you get a few brown spots.
4) Then move the skillet to the back burner, turn the heat on high and place the roti directly on the flame. Keep moving so the roti gets even charred spots. Flip and similarly cook another side as well. If you have shaped the roti of even thickness then it may puff up partially or fully.
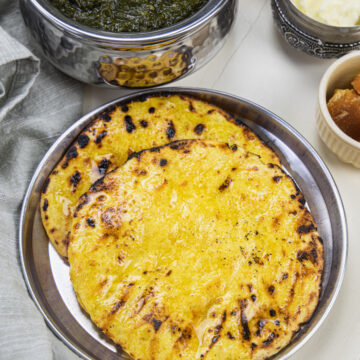
Remove it to a plate and smear the ghee on roti and serve.

💭 Expert Tips For Makki Ki Roti Recipe
- Use hot water to knead the dough. Hot water is absorbed by the flour easily and it makes soft and pliable dough. So it doesn’t break too much white shaping.
- Kneading the dough for 5-7 minutes is a must. This step helps to bind the dough and makes it smooth and soft (instead of crumbly and cracky).
- Water is used while shaping roti to make it non-sticky to your hand or paper (not dry flour or oil). So always wet your parchment paper each time. Plus, wet your finger while shaping the roti.
- No rolling pin is required. Use your wet fingers to pat and shape into round roti. Trust me rolling pin will break your roti but your fingers make the even-thickness roti without breaking much.
- Again water is applied while cooking the roti so it doesn’t dry out. If you do not apply water while cooking, roti might have cracks all over the surface and it won’t puff up.
- Be patient while cooking this this roti, as it takes some time. Because these are a little thick compared to phulka roti. So make sure that it is cooked properly. Raw roti will make your stomach upset.
🍽 What To Serve With Makki Ki Roti?
- Makki di roti should be served hot/warm within a few minutes of cooking it to get the best taste and texture experience.
- Though you can cook all the roti, smear ghee on top and stack them on top of each other and keep it covered until finished cooking all. Then serve or consume these within a couple of hours.
- Storing it for the next day is not a good idea.
- Makki ki roti is usually served with sarson ka saag as a meal along with sides of sliced onions, jaggery and pickle. You can add a dollop of white butter (makhan) to warm roti before serving.
- This can be served as breakfast along with a cup of tea.
Check Out Other Winter Flatbreads
Did you try this makki ki roti recipe? I’d love to hear about it! Leave a review in the comment section below.
Makki Ki Roti Recipe
US measuring cups are used (1 cup = 240 ml)
Ingredients
- 2 cups Makki ka atta, (maize flour or yellow cornmeal)
- ½ teaspoon Salt, or to taste
- Little less than 1 cup Hot water
- Ghee (clarified butter), to smear on top of cooked roti
Instructions
- Kneading The Dough: Take makki ka atta and salt in a wide bowl and mix.
- Add hot water little at a time and start kneading the dough until the dough comes together.
- Then continue kneading for 5-7 minutes until it looks pliable and smooth. Use the pressure from the bottom of your palm and stretch the dough (as shown in the pic above) and then gather and repeat.
- Cover the dough with a clean kitchen napkin or a plate and rest for 10-15 minutes.
- Shaping The Roti: Divide the dough into 8 equal portions and work with one portion at a time. Make a smooth round ball and flatten it slightly between your palm.
- Keep a glass of water on the side. Take a piece of parchment paper on the rolling board and wet the paper lightly. Place the flattened disk on the wet paper.
- Now wet your fingers lightly and start patting and shaping. If it breaks from the edges then keep sealing using your finger and thumb and continue patting.
- The round should be around 5-6 inches in diameter. Don’t make too big roti otherwise it will be hard to handle and it may break.
- Cooking Roti: While you were shaping the roti, heat the tawa (cast iron skillet) on medium heat.
- Place the roti with parchment paper on the tawa and gently peel the paper.
- Let the bottom surface cook and it should have light brown spots. Before you flip the roti, apply some water on the top surface of the roti using your fingers (If not comfortable then use a pastry brush).
- After applying water, flip the roti using a pair of tongs. Let the other surface cook until you get a few brown spots.
- Then move the skillet to the back burner, turn the heat on high and place the roti directly on the flame. Keep moving so the roti gets even charred spots. Flip and similarly cook another side as well. If you have shaped the roti of even thickness then it may puff up partially or fully.
- Remove it to a plate and smear the ghee on roti and serve.
Notes
- Use hot water to knead the dough. Hot water is absorbed by the flour easily and it makes soft and pliable dough. So it doesn’t break too much white shaping.
- Kneading the dough for 5-7 minutes is a must. This step helps to bind the dough and makes it smooth and soft (instead of crumbly and cracky).
- Water is used while shaping roti to make it non-sticky to your hand or paper (not dry flour or oil). So always wet your parchment paper each time. Plus, wet your finger while shaping the roti.
- No rolling pin is required. Use your wet fingers to pat and shape into round roti. Trust me rolling pin will break your roti but your fingers make the even-thickness roti without breaking much.
- Again water is applied while cooking the roti so it doesn’t dry out. If you do not apply water while cooking, roti might have cracks all over the surface and it won’t puff up.
- Be patient while cooking this roti, as it takes some time. Because these are a little thick compared to phulka roti. So make sure that it is cooked properly. Raw roti will make your stomach upset.