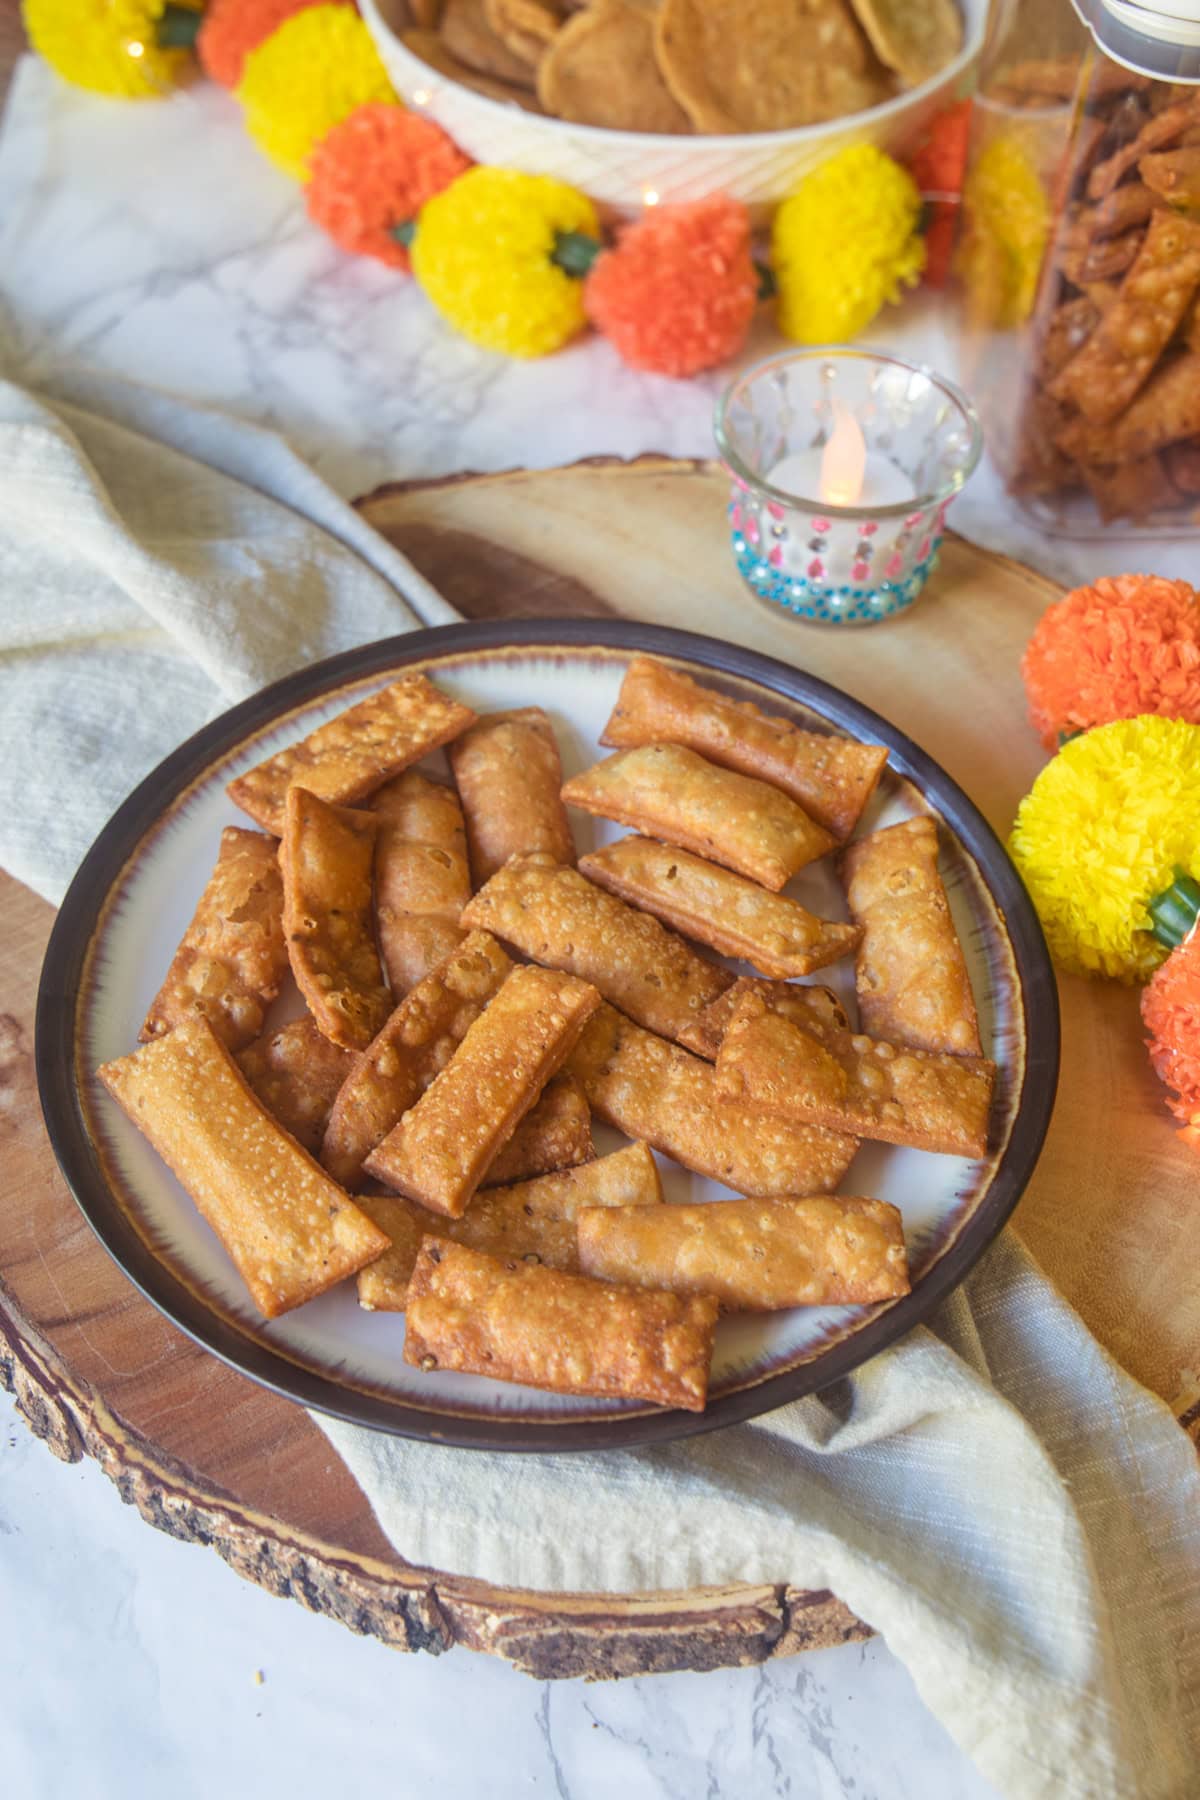
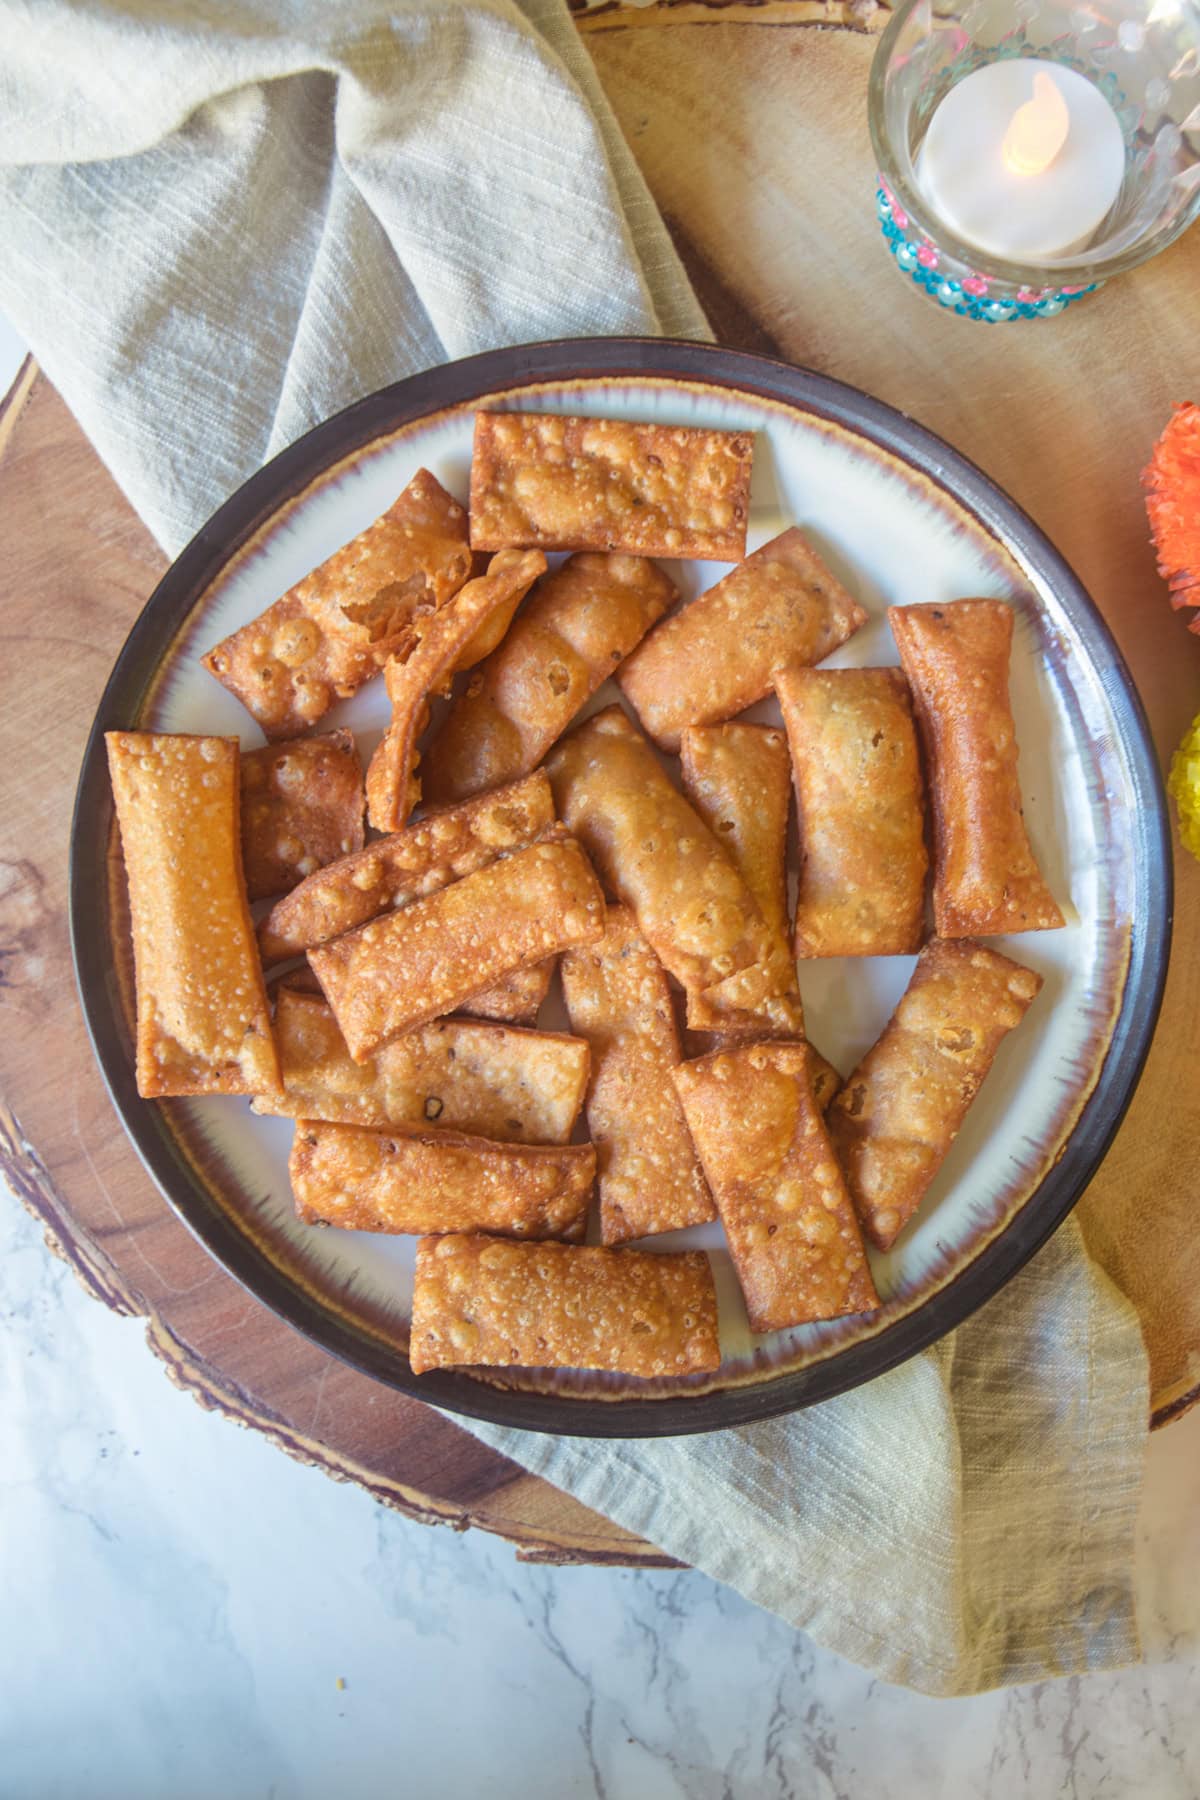
Namak Para Recipe (Namak Pare)
The BEST crispy, crunchy Namak Para! These are often made during Diwali, Holi, or Karwa Chauth festivals. Whether you’re snacking solo or sharing with friends and family, Namak Pare adds a delightful crunch to any moment!
About This Recipe
The Texture of Namak Pare:
- They are crispy, crunchy, and slightly flaky.
- The addition of oil in the dough makes it flaky, but you need to follow the exact flour-to-oil ratio to get the perfect flaky texture.
- Sooji (semolina) in the dough adds an extra crunch.
The Shape: I’ve cut them into long strips, but you can also cut them into small bite-sized squares for kids or into small or large diamond shapes (which is why they’re sometimes called “diamond cuts”).
My Namak Para Recipe: Traditionally, namak para are made with all purpose flour (maida), but here I have used whole wheat flour (chapati atta) just like my mom. Even with this healthier swap, there’s no compromise on texture or flavor!
With the Diwali festival coming soon, I made a batch of namak pare along with other festive snacks. Just like my mom, I prepare a variety of snacks during Diwali, like farsi puri, tikha gathiya, poha chivda, and chakli. She always made big batches, but since it’s just me and my husband now, I make smaller batches.
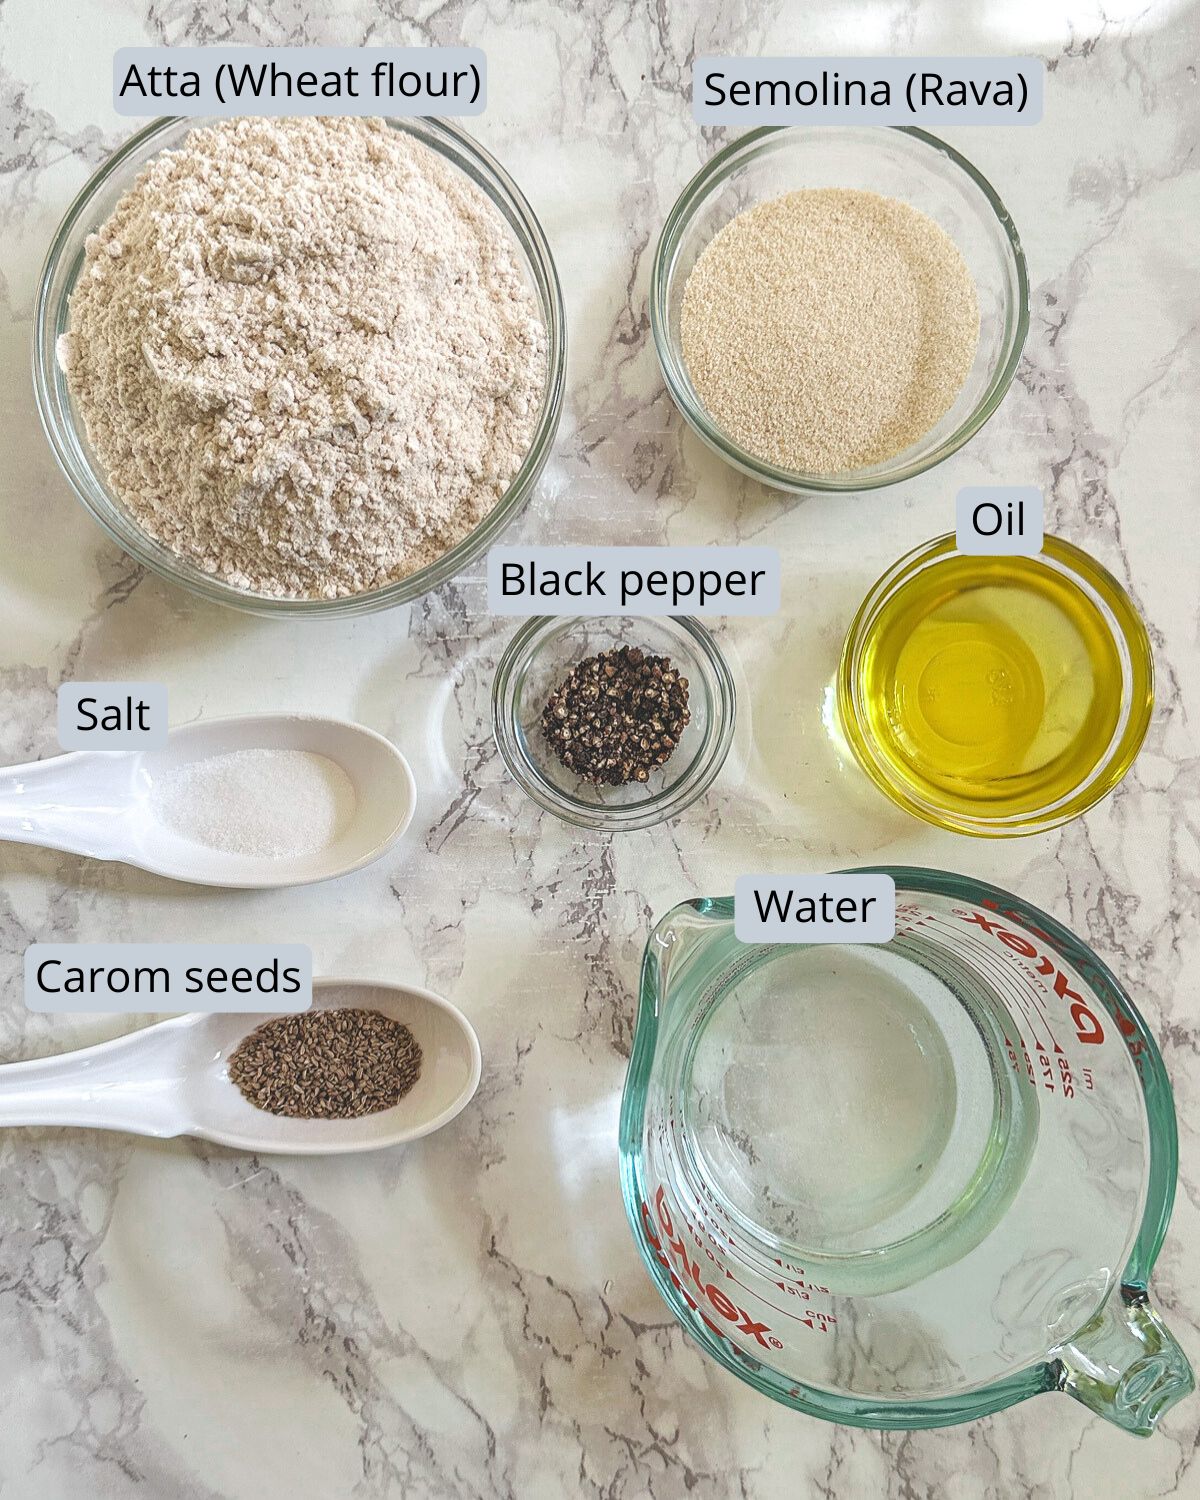
Ingredient Notes
Here’s a picture of the ingredients you’ll need to make this namak para recipe.
Step By Step Photo Instructions (With Tips)
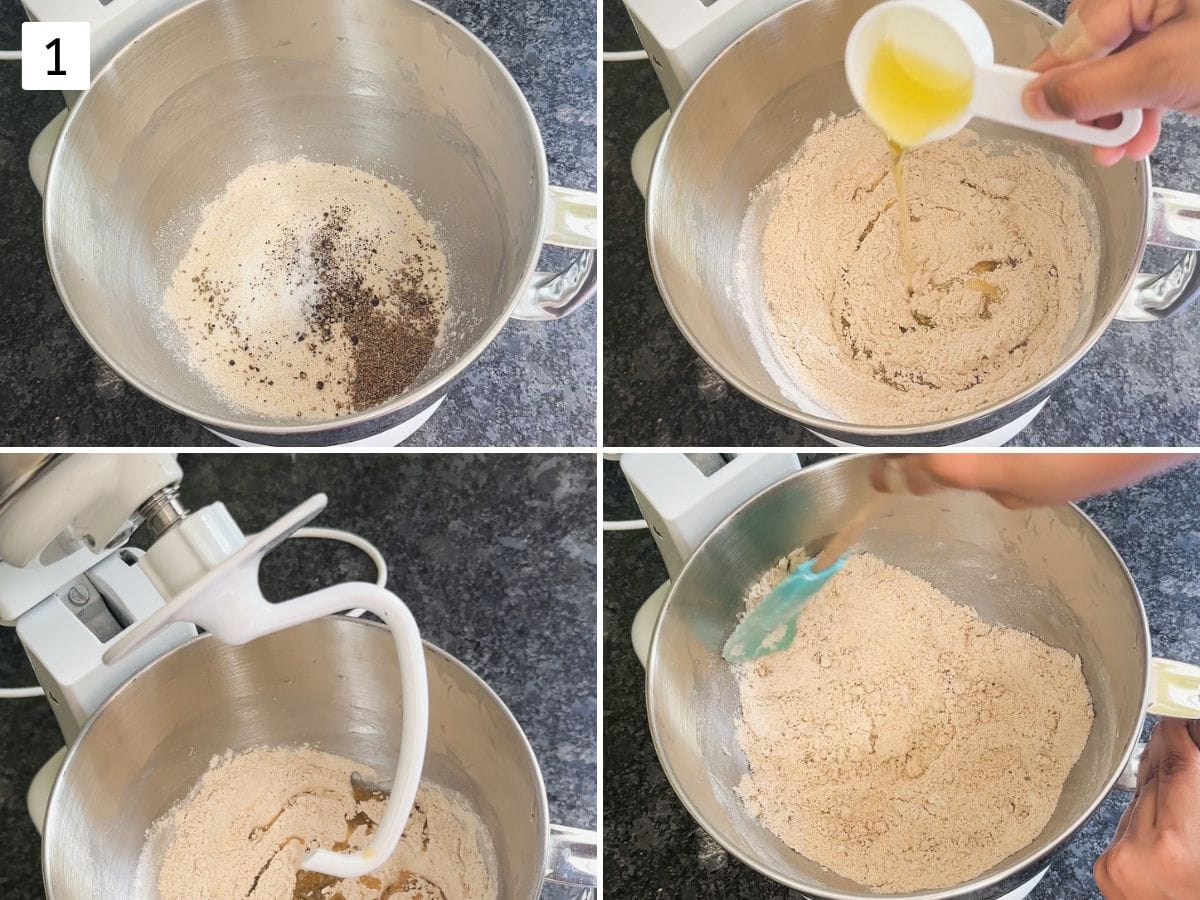
Step 1: Mix Flour & Oil (Moyan)
- In a KitchenAid stand mixer bowl, add atta, sooji, salt, crushed pepper, and ajwain. Mix everything with a spoon or spatula.
- Add oil to the flour mixture.
- Use the dough attachment.
- Turn on the mixer at low speed and let it run for about 3 minutes until the oil is well incorporated into the flour.
- If you notice any large clumps of oil-flour mixture, break them apart using a spatula.
If you are not using a stand mixer, you can achieve the same result by rubbing the oil into the flour with your fingertips.
TIP: Adding oil to the flour is known as ‘moyan’ or ‘moyen’ in Indian cooking. The correct proportion of oil to flour is essential for achieving the flaky texture of namak para.
– When you press the flour-oil mixture between your fingers, it should hold together like a crumbly mixture. If it doesn’t come together, it means you’ve added too little oil. Adjust accordingly for the perfect texture!
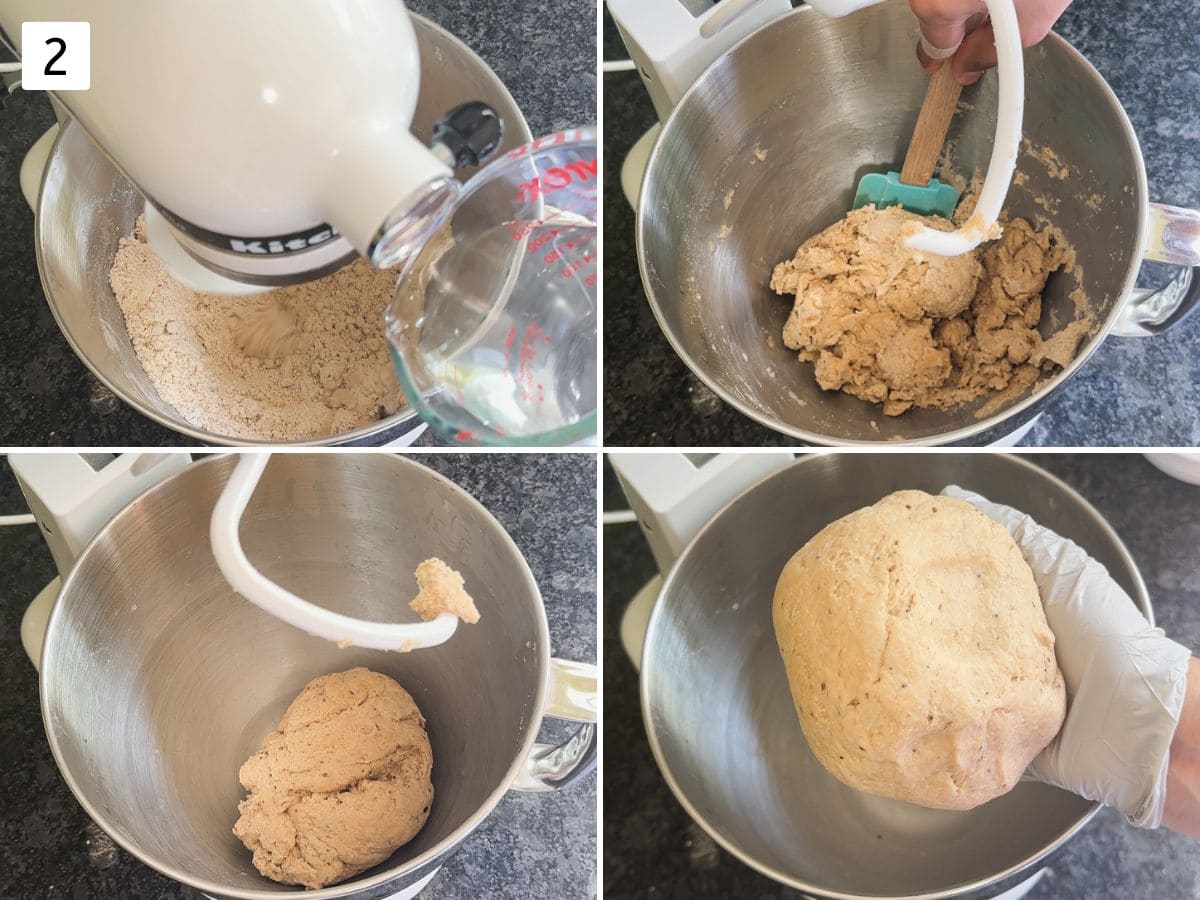
Step 2: Knead The Dough
- Keep the mixer running on LOW and drizzle water around the edges of the bowl. Gradually, the mixture will begin to clump together into a dough.
- Once all the water is added, stop the mixer and scrape down the sides and bottom of the bowl.
- Restart the mixer on low-medium until it forms a cohesive dough ball.
- Using your hands, gather and smooth out the dough. The namak para dough should be semi-stiff—not loose or soft like roti or chapati.
TIPS:
– Add Water Gradually: Do not pour all the water at once. Instead, add it gradually from all sides while the mixer is running.
– Scrape the Bowl: Since the namak para dough should be tight (semi-stiff), stop the mixer halfway through to scrape the sides and bottom.
– Don’t Worry About Smoothness: It’s okay if the dough doesn’t come together in one smooth ball. Because it’s a stiff dough, it may clump into 2-3 parts. Just gather it with your hands and shape it into a dough ball.
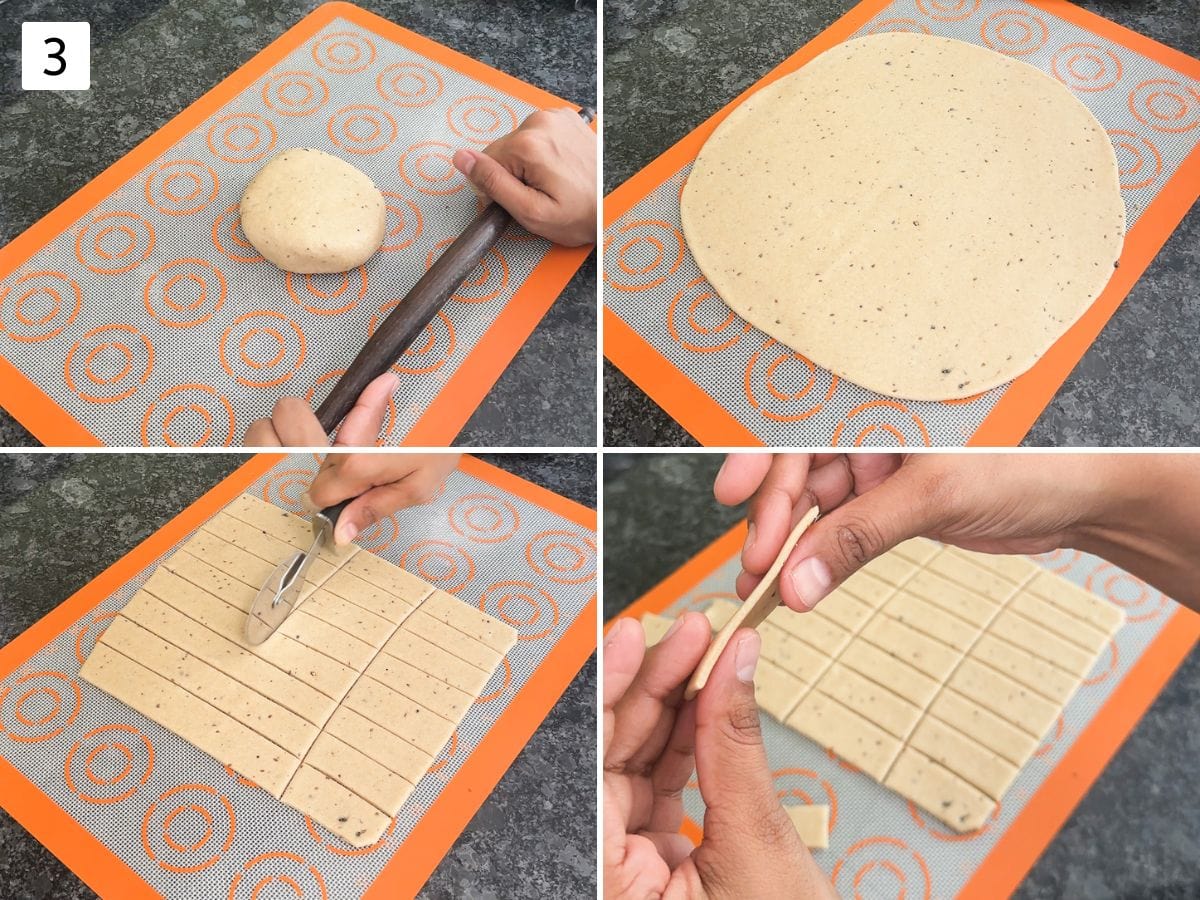
Step 3: Roll & Cut Namak Pare
- Divide the dough into two or three parts. Make a flattened disc and start rolling.
- Roll into a ¼ – inch thickness.
- Cut into 2-3 inches long strips using a knife or pizza cutter.
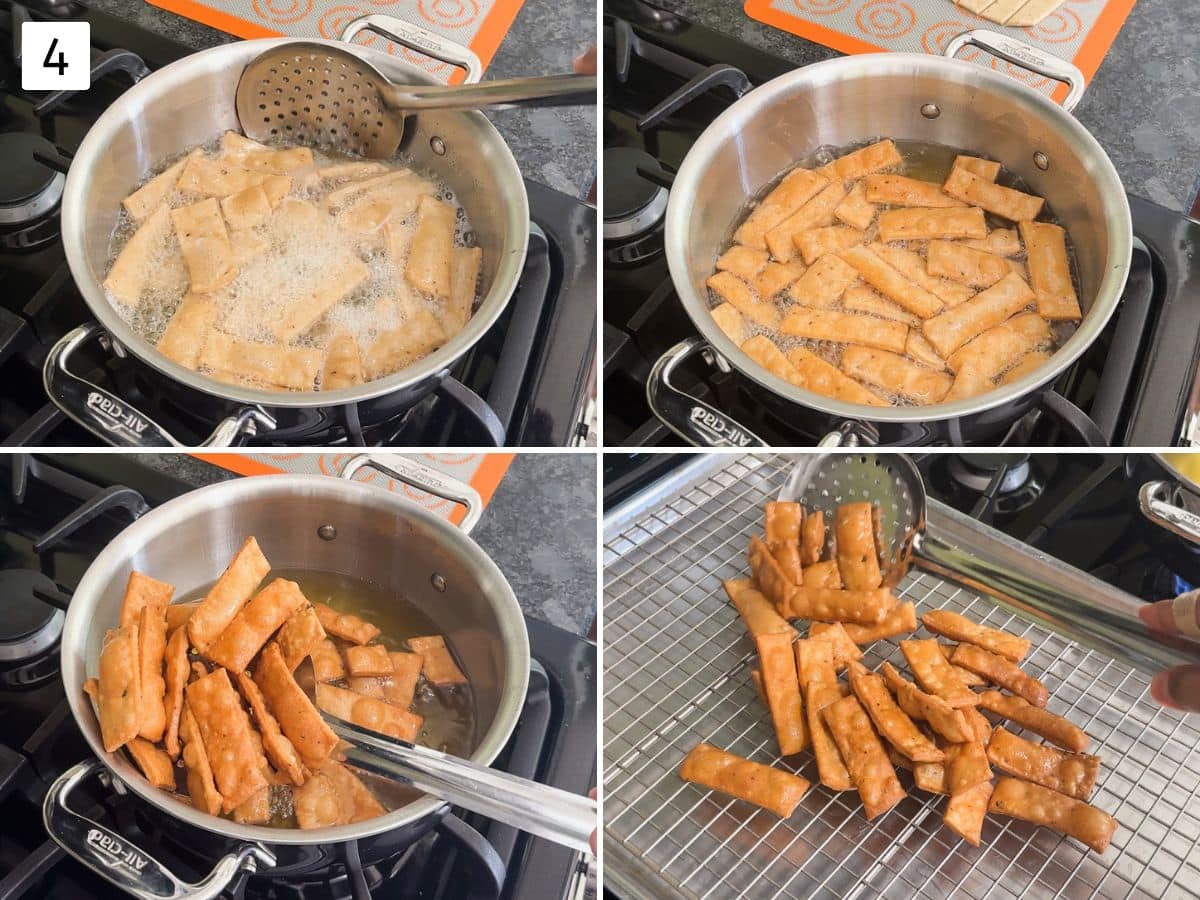
Step 4: Deep Fry Namak Para:
- In a kadai, heat oil for deep frying over medium heat.
- Once the oil is hot, lower the heat to low. Add a few namak pare at a time. Avoid adding too many at once to prevent them from sticking together.
- Fry on low-medium heat until they turn golden brown and crispy.
- Use a slotted spatula to remove the namak pare from the oil, allowing excess oil to drain. Transfer them to a plate.
- While the first batch is frying, roll out the next dough ball, cut it, and keep it ready for the next frying batch.
TIPS:
– Check Oil Temperature: To determine if the oil is ready for frying, drop a tiny piece of dough into the oil. It should sink to the bottom for a few seconds and then rise to the surface. This indicates the oil is at the perfect temperature. If the piece rises immediately, the oil is too hot, which is suitable for frying pakoras but not for crispy snacks.
– Maintain Low-Medium Heat: Always fry namak para on low to medium heat. Adjust the gas flame as needed to keep the oil at the right temperature. Frying on medium or high heat may cause them to brown quickly while remaining raw and soft inside.
Storage Instructions
- Allow the fried namak para to cool completely before storing.
- Once cooled, place them in an airtight container.
- They will stay fresh for up to 3-4 weeks (if they last that long 😉).
Check Out Other Diwali Snacks Recipes
Did you try this recipe? I’d love to hear about it! Leave a review in the comment section below. If you’re sharing it on your Instagram then don’t forget to tag me @spice.up.the.curry
Follow me on all of the platforms below.
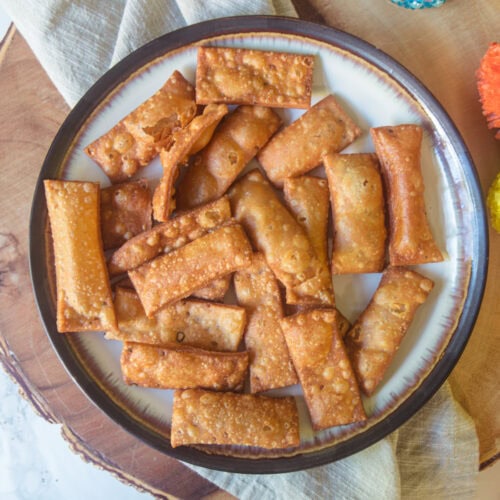
Namak Para Recipe (Namak Pare)
US measuring cups are used (1 cup = 240 ml)
Ingredients
- 2 cups Whole wheat flour (Chapati atta)
- ¼ cup Sooji (rava or semolina)
- 1 teaspoon Ajwain (Carom seeds)
- ½ teaspoon Black peppercorns, crushed
- ¾ teaspoon Salt
- ¼ cup Oil, + more for frying
- ¾ cup Water
Instructions
Knead The Dough:
- In a KitchenAid stand mixer bowl, add atta, sooji, salt, crushed pepper, and ajwain. Mix everything with a spoon or spatula.
- Add oil to the flour mixture. Use the dough attachment. Turn on the mixer at low speed and let it run for about 3 minutes until the oil is well incorporated into the flour.
- If you notice any large clumps of oil-flour mixture, break them apart using a spatula.
- Keep the mixer running on LOW and drizzle water around the edges of the bowl. Gradually, the mixture will begin to clump together into a dough.
- Once all the water is added, stop the mixer and scrape down the sides and bottom of the bowl.
- Restart the mixer on low-medium until it forms a cohesive dough ball. Using your hands, gather and smooth out the dough. The namak para dough should be semi-stiff—not loose or soft like roti or chapati.
Roll & Cut:
- Divide the dough into two or three parts. Make a flattened disc and start rolling.
- Roll into a ¼ – inch thickness using a rolling pin.
- Cut into 2-3 inches long strips using a knife or pizza cutter.
Fry Namak Para:
- In a kadai, heat oil for deep frying over medium heat.
- Once the oil is hot, lower the heat to low. Add a few namak pare at a time. Avoid adding too many at once to prevent them from sticking together.
- Fry on low-medium heat until they turn golden brown and crispy.
- Use a slotted spatula to remove the namak pare from the oil, allowing excess oil to drain. Transfer them to a plate.
- While the first batch is frying, roll out the next dough ball, cut it, and keep it ready for the next frying batch.
Notes
- Adding oil to the flour is known as ‘moyan’ or ‘moyen’ in Indian cooking. The correct proportion of oil to flour is essential for achieving the flaky texture of namak para.
- Check Oil Temperature: To determine if the oil is ready for frying, drop a tiny piece of dough into the oil. It should sink to the bottom for a few seconds and then rise to the surface. This indicates the oil is at the perfect temperature. If the piece rises immediately, the oil is too hot, which is suitable for frying pakoras but not for crispy snacks.
- Maintain Low-Medium Heat: Always fry namak para on low to medium heat. Adjust the gas flame as needed to keep the oil at the right temperature. Frying on medium or high heat may cause them to brown quickly while remaining raw and soft inside.
hi kanan..i tried namak pare last diwali..when hot they were crispy and tasted great but a day after, they were a bit hard..why? and would like to know if the oil and water added to the dough is hot or warm or chilled or just at room temperature..hoping to try making them again for this diwali with better results..
Use room temperature water. And oil also at room temperature.
Try kneading the dough stiff (not soft). it will make the namak pare crispy.
If the dough is soft then it becomes hard.
The given water:atta ratio of just the guideline. follow your instinct. You may need more or less water depending on flour’s freshness and quality.
Can I use wheat flour instead of maida?
yes you can. but you may need to adjust the water quantity.