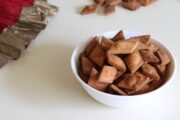
Shankarpali recipe or shakkar para recipe - sweet, crispy yet melt in your mouth textured, deep fried, whole wheat flour biscuits.
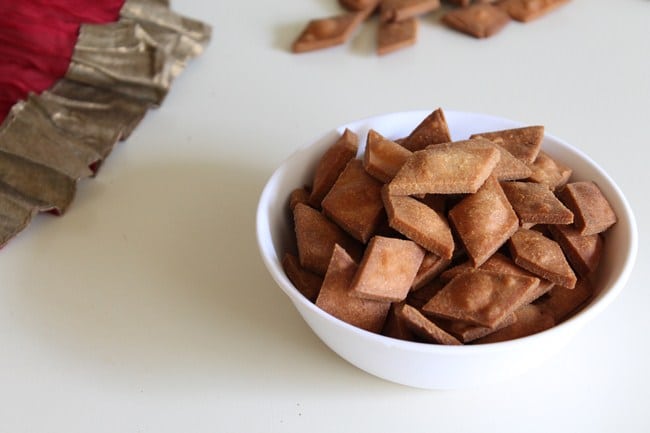
Shankarpali is traditional Maharashtrian snack recipe. It is usually made on Diwali festival. These are crispy, sweet, melt in mouth and yummy snack that you can have it any time. It is not necessary to have festival
Usually this is made from all purpose flour and semolina. But my mom make it little healthy, she uses whole wheat flour. So I am following her footsteps. In Gujarat, it is known as shakkar para.
There are two methods to make shakkar pare –
- Maharashtrian style or Gujarati style – sugar is added while making dough and then deep fried in oil. They are quite thick and crunchy and lightly sweet in taste.
- Rajasthani style – there is no sugar added in the dough. After deep frying, they are coated with sugar syrup. I will share this method sometime later.
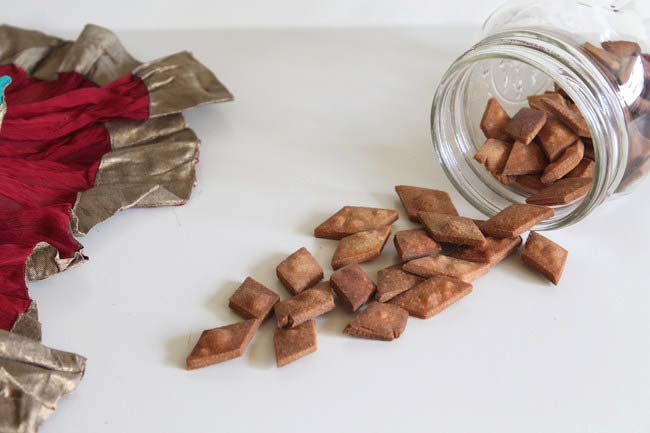
These sweet shankarpali are so tasty that you cannot stop munching. I like to make them in smaller bite size pieces. But you can make any size you want. Only keep in mind that bigger the size, longer time needs to cook.
I like to eat shakkar para as it is. But my husband likes to eat it with a cup of tea. As per his opinion, nothing beats a bowl of it and cup of tea, it’s like heaven. These are crispy yet melt in your mouth. So let’s start making these yummy goodies.
Check out other Diwali snacks recipes
Punjabi mathri // Namak para // Masala crispy puri // Poha chivda
Step By Step Photo Instructions:
1) Heat the milk just till it becomes warm. I have warmed up the milk in microwave. You can do it on stove top too.
2) Now add sugar to warm milk.
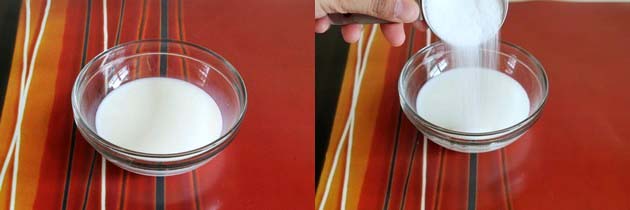
3) Add cardamom powder.
4) Stir very well till sugar dissolves. We need to warm the milk just to dissolve the sugar. So do not boil the milk. Keep it aside.
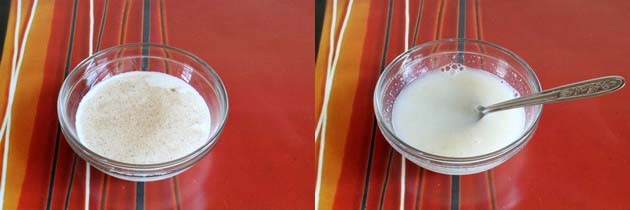
5) Take whole wheat flour and salt in a bowl. Mix it and add 2 tablespoons of oil.
6) Rub it with your hand. So oil will coat the flour and make it coarse texture.
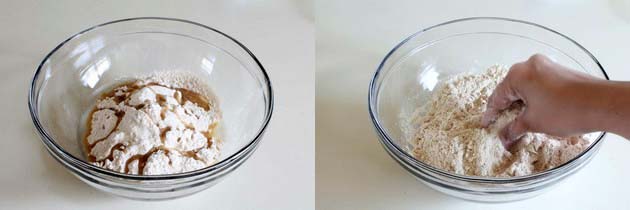
7) Then slowly add milk and sugar mixture.
8) Keep knead the dough by hand. Add some more milk and knead again till you get very stiff dough.
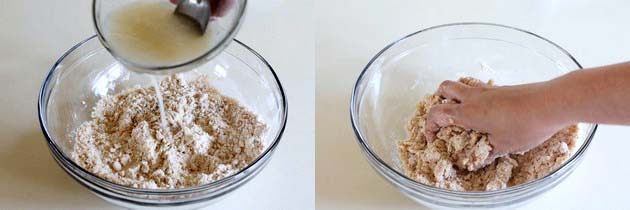
9) It has to be stiff (firm) dough. If your dough is soft then it will be very sticky because of sugar. and you won’t get crispy shakkar pare.
10) No need to rest the dough. Divide it into two equal portions. And take one portion at a time and flatten it out into round disk.
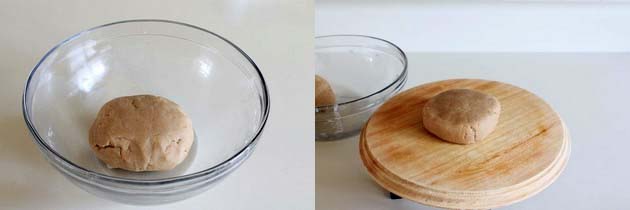
11) Now roll it with rolling pin. You have to use more pressure than regular chapati rolling, because dough is really stiff. While you were rolling it start to break from edges.
12) Use your thumb and finger to seal it and roll again. As you find it is breaking, seal it and roll it.
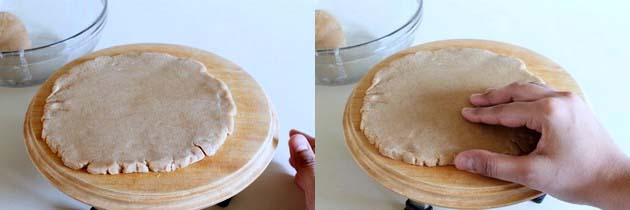
13) Keep sealing and rolling till you get 8-9 inch big circle or ¼ inch thick. And you will have very few cracks at edges.
14) Cut into your desire shape diamonds or squares. I cut into bite size diamonds.
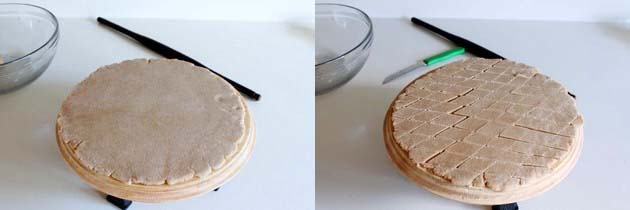
15) Remove it to another plate in single layer and let it dry for at least 20 minutes. This step will help in making it crispy. Meanwhile roll another ball and prepare shankarpali.
16) Heat the oil in a pan on medium-low heat. How to check oil is hot? – add small portion of dough into oil, it will come on top immediately then oil is ready to fry. If takes some time to come on top then oil is not hot enough to fry. Once oil is hot add few at a time. Keep moving at intervals for even browning. I have fried in four batches.
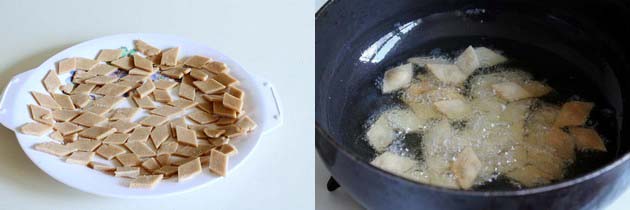
17) Fry till they are golden brown from both sides. It is important to have medium-low temperature, otherwise they get brown fast and stay raw from inside.
18) When they are golden brown from both sides then remove them to paper towel lined plate.
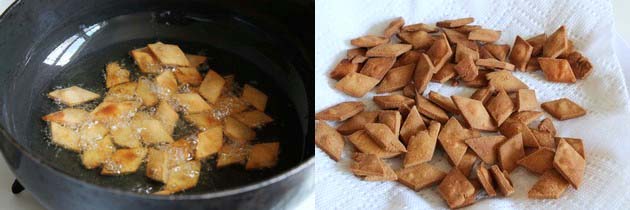
Let it cool completely and then store in airtight container. What are you waiting for? Get in your kitchen and make this shakkar para for this Diwali. Enjoy with your family or loved ones.
Serving suggestion: Traditionally served as a snack to guests on Diwali festival. You can enjoy or munch on anytime of the day.
Expert Tips:
- Whole wheat flour – you can substitute with all purpose flour (Maida). Or even you can use half maida and half chapati atta. But I wanted to make it little healthy so I have used whole wheat atta.
- Oil – Traditionally ghee is used while making dough. If you use ghee or clarified butter, then it will absorb more oil while frying the shankarpali. So for the health purpose I have used oil. Choice is yours, you can use ghee or oil.
- Dough should be firm and tight, so shakkar para will become crispy. If the dough is soft then it will be sticky. because of the sugar it becomes really sticky. So make sure that dough is firm and stiff.
- Let the cut Shankarpali dry out for 20 minutes, it help to make it more crispy.
- Oil should be on medium-low heat while frying.
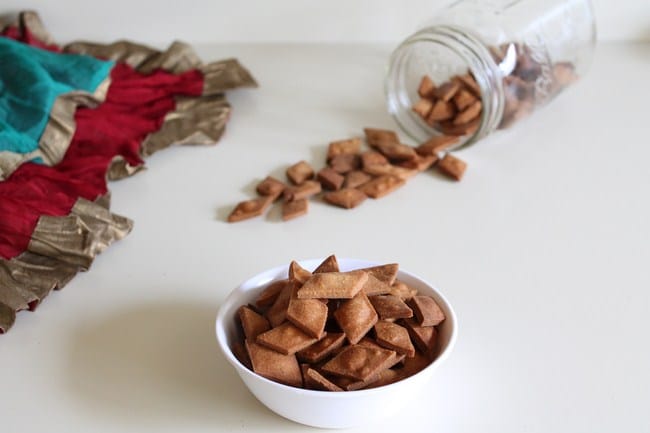
Did you try this shankarpali recipe (Shakkar para)? I’d love to hear about it! Leave a review in the comment section below.
Recipe Card
Shankarpali (Shakkar Para)
Ingredients
- 1 ½ cups Whole wheat flour (chapati atta)
- ⅛ teaspoon Salt
- 2 tablespoons Oil
- ⅓ cup Milk
- ¼ cup Sugar
- ⅛ teaspoon Green cardamom seeds powder
- Oil for deep frying
Instructions
- Heat the milk just till it becomes warm. I have warmed up the milk in microwave. You can do it on stove top too.
- Now add sugar to warm milk. Add cardamom powder.
- Stir very well till sugar dissolves. We need to warm the milk just to dissolve the sugar. So do not boil the milk. Keep it aside.
- Take whole wheat flour and salt in a bowl. Mix it and add 2 tablespoons of oil.
- Rub it with your hand. So oil will coat the flour and make it coarse texture.
- Then slowly add milk and sugar mixture.
- Keep knead the dough by hand. Add some more milk and knead again till you get very stiff dough. It has to be stiff (firm) dough. If your dough is soft then it will be very sticky because of sugar. and you won’t get crispy shakkar pare.
- No need to rest the dough.
- Divide it into two equal portions.
- And take one portion at a time and flatten it out into round disk.
- Now roll it with rolling pin. You have to use more pressure than regular chapati rolling, because dough is really stiff. While you were rolling it start to break from edges.
- Use your thumb and finger to seal it and roll again.
- Keep sealing and rolling till you get 8-9 inch big circle or ¼ inch thick.
- Cut into your desire shape diamonds or squares.
- Remove it to another plate in single layer and let it dry for at least 20 minutes.
- Meanwhile roll another ball and prepare shankarpali.
- Heat the oil in a pan on medium-low heat. Once oil is hot add few at a time. Keep moving at intervals for even browning.
- Fry till they are golden brown from both sides. then remove them to paper towel lined plate.
- Fry rest of them.
- Let it cool completely and then store in airtight container.
Notes
- Whole wheat flour – you can substitute with all purpose flour (Maida). Or even you can use half maida and half chapati atta. But I wanted to make it little healthy so I have used whole wheat atta.
- Oil – Traditionally ghee is used while making dough. If you use ghee or clarified butter, then it will absorb more oil while frying the shankarpali. So for the health purpose I have used oil. Choice is yours, you can use ghee or oil.
- Dough should be firm and tight, so shakkar para will become crispy. If the dough is soft then it will be sticky. because of the sugar it becomes really sticky. So make sure that dough is firm and stiff.
- Let the cut Shankarpali dry out for 20 minutes, it help to make it more crispy.
- Oil should be on medium-low heat while frying.

Divya
I was searching for shankarpali recipe using wheat flour and i got urs.. I ve tried this recipe for diwali came out good.. Thank you 🙂
Kanan
Nice to know that it came out good. Thanks for the feedback Divya
Hana
Really thank
I try it it's very helpful for me
Kanan
aesome. Great to know that recipe is helpful