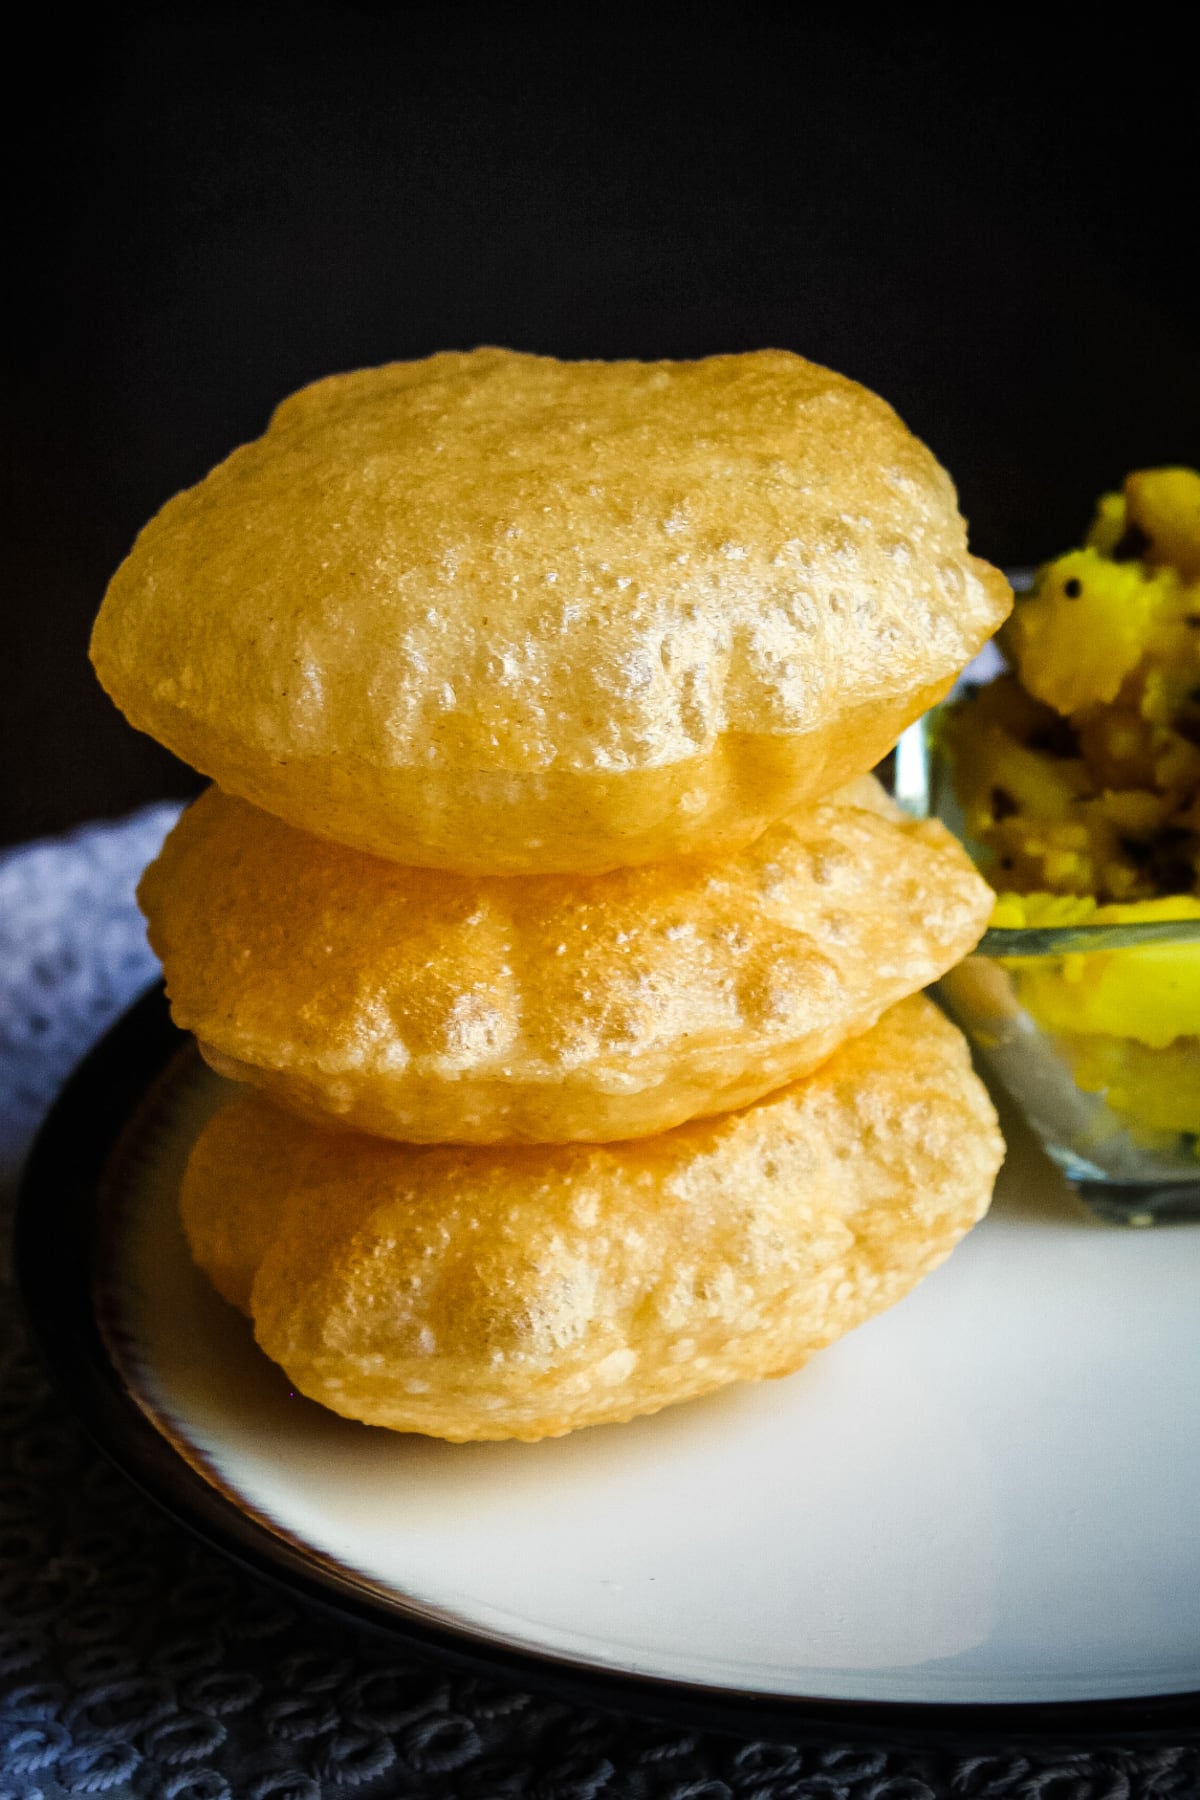
Puri Recipe (Poori)
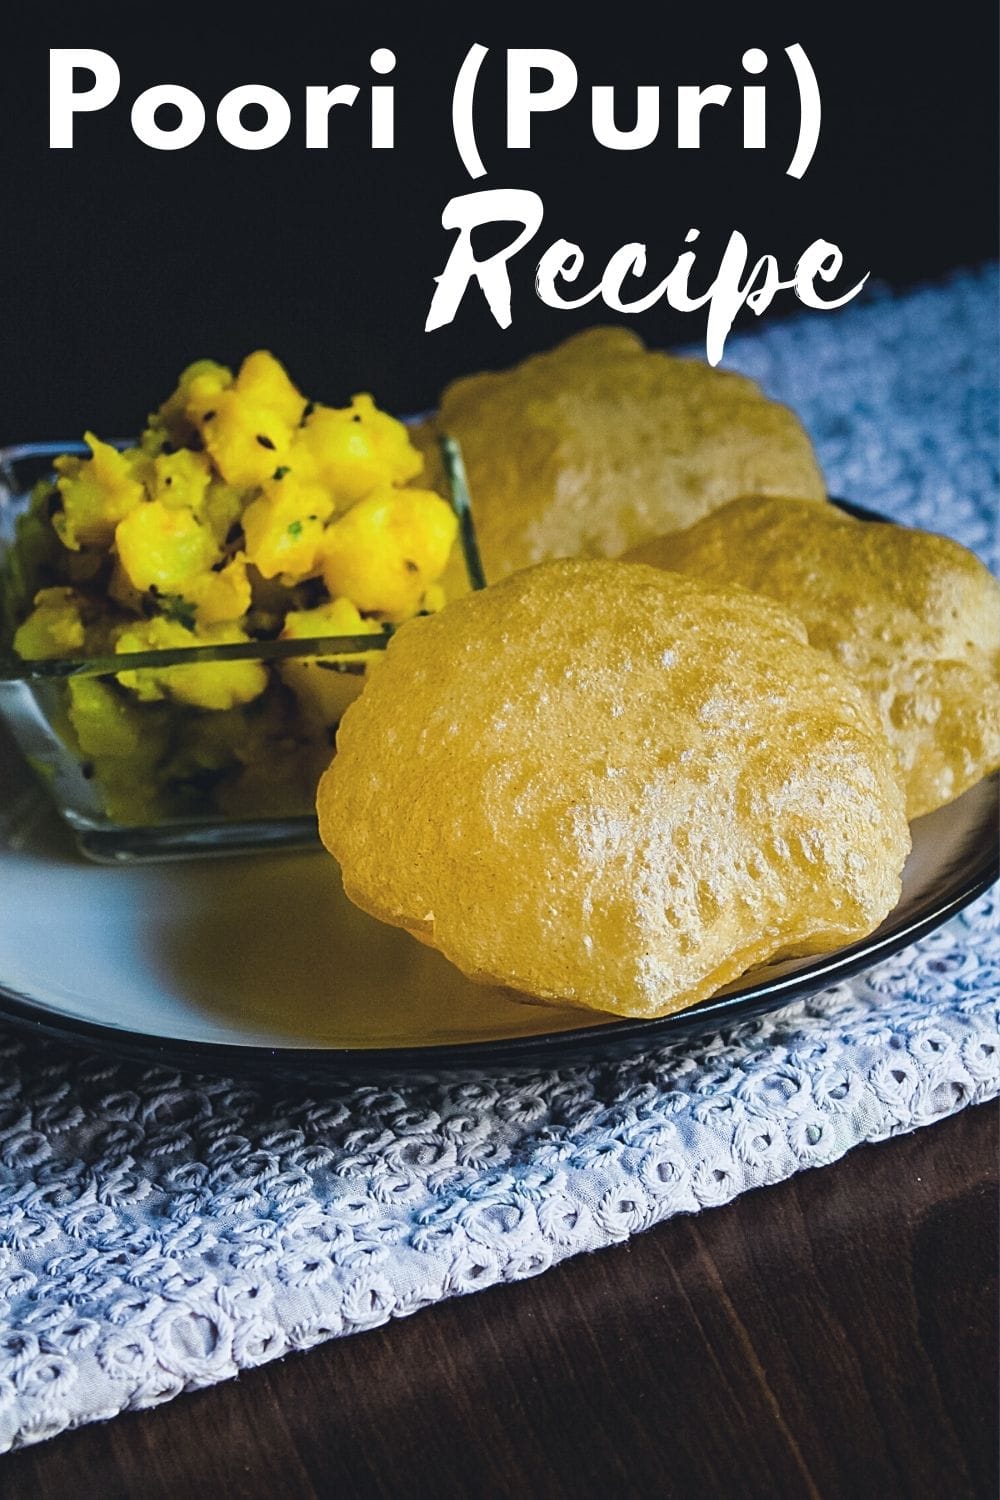
The only poori recipe you’ll ever need! The puri turns out slightly crisp, soft and fluffy every time. Plus, they are not oily at all. It’s easy to prepare and you’ll learn all the tips and tricks to perfect them.
❤️ What Is Poori?
Poori (or puri) is the popular Indian deep-fried, puffy bread made with whole wheat flour. Other ingredients are salt, oil and water.
At home, we always make puri with whole wheat flour aka chapati atta. But few restaurants and street vendors make with all purpose flour.
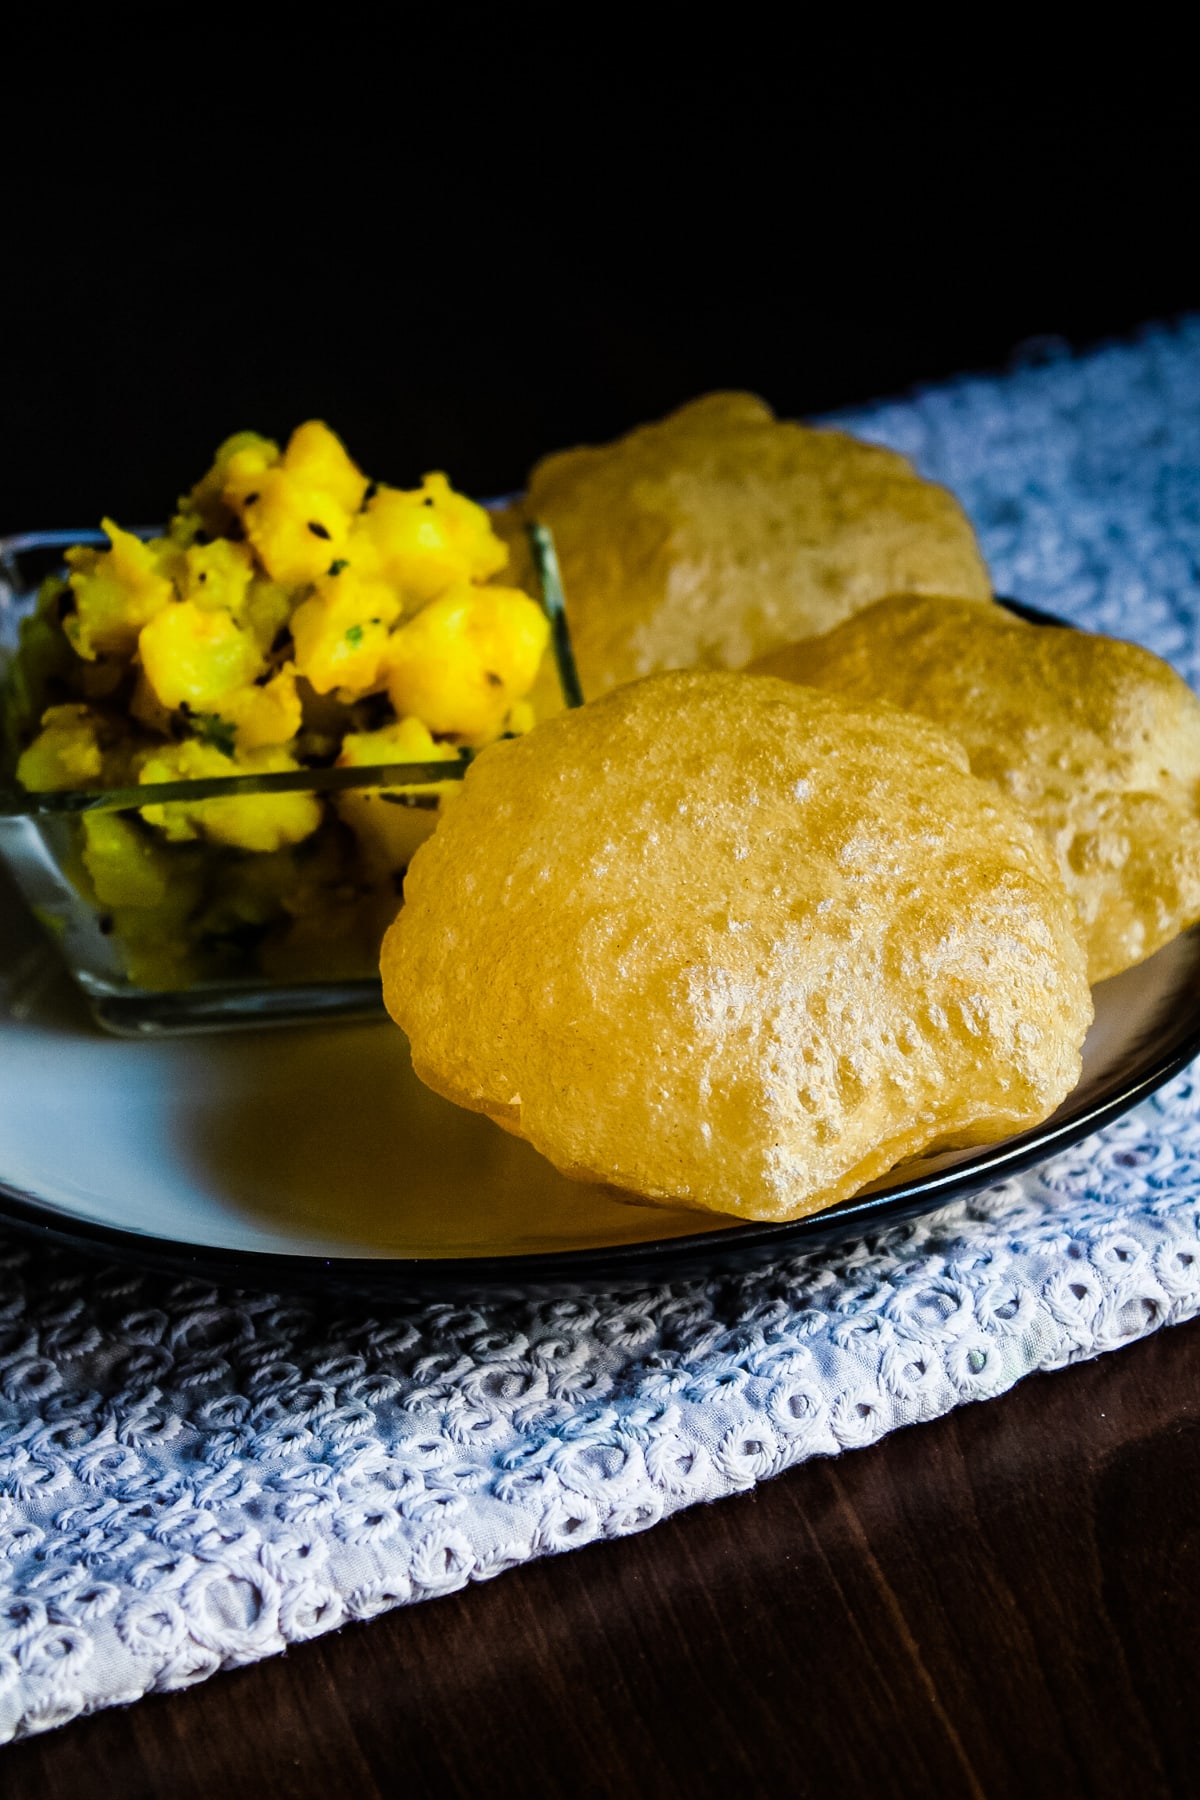
These are very versatile accompaniment that can be served for any meal whether breakfast, lunch or dinner. Plus, it can be served with savory side dishes like curry, sabzi, dal as well as sweets like sooji halwa, kheer, aamras.
In India, puri is usually made during festivals, special occasions or guests meal. In Gujarat (where I grew up), you’ll never see a wedding function meal without poori.
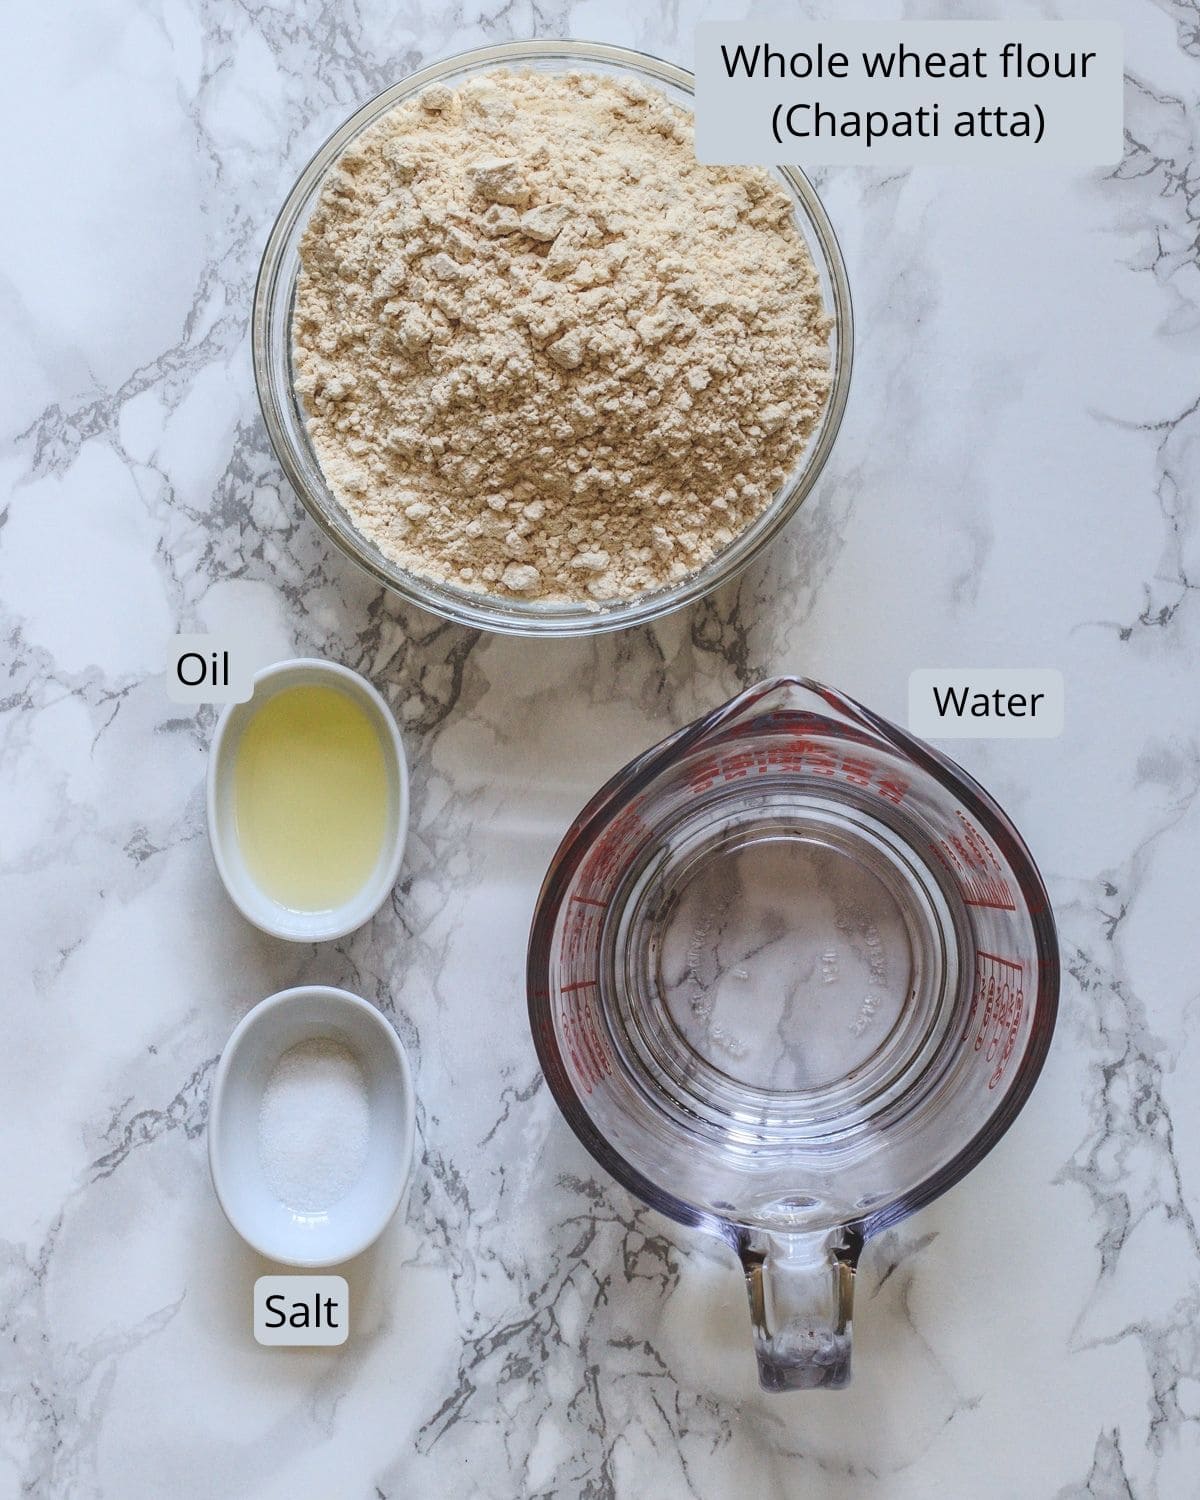
🧾 Ingredient Notes
Here is the pic of the ingredients you’ll need to make poori recipe. Only 4 ingredients are required to make the dough. Plus, you’ll need more oil for deep-frying.
Whole wheat flour (aka chapati atta): To my non-Indian readers, this is not the same wheat flour you get in American grocery stores. This chapati atta is finer in texture and easily available in Indian grocery stores.
Note: Every household has their own version. Some add a teaspoon of sugar while kneading the dough which gives the golden brown color to the puri. Some add 2 teaspoons of semolina (sooji or rava) which makes the puri crispy. But I have never seen my mom, grandmoms adding these two, so I have not added.
👩🍳 How To Make Puri Recipe? (stepwise Photos)
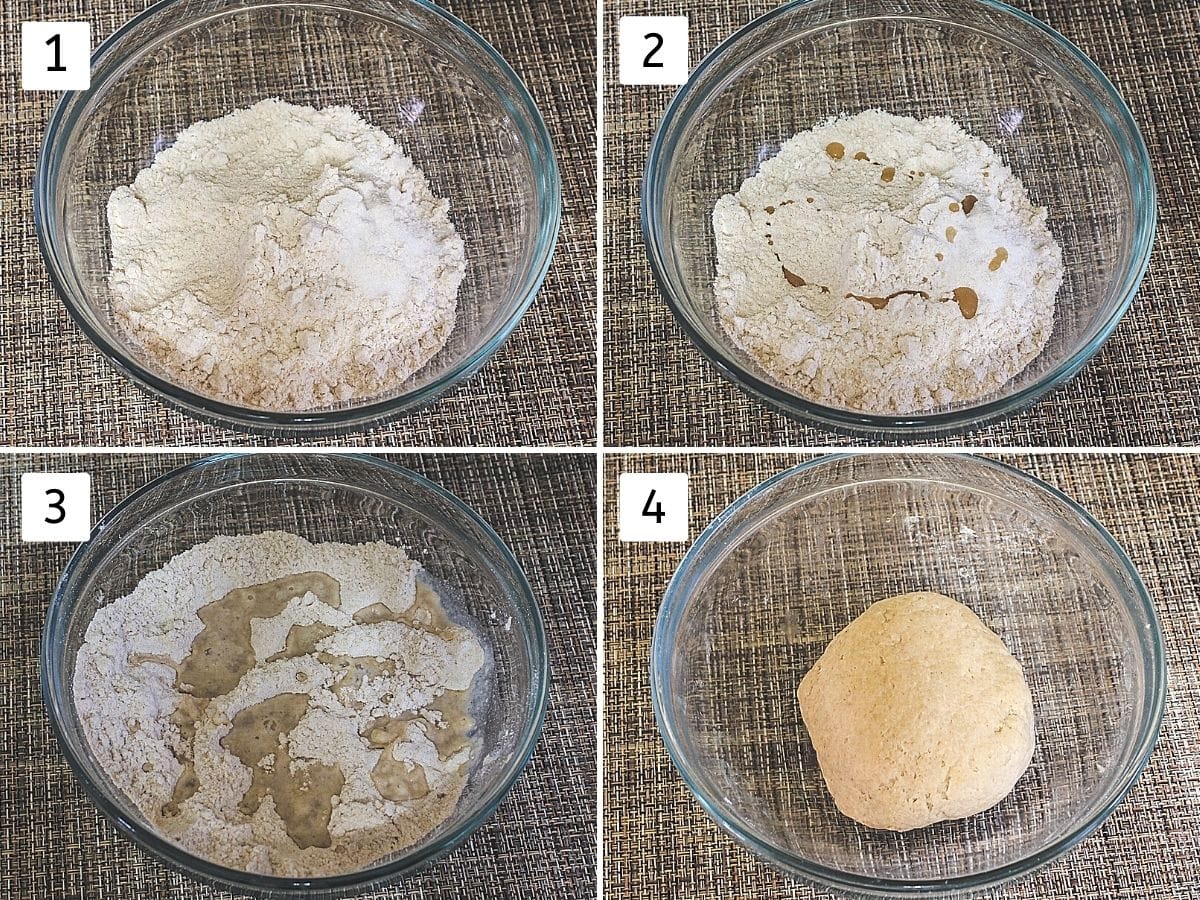
Kneading The Dough:
1) Take chapati atta and salt in a bowl. Mix it well.
2) Add a teaspoon of oil and mix by rubbing between your thumb and fingers.
3) Then add little water at a time and start kneading the dough.
4) The dough should be smooth yet semi-soft (Not too soft like roti and not too stiff like mathri). Cover it with a clean napkin or plate and let it rest for 15-20 minutes.
Rolling:
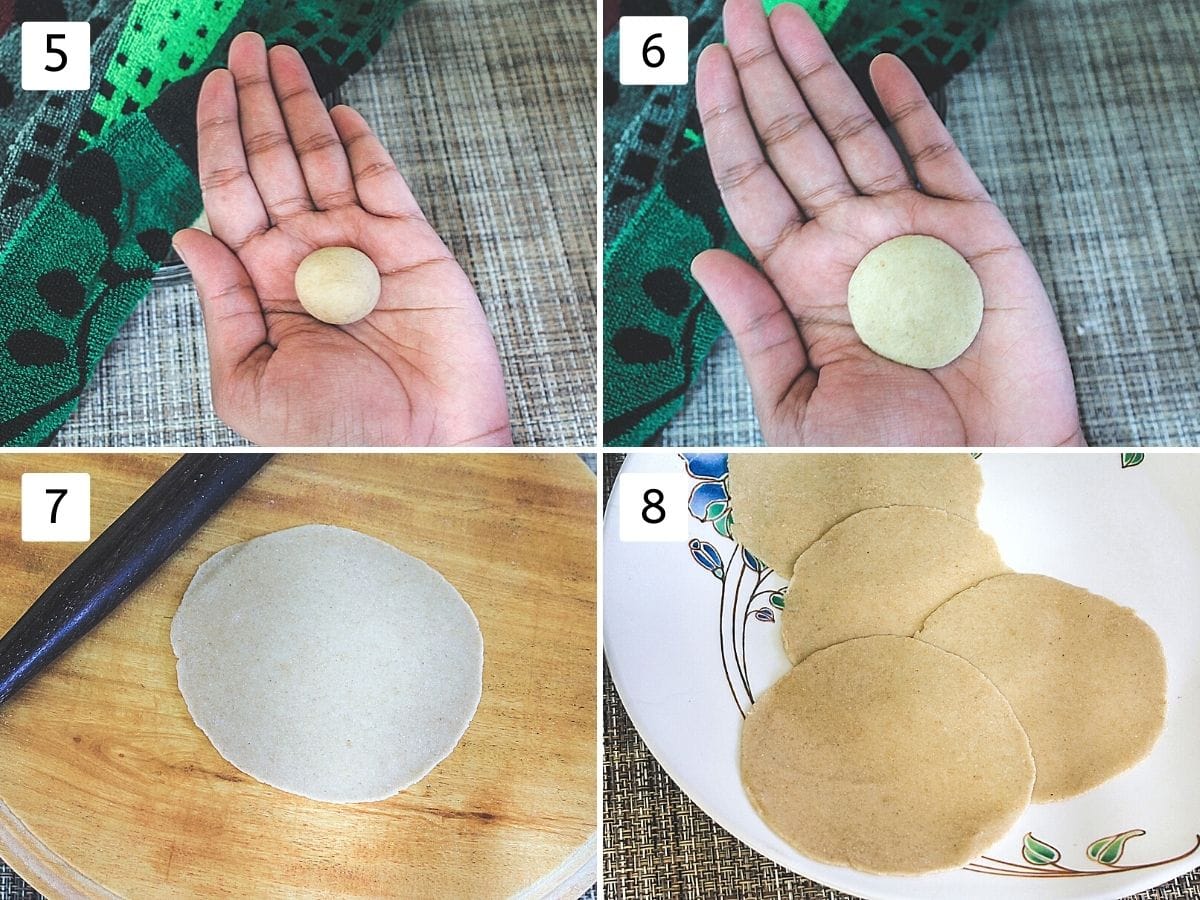
5) After the resting time, again knead the dough 2-3 times to make it smooth. Divide it into 12 equal portions and make smooth balls.
6) Take one ball and flatten it into a disc by pressing between your two palms. Repeat the same for rest and keep them covered, so they do not dry out.
7) Heat the oil in a pan/kadai on medium heat for frying. While it is getting hot, take a rolling pin and rolling board. Roll each disc into a 3-inches diameter circle. If it is sticking then grease the rolling board and pin with oil. But never dust with dry flour for rolling.
8) Roll few poori and keep them on a plate. NOTE: poori should be rolled at even thickness. If it is thin from one side and at some part it is thick then it will not puff up while frying.
Frying:
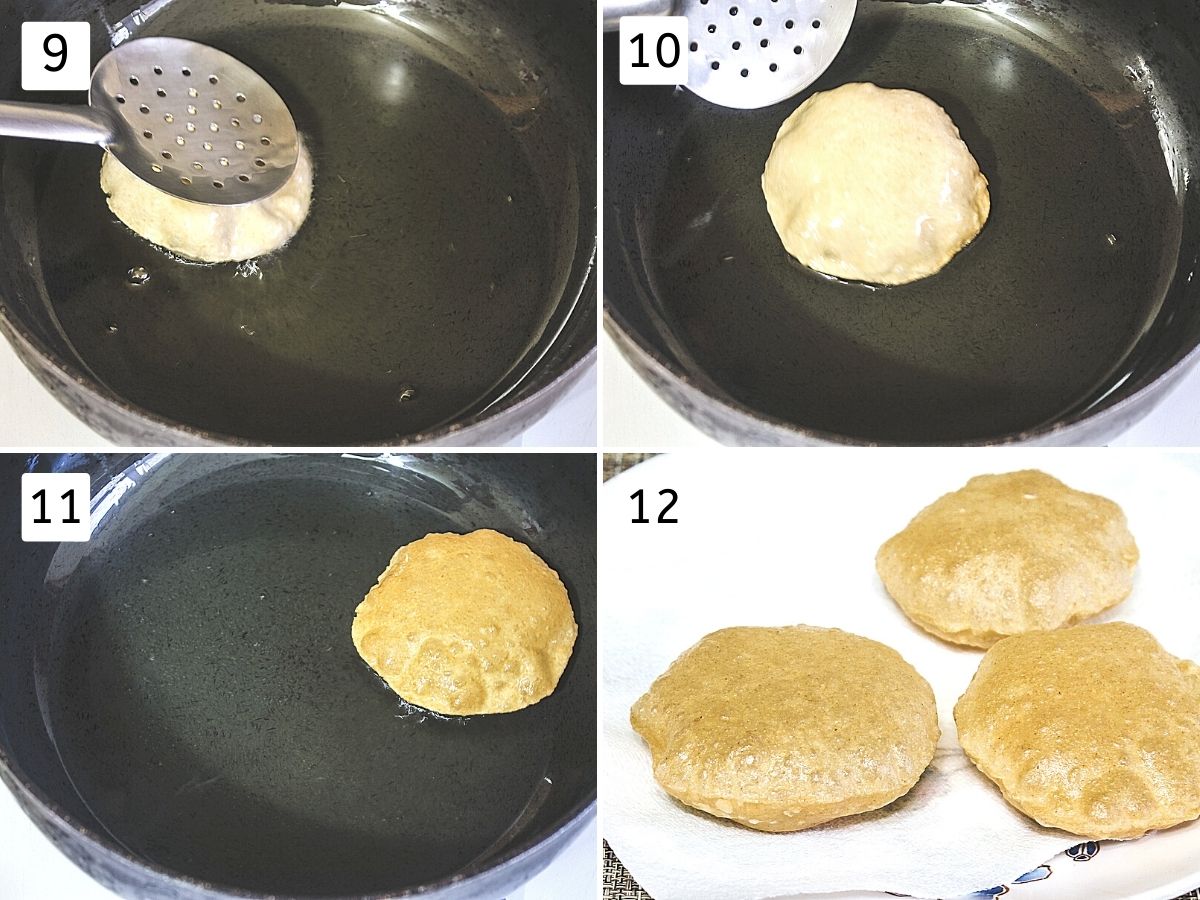
9) Now the oil is hot, slide one rolled puri into the hot oil. Fry it with very gentle pressing using the back of the slotted spatula. And it will puff up right away.
10) As poori is puffed up (bottom side is light brown & no more bubbles forming), flip it.
11) Fry another side until lightly golden. Don’t fry for a long time otherwise, it gets crispy (not soft).
12) Remove it and place on the paper towel lined plate and repeat the same for rest.
💭 Expert Tips To Make PERFECT Poori
- The dough must be medium-soft (slightly stiff) and not soft, loose or sticky like roti dough. So always start with little water, keep kneading and adding the water as needed.
- What happens if the dough is soft? It will soak up too much oil and may not puff up.
- If making a bigger batch, then you can make the dough in your kitchen aid stand mixture. I am making a small batch for just two of us (me and hubby), so I have made it by hand.
- Never use dry flour while rolling puri. That dry flour will get burn during the frying process and those burnt particles will stick to the next batch of pooris.
- Roll the pooris of medium thickness. If it is too thin like roti then it will not puff up while frying.
- Keep rolled pooris and flatten discs covered with a kitchen towel. It prevents them from drying out.
- After frying a couple of batches of poori, if oil temperature becomes too hot then reduce the flame or turn off the flame for a few minutes. Or if it becomes cold then increase the flame to high for a few minutes. So the point is, maintain the oil temperature (medium hot) by increasing or decreasing the heat.
- If the oil is too hot then poori will get brown, crispy quickly or may get burnt. If the oil is cold then it absorbs more oil and will not puff up.
🥣 Storage Instructions
Puri are best served fresh.
If you are making puri for traveling or picnic then store in an insulated container while they are still warm. If you let them cool down completely before storing then they may get chewy.
Poori stay good for a day.
Instead of an insulated container, you can wrap it into aluminum foil.
🍽 How To Serve Puri?
Poori goes well with any kind of potato-based curry, sabzi. The most popular ones are poori bhaji, poori masala.
It can be served with other vegetable curries like undhiyu, veg kurma, chole, etc.
It can be served with sweet dishes like basundi, shrikhand, aamras, kheer, etc.
On the Ashtami pooja (Kanjak pooja), these puris are made along with sukha kala chana and sooji halwa as a prasad.
PS Tried this recipe? Please leave a star rating in the recipe card below and/or a review in the comment section. I always appreciate your feedback! Plus, Subscribe to my newsletter and follow along on Pinterest, Instagram, and Facebook for all the latest updates.
Puri Recipe (Poori)
US measuring cups are used (1 cup = 240 ml)
Ingredients
- 1 cup Whole wheat flour (Chapati atta)
- Salt , to taste
- 1 teaspoons Oil, + more for deep frying
- ¼ cup + 2 tablespoons Water
Instructions
Kneading The Dough:
- Take chapati atta and salt in a bowl. Mix it well.
- Add a teaspoon of oil and mix by rubbing between your thumb and fingers.
- Then add little water at a time and start kneading the dough. The dough should be smooth yet semi-soft (Not too soft like roti and not too stiff like mathri). Cover it with a clean napkin or plate and let it rest for 15-20 minutes.
Rolling:
- After the resting time, again knead the dough 2-3 times to make it smooth. Divide it into 12 equal portions and make smooth balls.
- Take one ball and flatten it into a disc by pressing between your two palms. Repeat the same for rest and keep them covered, so they do not dry out.
- Heat the oil in a pan/kadai on medium heat for frying. While it is getting hot, take a rolling pin and rolling board. Roll each disc into a 3-inches diameter circle. If it is sticking then grease the rolling board and pin with oil. But never dust with dry flour for rolling.
- Roll few pooris and keep them on a plate. NOTE: poori should be rolled at even thickness. If it is thin from one side and at some part it is thick then it will not puff up while frying.
Frying:
- Now the oil is hot, slide one rolled puri into the hot oil. Fry it with very gentle pressing using the back of the slotted spatula. And it will puff up right away.
- As it is puffed up (bottom side is light brown & no more bubbles forming), flip it.
- Fry another side until lightly golden. Don’t fry for a long time otherwise, it gets crispy (not soft).
- Remove it and place on the paper towel lined plate and repeat the same for rest.
Notes
- The dough must be medium-soft (slightly stiff) and not soft, loose or sticky like roti dough. So always start with little water, keep kneading and adding the water as needed.
- What happens if dough is soft? It will soak up too much oil and may not puff up.
- If making a bigger batch, then you can make the dough in your kitchen aid stand mixture. I am making a small batch for just two of us (me and hubby), so I have made it by hand.
- Never use dry flour while rolling puri. That dry flour will get burn during the frying process and those burnt particles will stick to the next batch of poori.
- Roll the pooris of medium thickness. If it is too thin like roti then it will not puff up while frying.
- After frying a couple of batches of poori, if oil temperature becomes too hot then reduce the flame or turn off the flame for a few minutes. Or if it becomes cold then increase the flame to high for a few minutes. So the point is, maintain the oil temperature (medium hot) by increasing or decreasing the heat.
Lovely
Cheat meal special!
Yes it is
Along time ago, my mother used to make for us on some weekends. We loved it, and since we were kids we never knew the name or a recipe. I don’t know if she knew it was called puri, but was called an Arabic name.
We used to eat it hot with feta cheese or buffalo milk cream (very rich) and honey. Thank you. I’ll definitely try it.
Sure give it a try and let me know how it turned out. Happy cooking!!