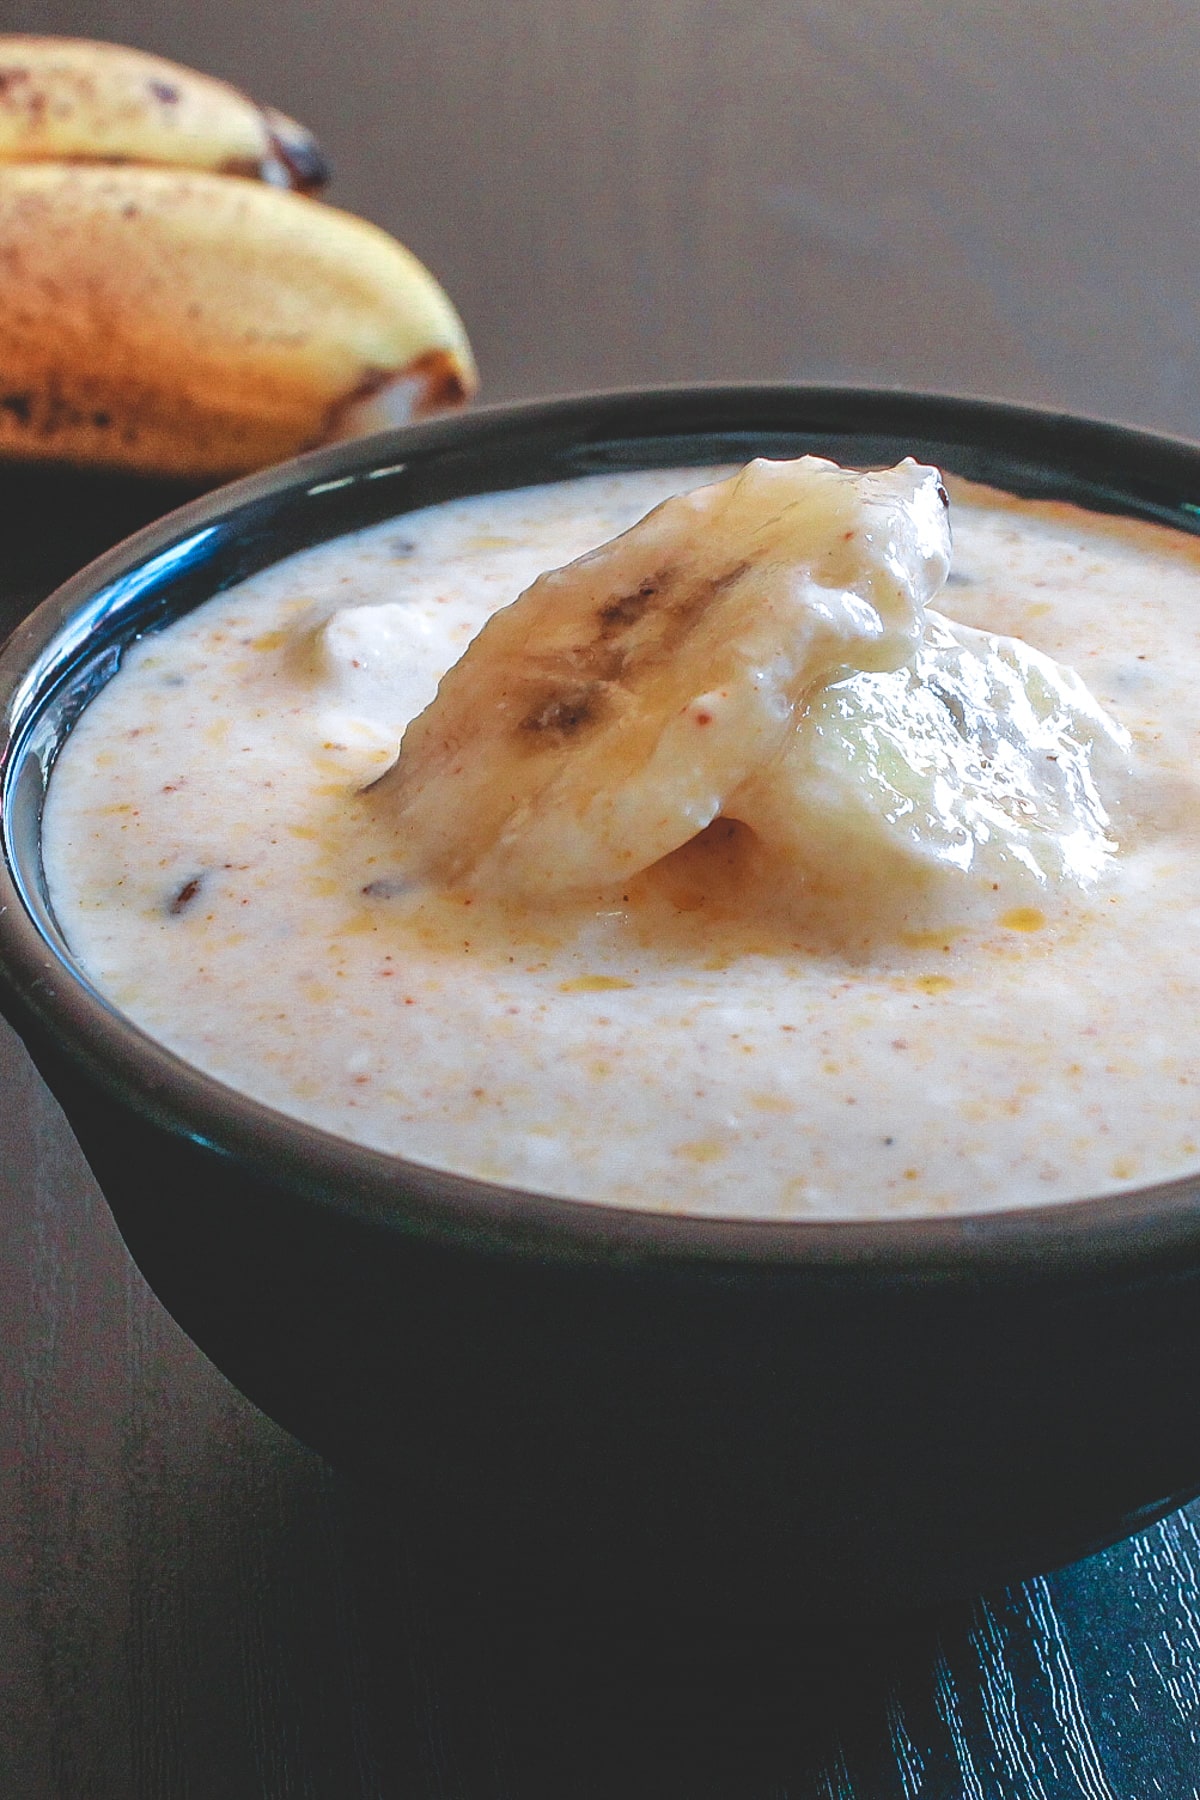
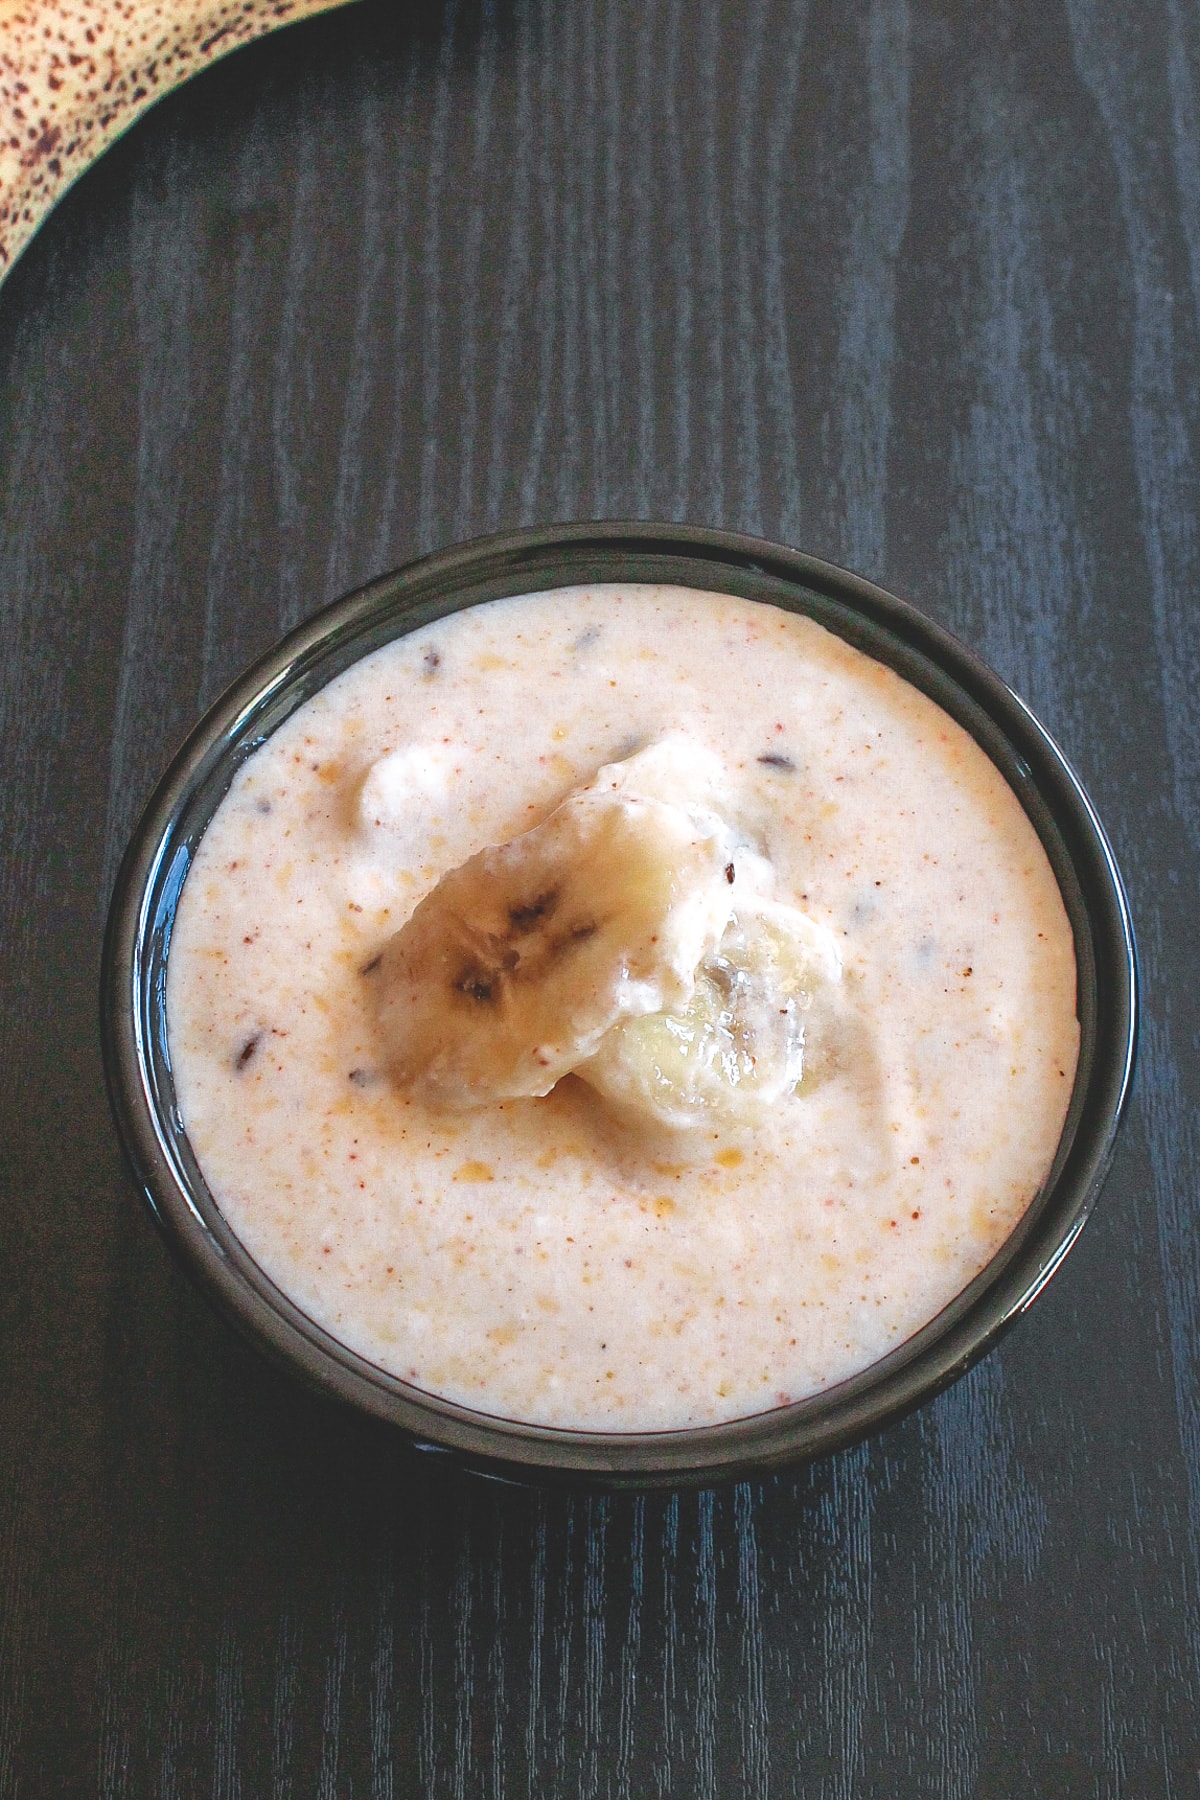
Banana raita recipe is perfect for the summer season. Key ingredients for making this raita are banana and yogurt. Lastly, tadka or tempering of cumin and chili powder is made which adds a nice flavor as well as a hint of spicy taste.

In Hindi language, it is calle Kele ka raita.
Jump to:
❤️ You'll Love This Banana Raita Recipe
Super easy to make: Mix sliced banana with yogurt. Then make tempering on top.
Quick to make: It requires only 10 minutes to prepare this delicious kele ka raita.
Versatile: It can be served as a side dish with your Indian meal or can be eaten as an evening or mid-morning snack.
My childhood favorite: This banana raita recipe is my mom’s recipe. And she makes this very often during the summer vacation. And I used to finish a bowlful of it before lunchtime. I enjoyed it having it as a snack.
🧾 Ingredient Notes
- Banana: Use a ripe but firm banana, so slices can hold their shape while mixing into the yogurt. Avoid using overripe, softened, black-skinned bananas.
- Yogurt: Always use chilled yogurt. Make sure that it is not sour.
- Cardamom powder: It adds a nice aroma and flavor to the banana raita. It complements well with banana.
- Red chili powder: It adds a hint of spicy taste. Give amount doesn’t make the raita spicy, but it just adds the right amount of heat and flavor.
👩🍳 How To Make Banana Raita? (Stepwise)
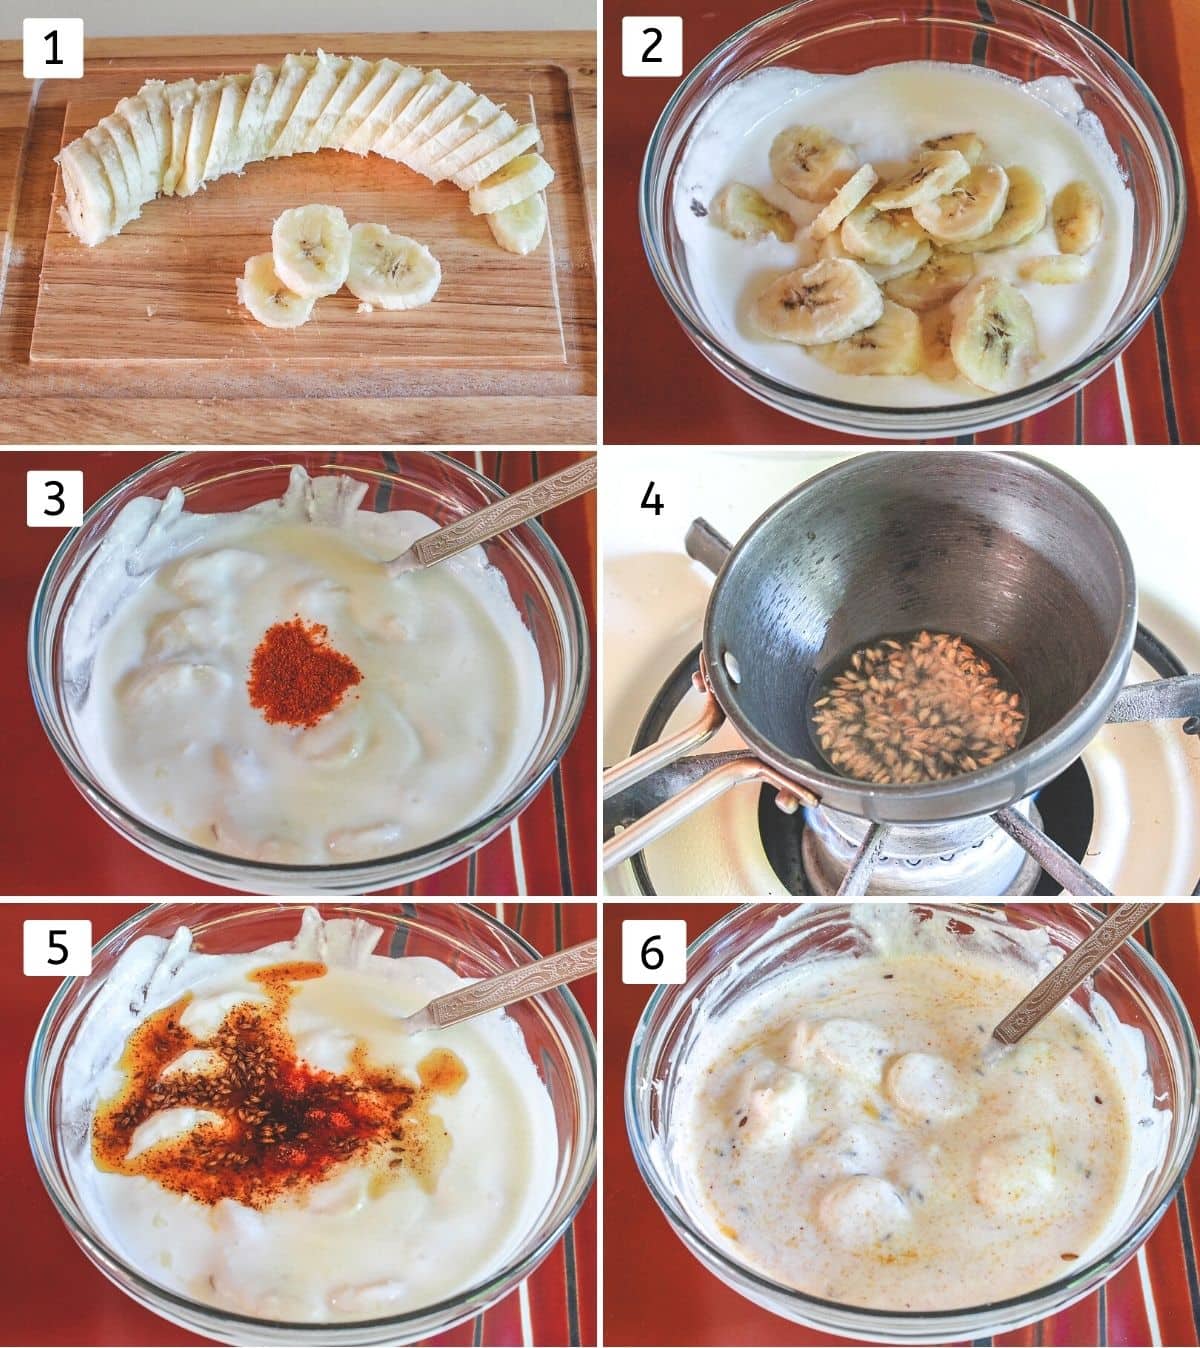
1) Slice the banana right before adding it to the yogurt otherwise, the banana starts to oxidize and gets browning.
2) Take yogurt in a bowl along with salt and cardamom powder. Whisk it until smooth. Add sliced bananas and stir them into the yogurt.
3) Add red chili powder to the center of the bowl, DO NOT mix. We are going to pour the hot tempering on top so chili releases its flavor and doesn’t taste raw.
4) Heat the oil in a small tadka pan. Once hot add cumin seeds and let them sizzle.
5) Pour this hot tempering on the chili powder.
6) Immediately mix it into the raita. Let the raita chill for an hour or so in the refrigerator before serving.

💭 Expert Tips For Kele Ka Raita
Why add tempering on chili powder? When hot oil is poured on the chili powder, it releases its flavor and color. It adds a very slight hint of a smokey taste to the raita.
Why not add chili powder in the tempering itself? If added into the hot oil in the tadka pan then it may have chances to get burned. Burnt chili doesn’t taste good. Plus, you may start sneezing because of burnt aroma.
Raita tastes best when served chilled. So always use chilled yogurt from the refrigerator. Or make this plain raita ahead of time and chill for a few hours before serving.
Slice the banana right before making raita otherwise, the banana oxidizes and gets browning.
🍽 Serving Ideas For Banana Raita
- This banana raita can be served as a side dish with any Indian meal that consists of dal, rice, roti, paratha.
- A bowlful of it can be enjoyed as a snack.
- Usually, raita is served with pulao, biryani. But I do not prefer this banana raita with rice dishes as personally, I don’t like banana flavor with spicy biryani.

Check Out Other Fruity Raita Recipes
Did you try this banana raita recipe? I’d love to hear about it! Click here to leave a review.
Recipe Card
Banana Raita Recipe (Kele Ka Raita)
Ingredients
- 1 ½ cups Plain yogurt
- Salt to taste
- ¼ teaspoon Cardamom powder
- 1 medium Banana sliced
- ¼ teaspoon Red chili powder
- 1 teaspoon Oil
- ½ teaspoon Cumin seeds
Instructions
- Slice the banana right before adding it to the yogurt.
- Take yogurt in a bowl along with salt and cardamom powder. Whisk it until smooth.
- Add sliced bananas and stir them into the yogurt.
- Add red chili powder to the center of the bowl, DO NOT mix.
- Heat the oil in a small tadka pan. Once hot add cumin seeds and let them sizzle.
- Pour this hot tempering on the chili powder.
- Immediately mix it into the raita. Let the raita chill for an hour or so in the refrigerator before serving.
Notes
- Raita tastes best when served chilled. So always use chilled yogurt from the refrigerator. Or make this plain raita ahead of time and chill for a few hours before serving.
- Slice the banana right before making raita otherwise, the banana oxidizes and gets browning.


Janine
Kanan,
I used to make this particular Raita frequently as I had an excellent Indian cookbook published in Britain that got me into raitas. Banana is my favourite. Your recipe uses about the same combination of spices. I added a tablespoon of fine, unsweetened coconut as that was in my original recipe. Looking forward to trying many of your other recipes. Jee shukriya!
Kanan Patel
Coconut is the nice addition.
Hope you enjoy other recipes as well.