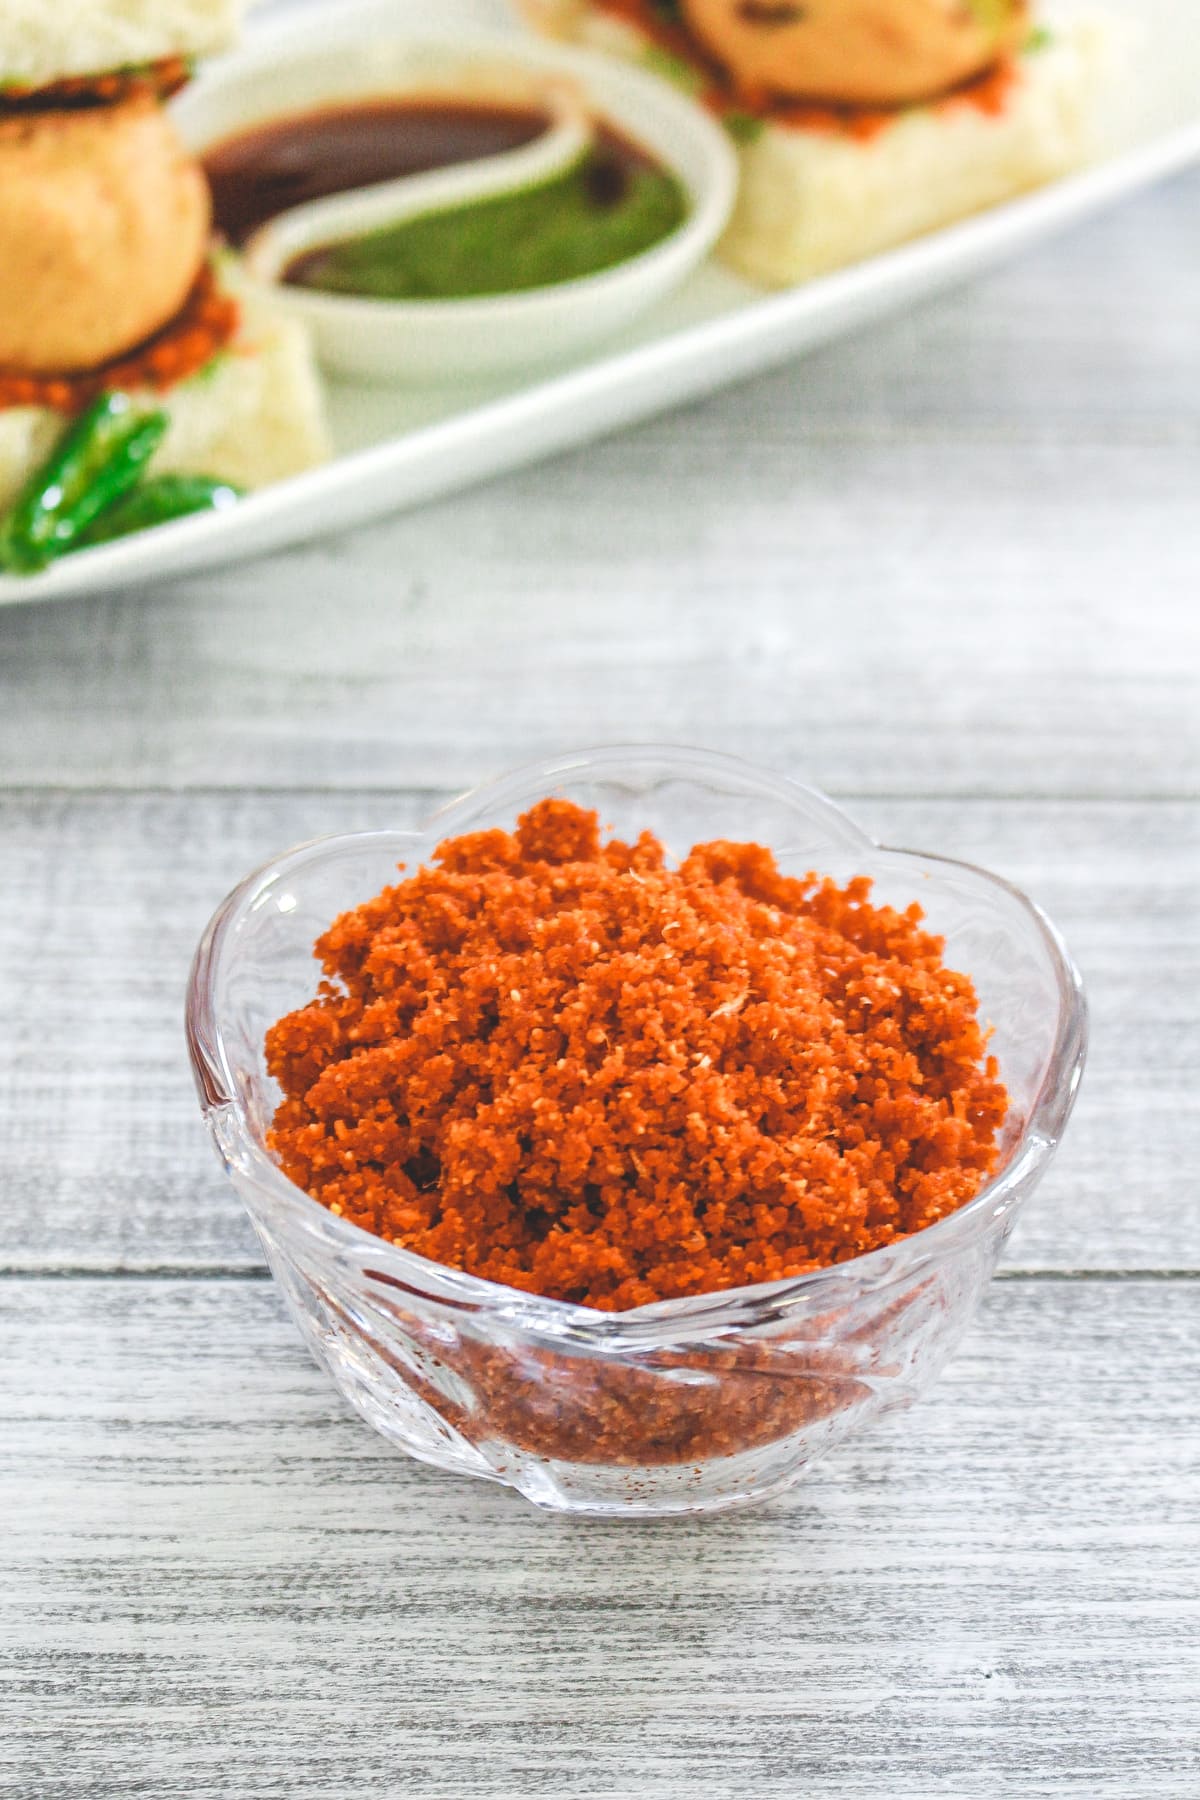
Dry Garlic Chutney For Vada Pav
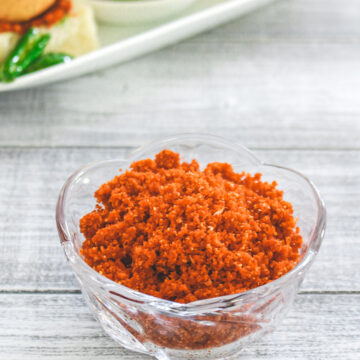
Dry garlic chutney is a pungent, spicy and nutty condiment from Maharashtrian cuisine. In the Marathi language, it is called lasun khobra chutney and is more commonly identified as vada pav chutney.
Apart from using this dry garlic chutney for vada pav, it makes a great accompaniment to your everyday meals or snacks. Keep reading below for some more ideas on how to use it. Endless possibilities!
❤️ You’ll Love This Dry Garlic Chutney Recipe
Quick to make: It takes only 15 minutes to make (from start to finish).
Easy to make: You’ll need only 5 ingredients, dry roast 3 of them (garlic, peanuts and coconut) and grind roasted stuff with the rest of the ingredients (salt and chili powder). Isn’t it super easy?
- Taste: It has a pungent garlic taste with a spicy and slightly nutty flavor.
- Texture: It has a dry (not powdery dry) but the semi-moist type of coarse texture.
Lasun khobra chutney: Here lasun means garlic, khobra means coconut.
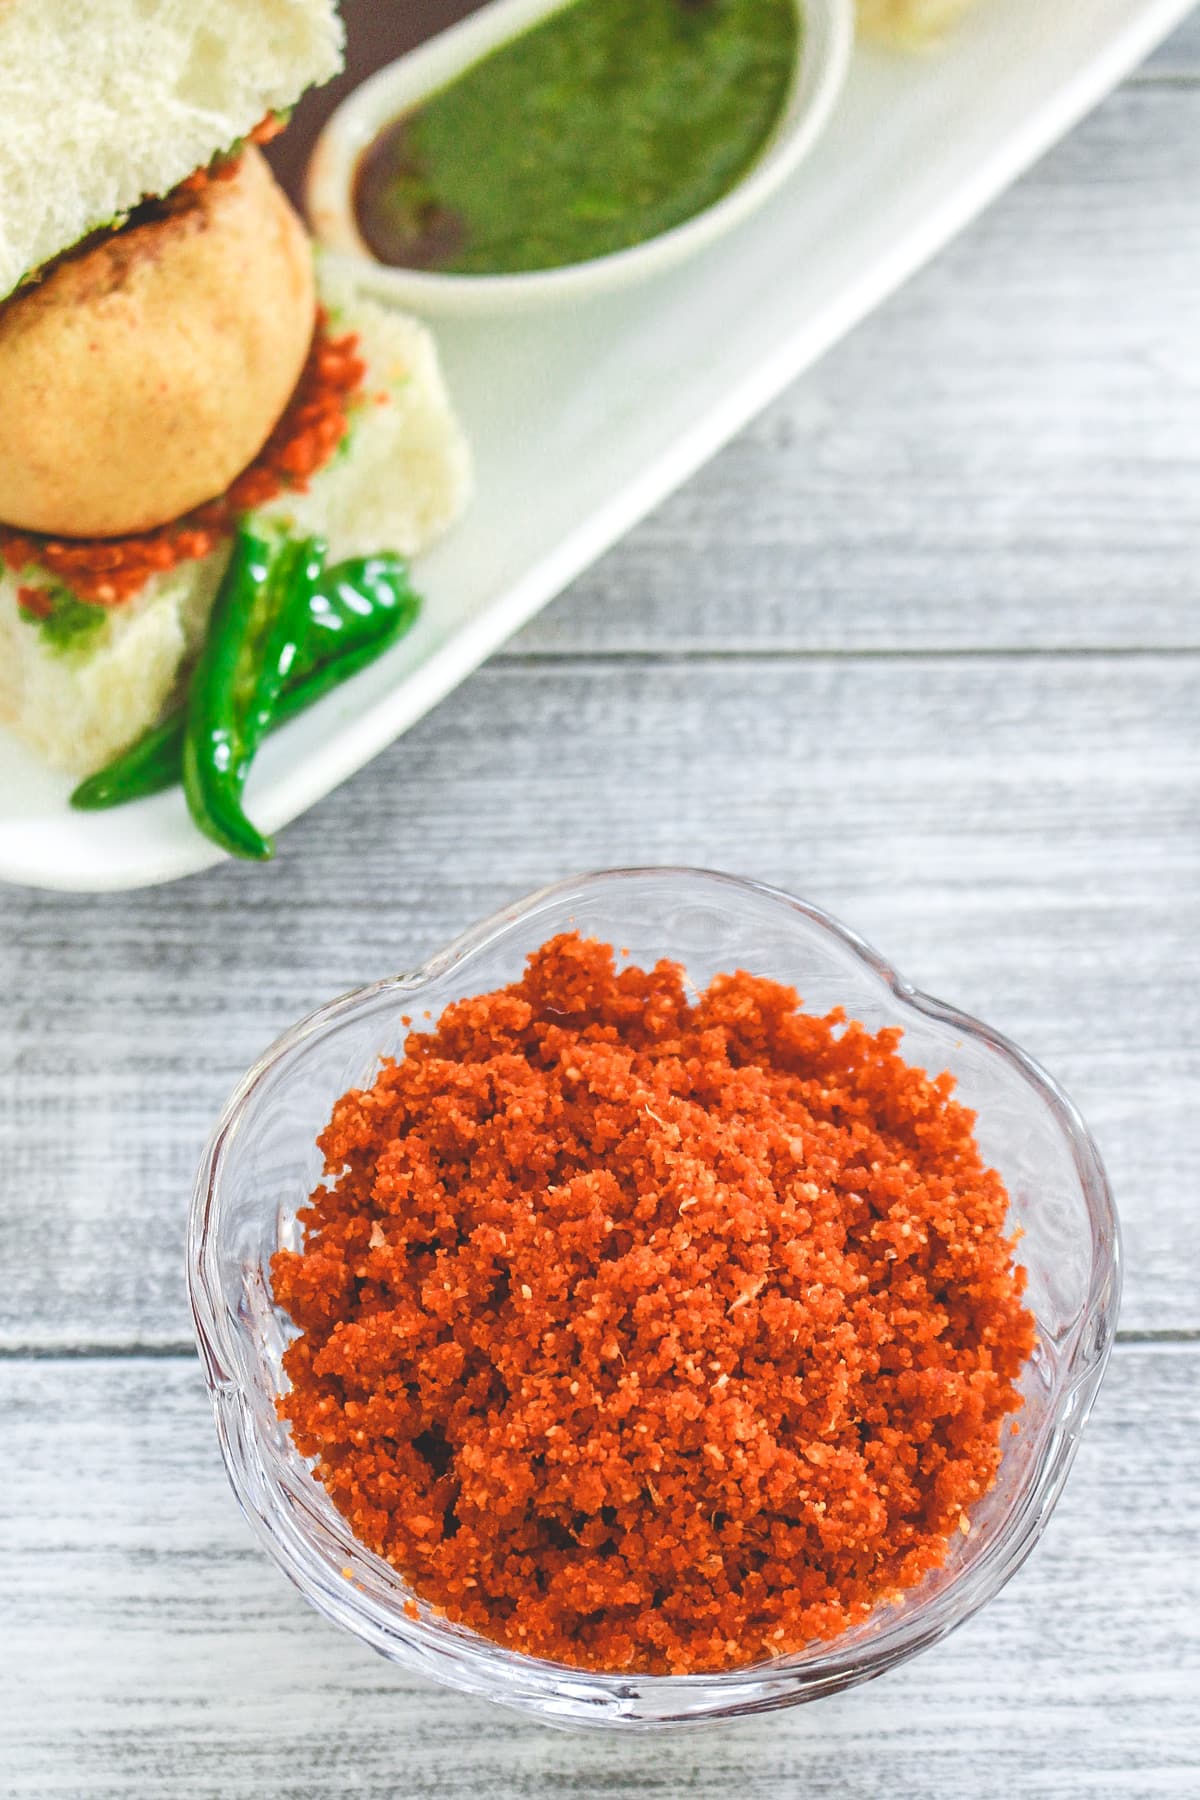
Why known as vada pav chutney? The generous sprinkle of this homemade sukhi garlic chutney on the buns (pav) makes the Mumbai vada pav even more tastier. This is the must-add for vada pav and one cannot imagine vada pav without this chutney. So it is widely known as vada pav chutney.
🧾 Ingredient Notes
- Garlic: The main ingredient of this chutney and It gives a pungent taste and smell. Here garlic cloves are dry roasted so its mellows down the pungent raw garlic flavor slightly.
- Peanuts & Dry coconut: Both reduce the pungency of the chutney. Plus, they add a nutty flavor to chutney.
- Red chili powder: It makes the chutney spicy and bright red in color. To reduce the spice level, use Kashmiri red chili powder.
👩🍳 How To make Dry Garlic Chutney? (Pics)
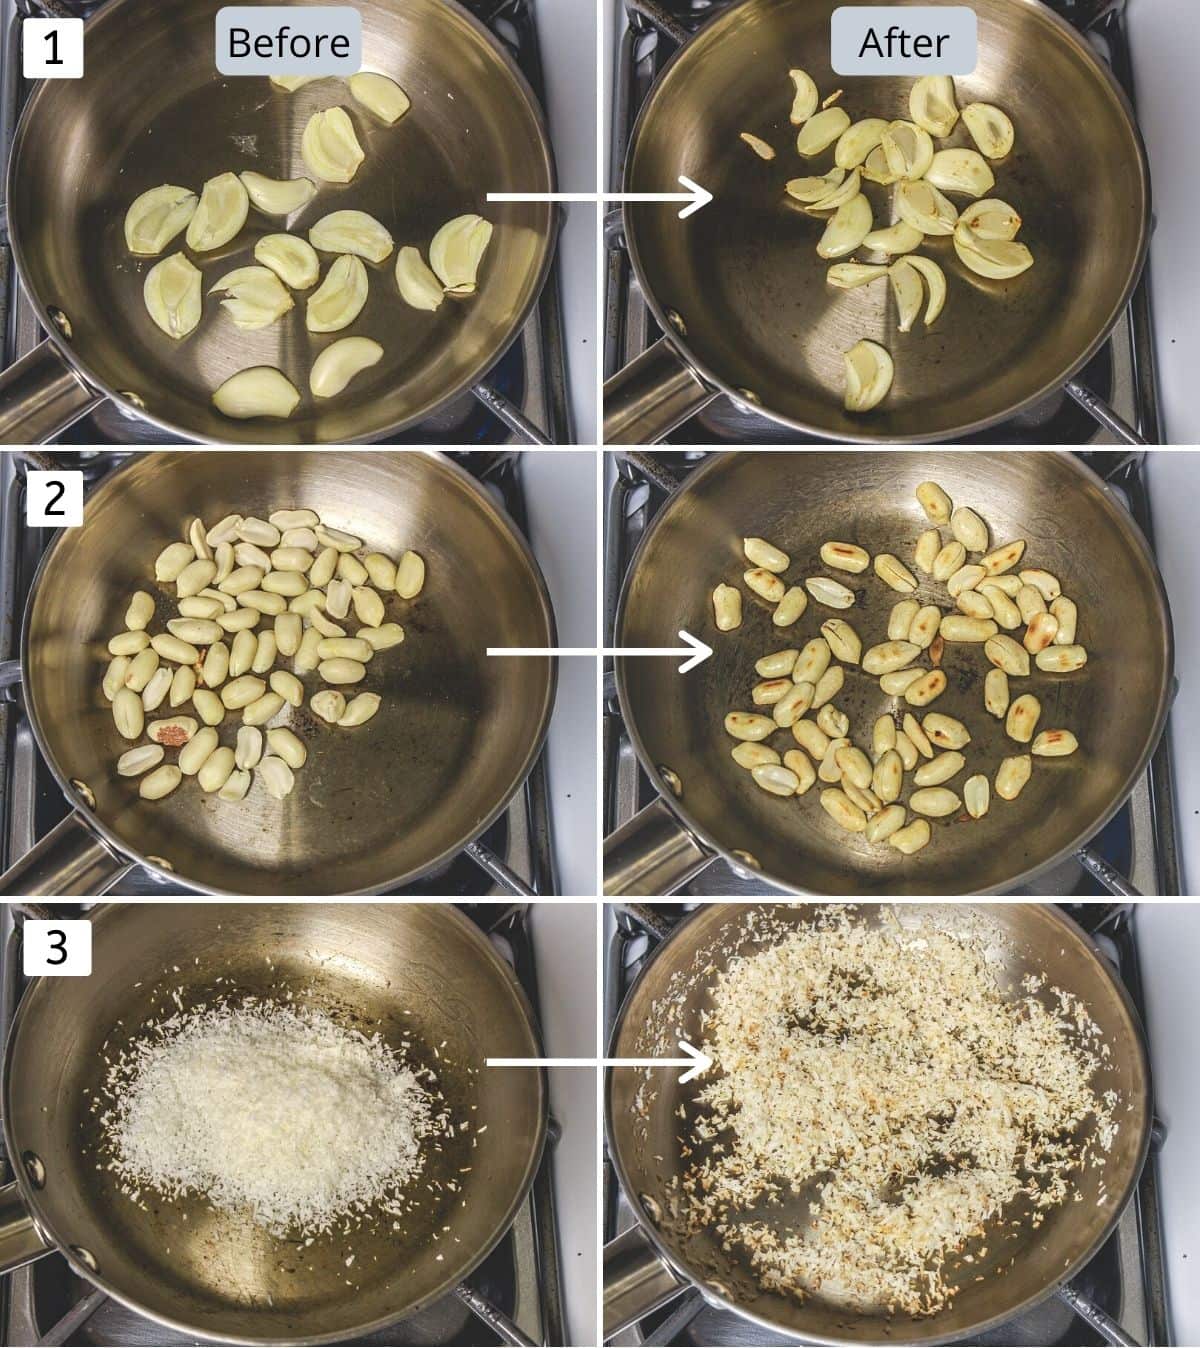
1) Dry roast the garlic cloves on medium-low heat until they have a few brown spots here and there. Remove it to a plate. My cloves were big, so I have sliced them roughly. But if your cloves are smaller in size then no need to slice.
2) In the same pan, dry roast the peanuts by stirring constantly until they are light brown. Remove it to the same plate.
3) In the same pan add dry coconut and turn off the stove. The remaining heat is enough to roast the coconut. Keep stirring until coconut is light golden in color. Remove it to the same plate and let them cool down slightly.
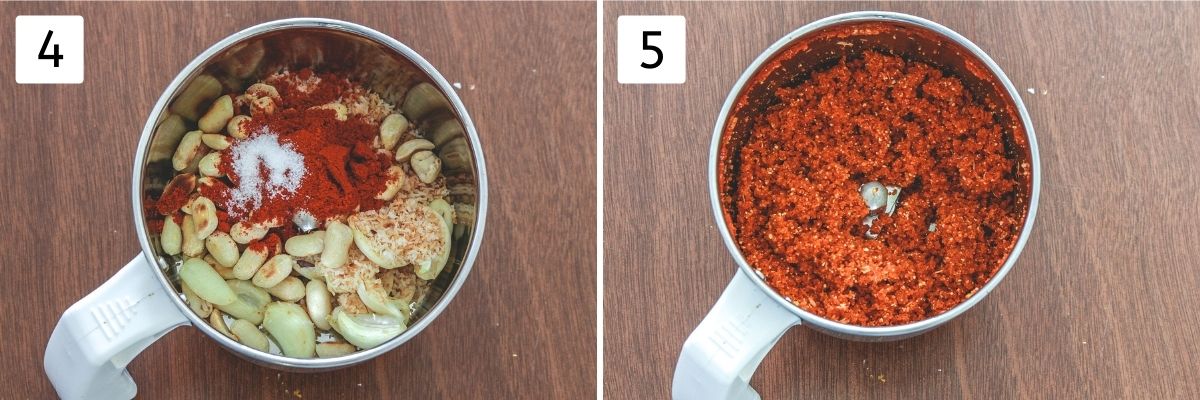
4) Once cooled, take them into a grinder jar or food processor jar. Add salt and red chili powder.
5) Pulse it until you get a coarse mixture. Remove it to a bowl or a glass jar.
💭 Expert Tips For Vada Pav Chutney
- Reduce the spice level without compromising the color of the vada pav chutney: Use Kashmiri red chili powder instead of regular.
- Dry roast the ingredients on medium-low heat to avoid burning.
- Let the roasted stuff cool down before grinding. Otherwise, the moisture from the heat will alter the texture of the chutney.
- Use the pulse mode instead of grinding to avoid releasing the oil from peanuts and coconut.
- Storage: This dry garlic chutney stays good for 2-3 weeks in an airtight container in the refrigerator.
🍽 Serving Ideas
- Of course, it is called vada pav chutney, sprinkle it on the buns while making vada pav or kanda bajji pav, samosa pav, etc.
- Serve as an accompaniment with your everyday meal, dal-rice, roti-sabzi etc. My favorite is a mixture of plain rice, a generous sprinkle of this dry garlic chutney and a drizzle of warm ghee.
- Sprinkle over khakhra, khatta dhokla, idli, khichu, or morning toast.
- It makes a great side for your snacks like batata vada, kothimbir vadi, aloo pakora, etc.
- Sprinkle some while making uttapam or masala dosa. It adds a kick to your mild dishes.
- It can be used while making sandwiches, kathi roll, aloo tikki burger.
Check Out Other Chutney Recipes
Did you try this vada pav chutney recipe? I’d love to hear about it! Click here to leave a review.
Dry Garlic Chutney For Vada Pav
US measuring cups are used (1 cup = 240 ml)
Ingredients
- 9-10 large cloves Garlic
- 3 tablespoons Peanuts
- 3 tablespoons Desiccated coconut
- 2-3 tablespoons Kashmiri red chili powder
- Salt , to taste
Instructions
- Dry roast the garlic cloves on medium-low heat until they have a few brown spots here and there. Remove it to a plate.
- In the same pan, dry roast the peanuts by stirring constantly until they are light brown. Remove it to the same plate.
- In the same pan add dry coconut and turn off the stove. The remaining heat is enough to roast the coconut. Keep stirring until coconut is light golden in color. Remove it to the same plate and let them cool down slightly.
- Once cooled, take them into a grinder jar or food processor jar. Add salt and red chili powder.
- Pulse it until you get a coarse mixture.
- Remove it to a bowl for serving or a glass jar for storing.
Notes
- Reduce the spice level without compromising the color of the vada pav chutney: Use Kashmiri red chili powder instead of regular.
- Dry roast the ingredients on medium-low heat to avoid burning.
- Let the roasted stuff cool down before grinding. Otherwise, the moisture from the heat will alter the texture of the chutney.
- Use the pulse mode instead of grinding to avoid releasing the oil from peanuts and coconut.
- Storage: It stays good for 2-3 weeks in an airtight container in the refrigerator.
Sounds delicious, had it at my friend’s place and m family loved but tried it at home. Thanks for sharing the recipe, will try out for sure 🙂
Kanan, I reached to ur beautiful space when ever u left a comment, but never found a GFC link to follow you, donno y? Or do I need to connect via some other link? Lemme know…
This is word-press blog so I cannot put Google follower widget on the site. That widget is only for Google blog-spots. If you want you can follow me on Facebook or twitter or subscribe by email for latest recipe update. Thank you for stopping by.
Wonderful recipe! Loved the bright colour too 🙂