Looking for a fluffy and soft idli recipe? I bet your search ends here. Keep reading for tips and tricks to make homemade idli batter and how to ferment idli batter perfectly every single time.
Jump to:
What Is Idli?
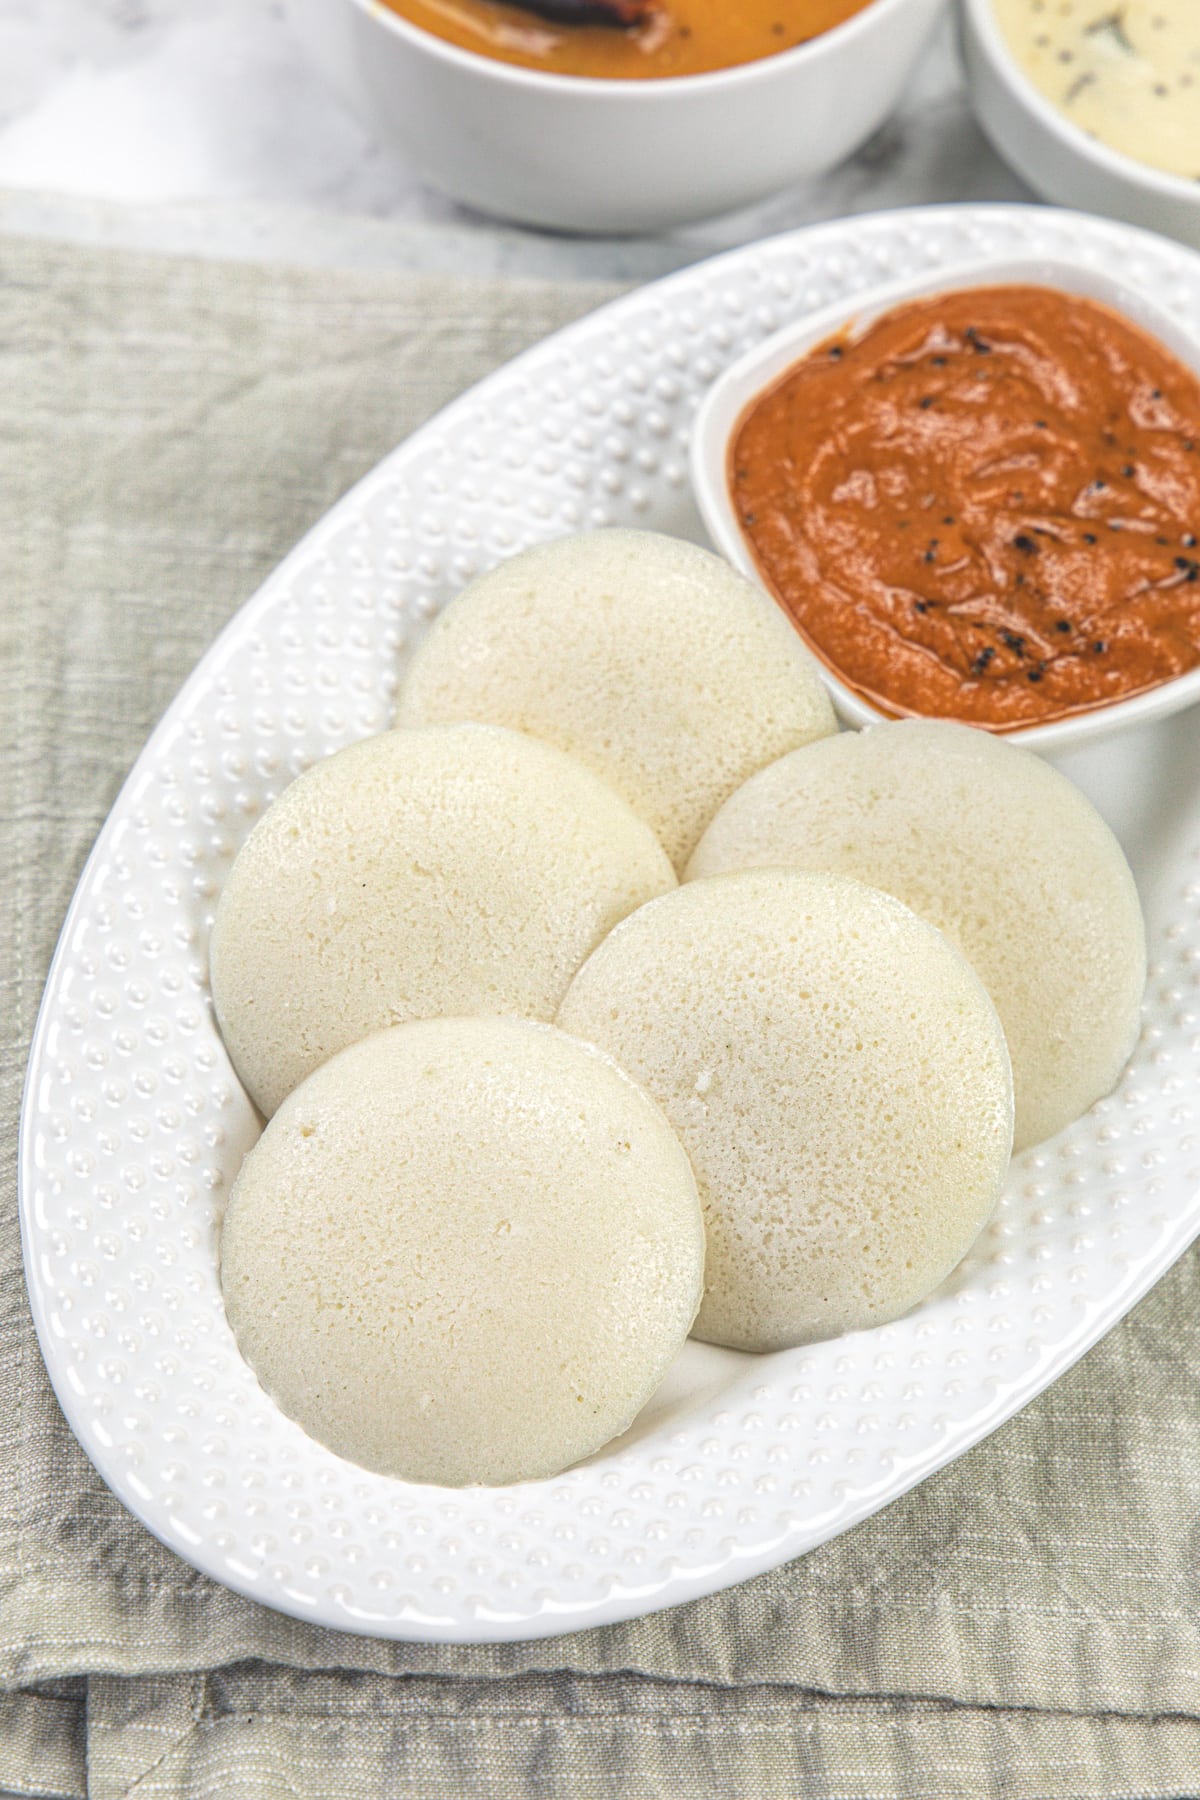
Idli is a popular breakfast food in South India. It is a soft and fluffy steamed, savory cake made with fermented lentil and rice batter. The fermentation process breaks down the starches so it is easy to digest and good for your gut health.
Idli itself is mild in taste so it is always served with condiments like coconut chutney, tomato chutney, idli podi, and a side of sambar.
The whole process of making idli at home with homemade idli batter is divided into 4 parts, soaking, grinding, fermenting, and steaming.
This process is time-consuming and requires some pre-planning. But there are many instant versions of it like rava idli, and oats idli and these don’t require grinding and fermenting steps.
❤️ You’ll Love This Idli Recipe Because
- This idli recipe gives the BEST, soft, fluffy, and pillowy texture.
- No need for a wet grinder. Vitamix (blender or mixie) is used to grind lentils and rice to make idli batter.
- Idli batter is fermented in instant pot, so it is always a success even if you live in a cold climate.
- A perfect ratio of lentils and rice is given with so many tips and tricks to perfect the idli recipe. Even a beginner can make it without a fail.
- Healthy & Nutritious: It is a low-calorie, probiotic food. Because of fermentation, idli improves digestive efficiency, gut health, and the production of vitamin B12.
- Dietary Info: Vegan, Gluten-Free, Nut-free
🧾 Ingredient Notes
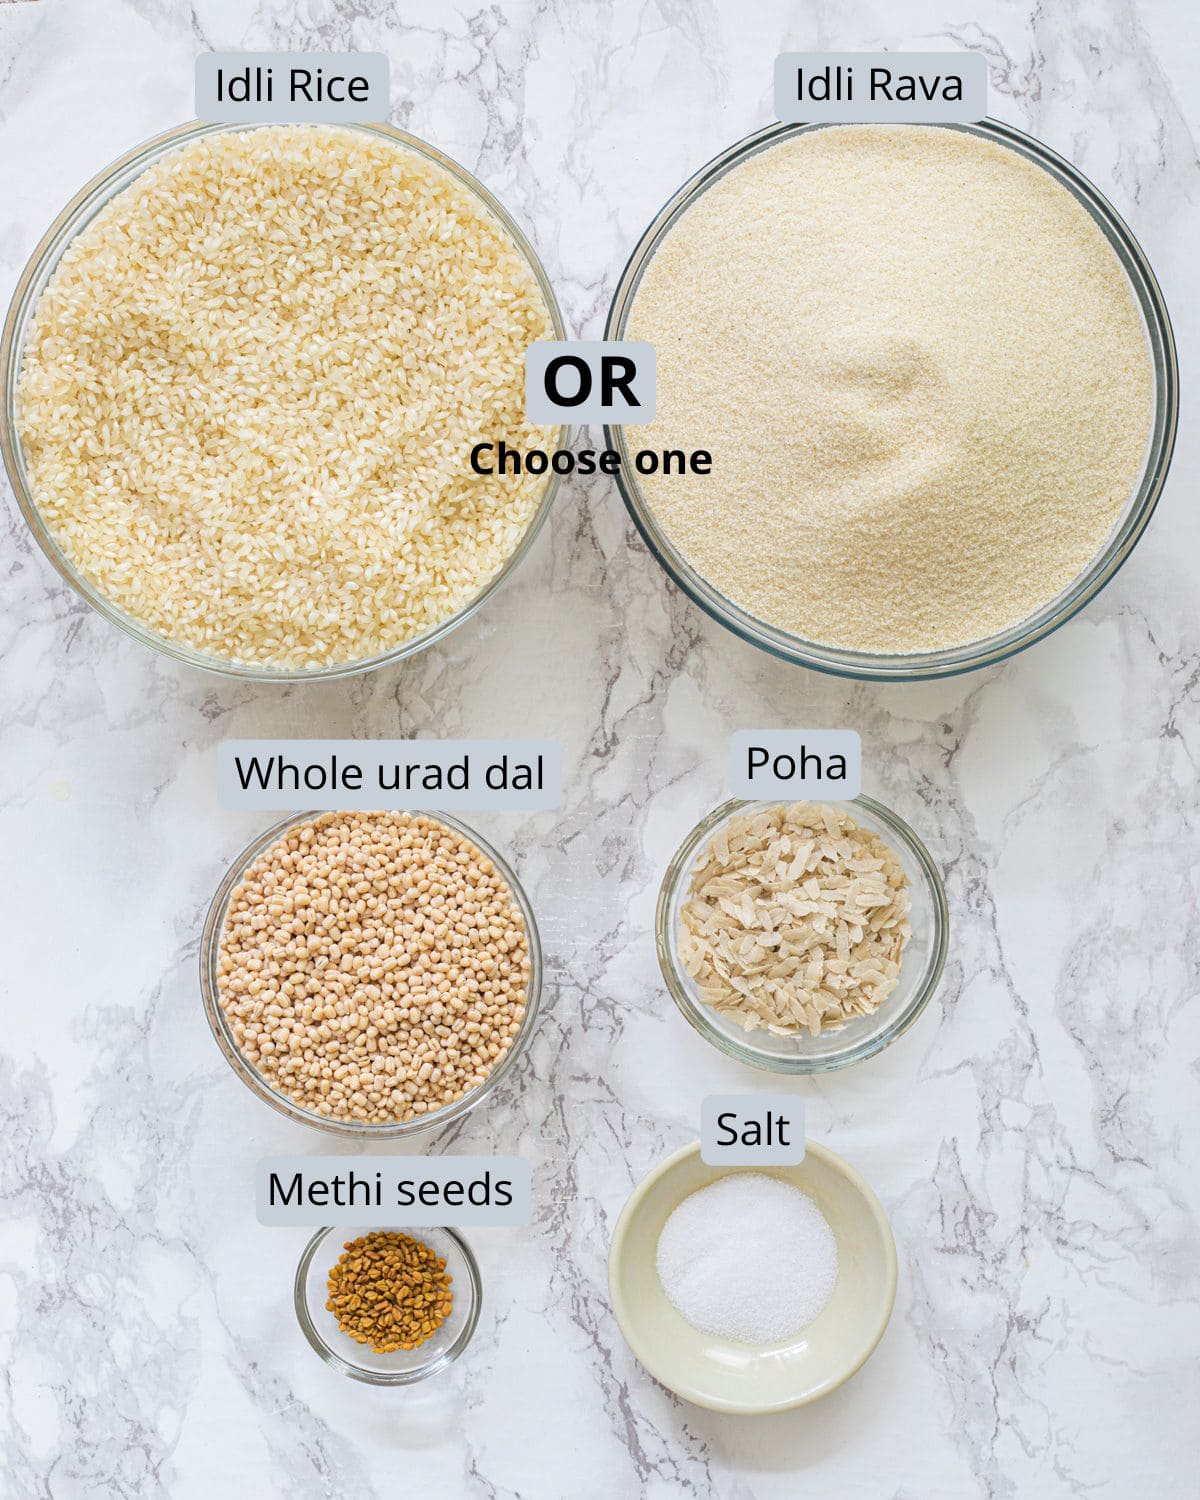
- Idli Rice: It is nothing but parboiled rice (aka ukda chawal in Hindi). Idli rice is easily available in any Indian grocery store here in the USA.
- OR Idli rava: It is nothing but coarsely ground idli rice or parboiled rice. Sometimes the packet also says cream of rice or rice rava. By the name ‘rava’, don’t be confused with semolina or sooji. Idli rava and semolina are two different things.
- Choose one - idli rice or idli rava. Both give good results. In the step-by-step picture below, I have used idli rice.
- Whole urad dal: This is a skinless whole black lentil and it is also called urad gota. This lentil helps in the fermentation process.
- To get good results in fermentation, you must use a fresh batch of lentils (current year’s harvest). If you have stale lentils or more than a year old lentils then you may need to use more amount of lentils to help fermentation. More details are below in the dal rice ratio section.
- Fenugreek seeds (Methi dana): It also helps in the fermentation of idli batter.
- Poha: It gives a lighter texture to idli plus, making it pillowy and soft. It is optional but highly recommended.
- Traditionally poha is not used but when you live away from your country, you don’t know the age of the lentils, fermentation is not done in the right warm weather climate, in these situations poha helps to make the softer, lighter texture.
- Salt: If using iodized salt then add after fermentation is done, as iodine and anti-caking agents in salt interfere with the fermentation process. If using non-iodized salt then you can add in the idli batter earlier.
Idli Batter Ratio Of Lentils & Rice
The ratio purely depends on the freshness and quality of the whole urad dal.
- 1:4 urad dal to rice: This is the safe proportion when you don’t know the lentil’s age and freshness. E.g people living abroad. I have been following this ratio and it gives me the perfect soft and spongy idli.
- 1:5 or 1:6 urad dal to rice: Follow this ratio only if you know the lentils are fresh and the current year’s harvest. This gives the best idli texture.
- 1:2 or 1:3 ural dal to rice: Idli will turn out sticky, too moist, and not spongy soft at all. Never follow this ratio.
👩🍳 How To Make Idli Recipe? (Stepwise Photos)
Soaking:
Time required: at least 6-8 hours or overnight.
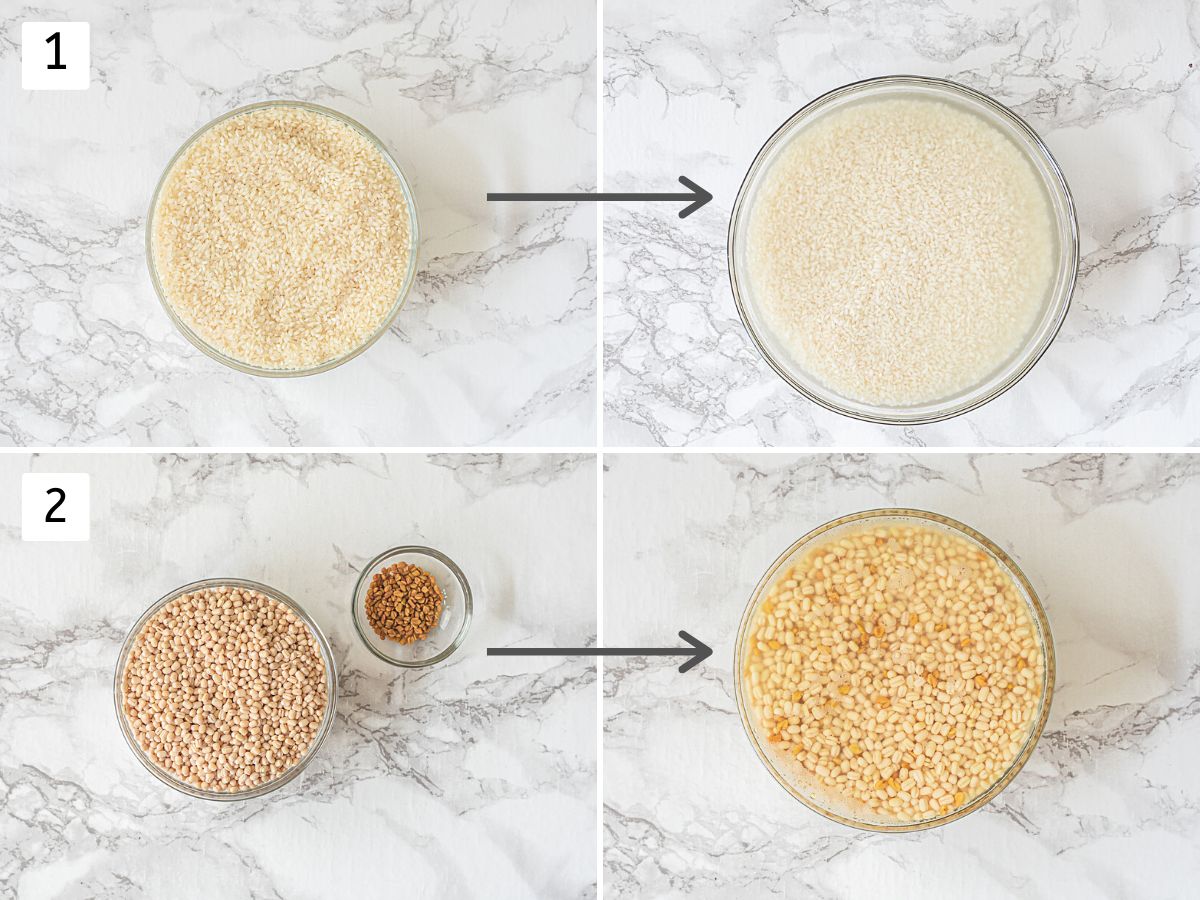
1) Wash/rinse idli rice 2-3 times using regular tap water until the water is clear and not cloudy anymore. Massage lightly using your finger before rinsing the water.
Soak in enough water (2 inches of water above the rice) for at least 6 hours or overnight.
2) Similarly, rinse the mixture of whole urad dal and methi seeds. And soak for at least 6 hours or overnight.
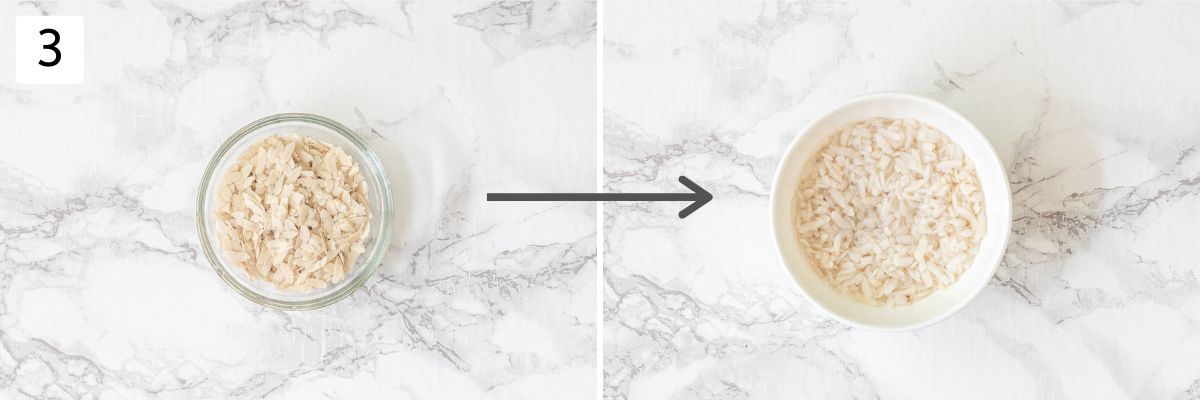
3) 30 minutes before grinding, rinse poha once using tap water. Soak poha in ⅓ cup of water for 30 minutes only.
Grinding & Fermenting Idli Batter:
Time required: 10 minutes for grinding and 12-14 hours for fermentation.
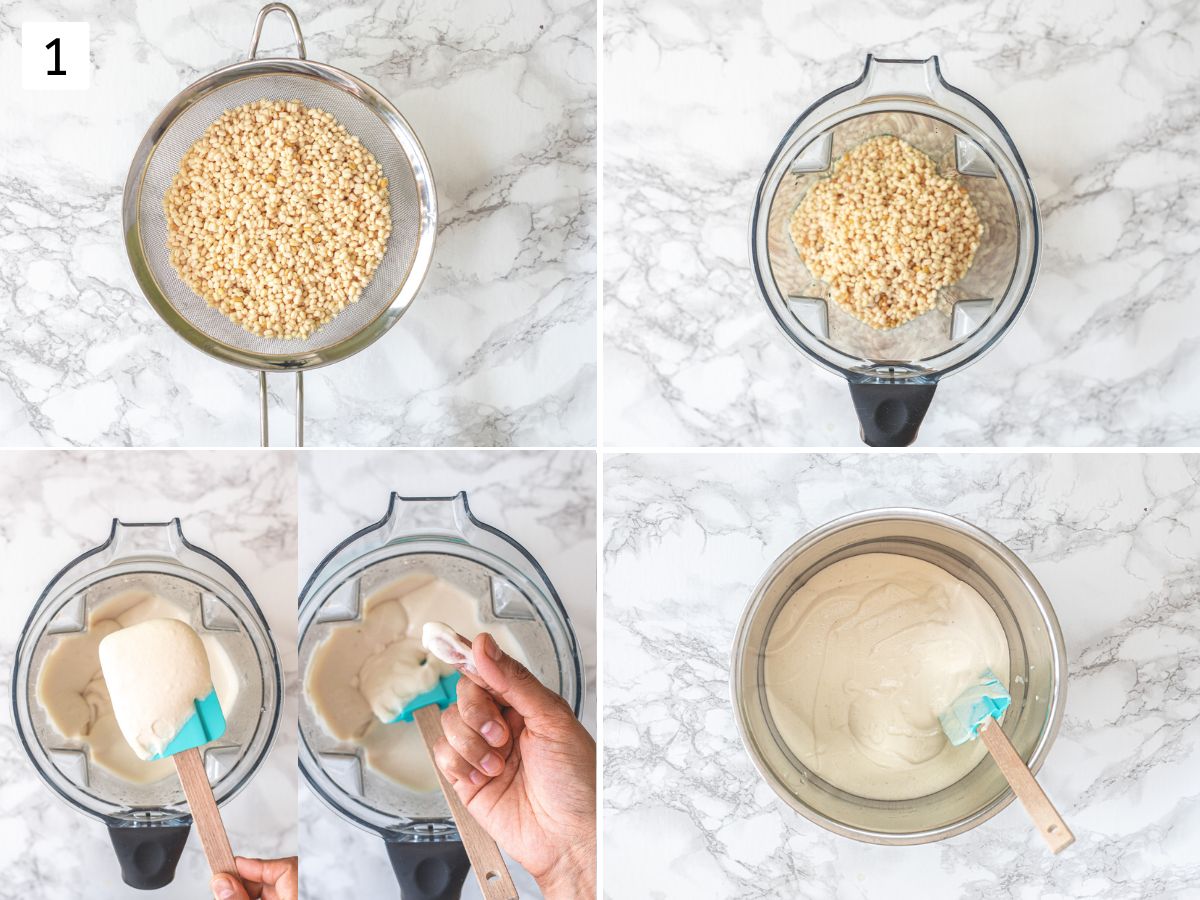
1) Drain the water completely from lentils, and methi seeds using a strainer.
- Transfer them to a blender or mixie jar along with 1 cup of cold water.
- Make a smooth paste out of it. Check by rubbing between your thumb and finger, it feels smooth and sticky.
- Remove it to the instant pot liner.
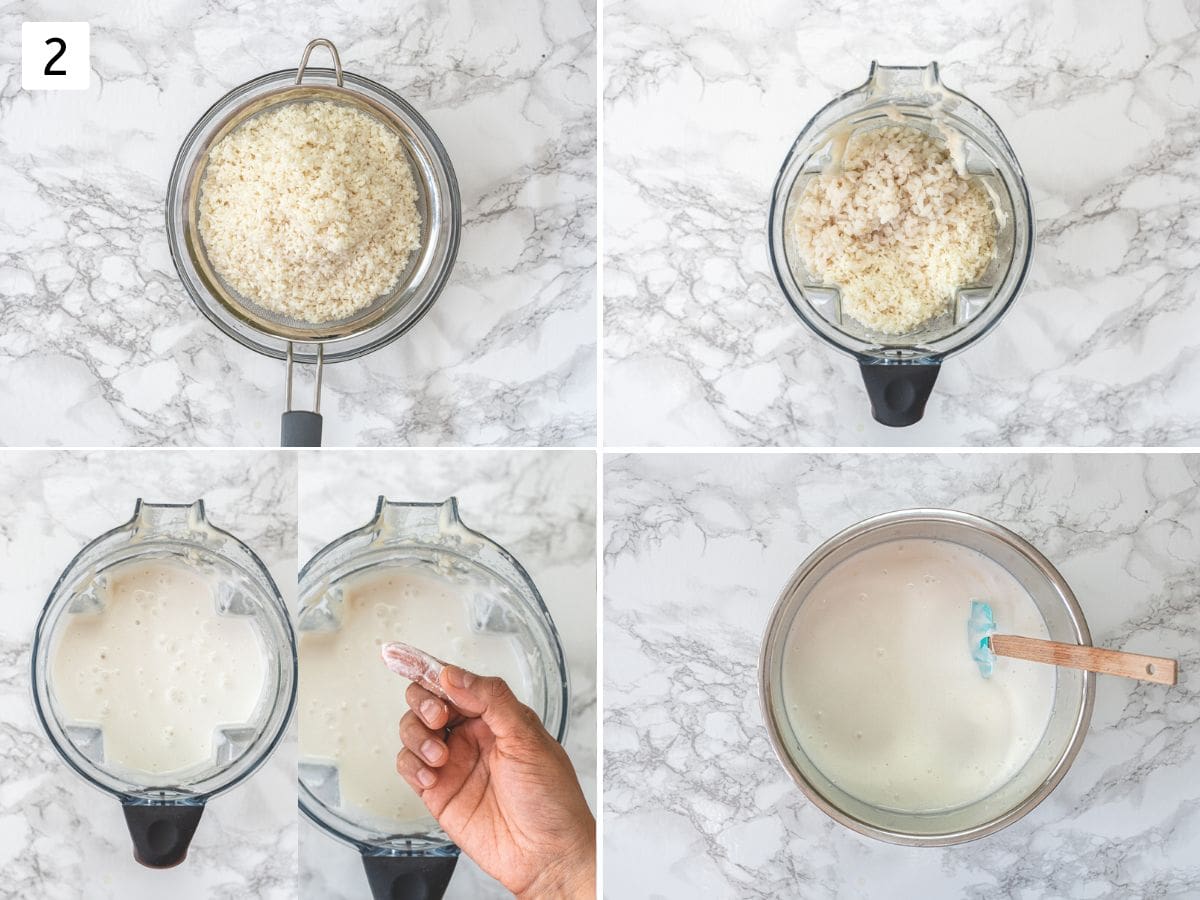
2) Drain the water completely from idli rice using a strainer.
- Transfer it to a blender, and add soaked poha and 2 cups of water.
- Grind into a coarse-fine paste. If your rub between your finger and thumb, the batter feels slightly grainy.
- Remove it to the same liner as the lentil batter.
NOTE: If using idli rava then it doesn’t require grinding. Simply squeeze out the water from the soaked idli rava and add it to the lentil batter and mix. If needed add water to make the right batter consistency.
3) Mix both batters vigorously (for around 1-2 mins) using a spatula or your hand until mixed evenly. The batter consistency should be medium thick (not too thin, runny, and not too thick). It should be flowy consistency and when it falls in ribbons and disappear within seconds.
4, 5) Place the instant pot steel liner into the instant pot, and cover it with a lid (a separate lid, not a pressure cooker lid).
6) Set the instant pot on yogurt mode for 12-14 hours.
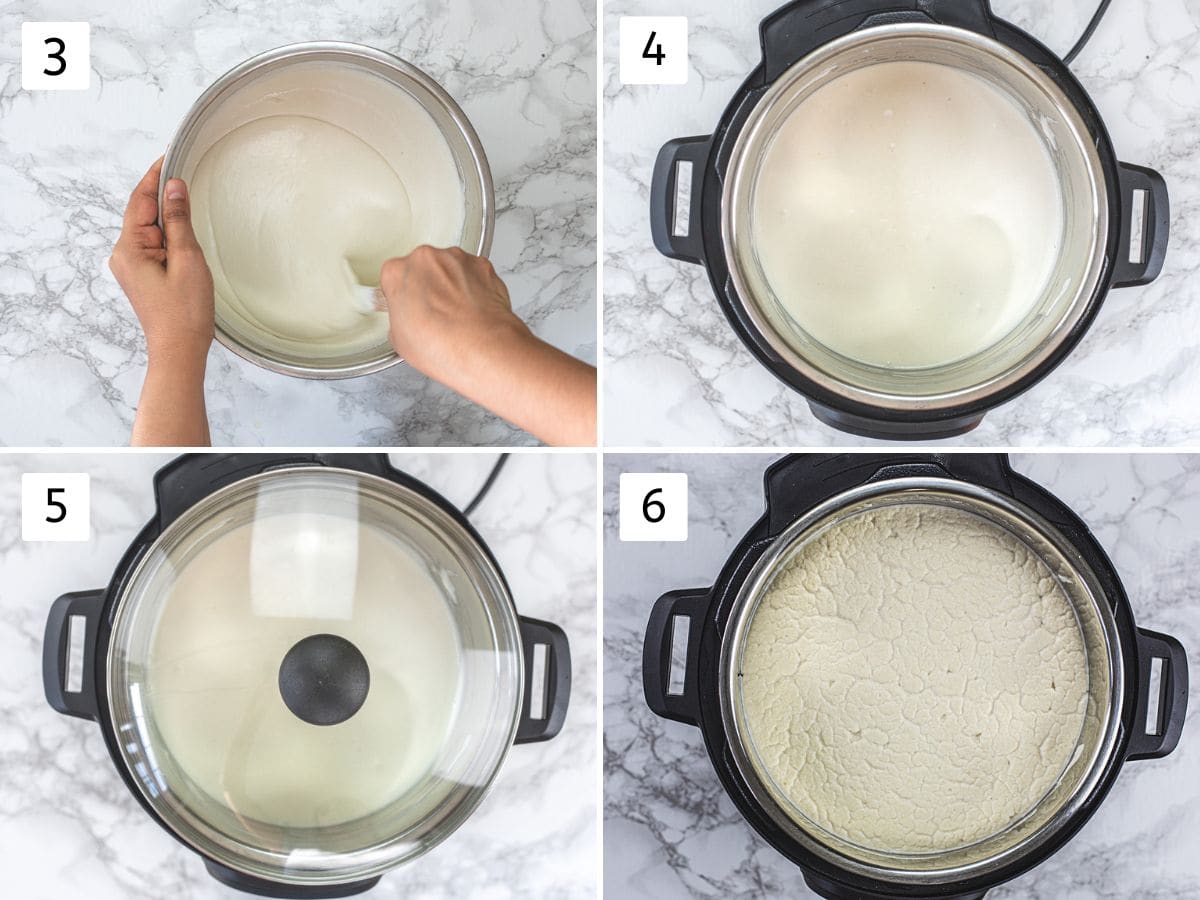
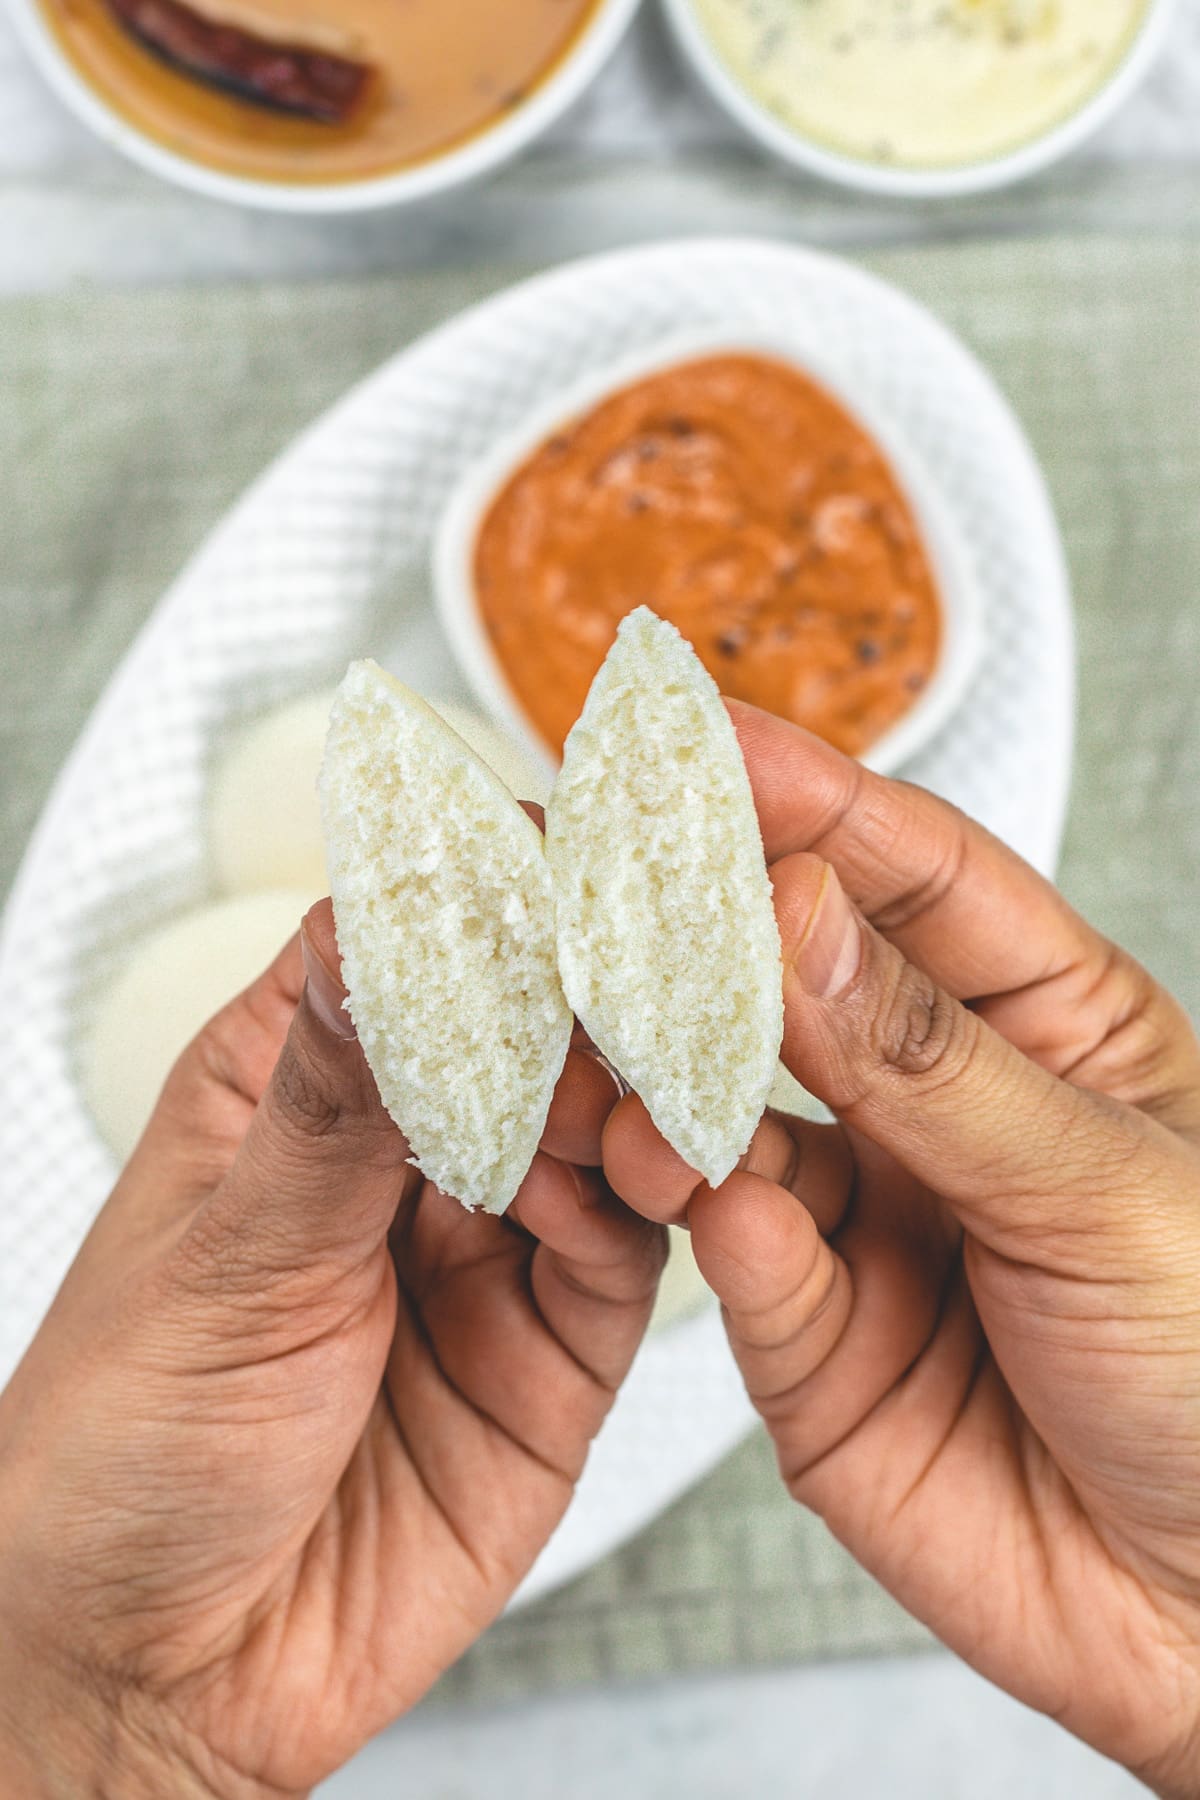
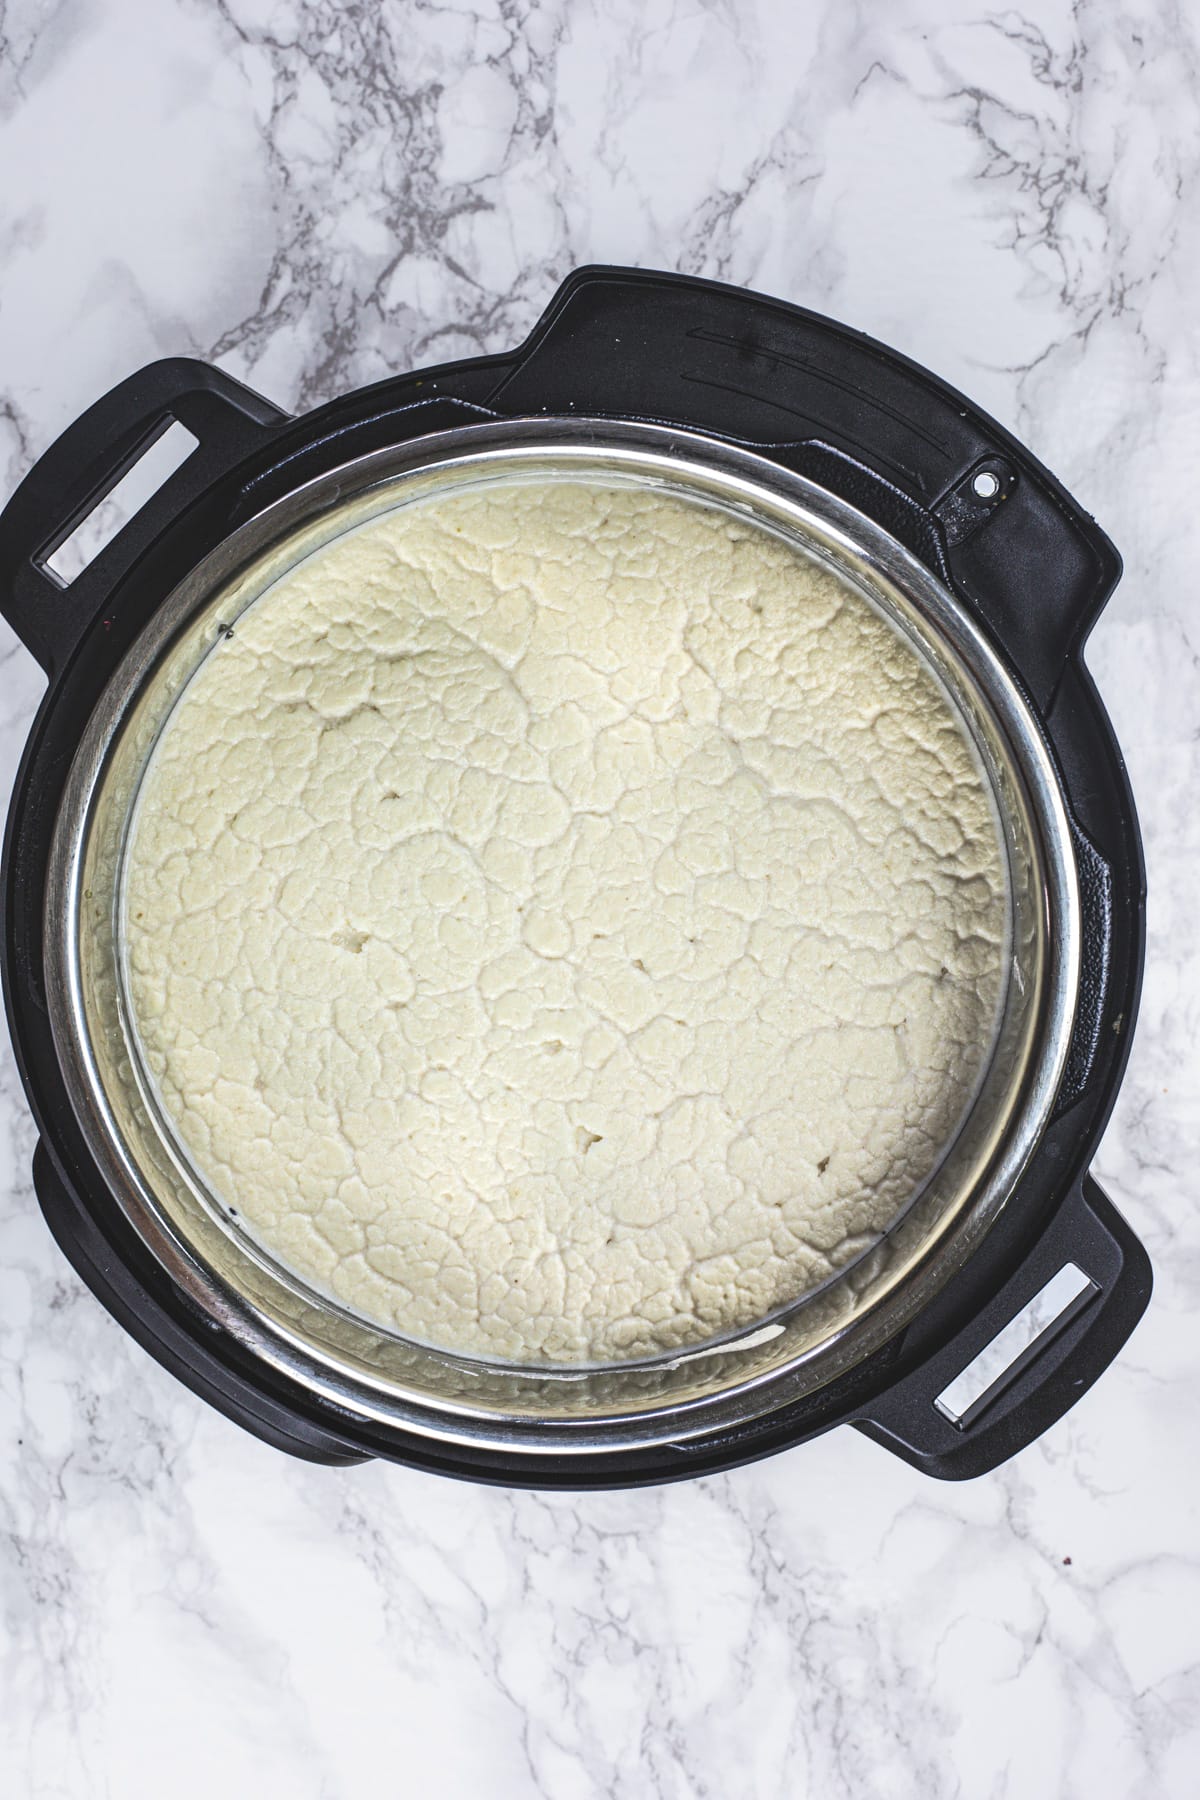
After fermentation, idli batter gets double (sometimes more than double) the volume. It also turns light, fluffy, airy, and bubbly.
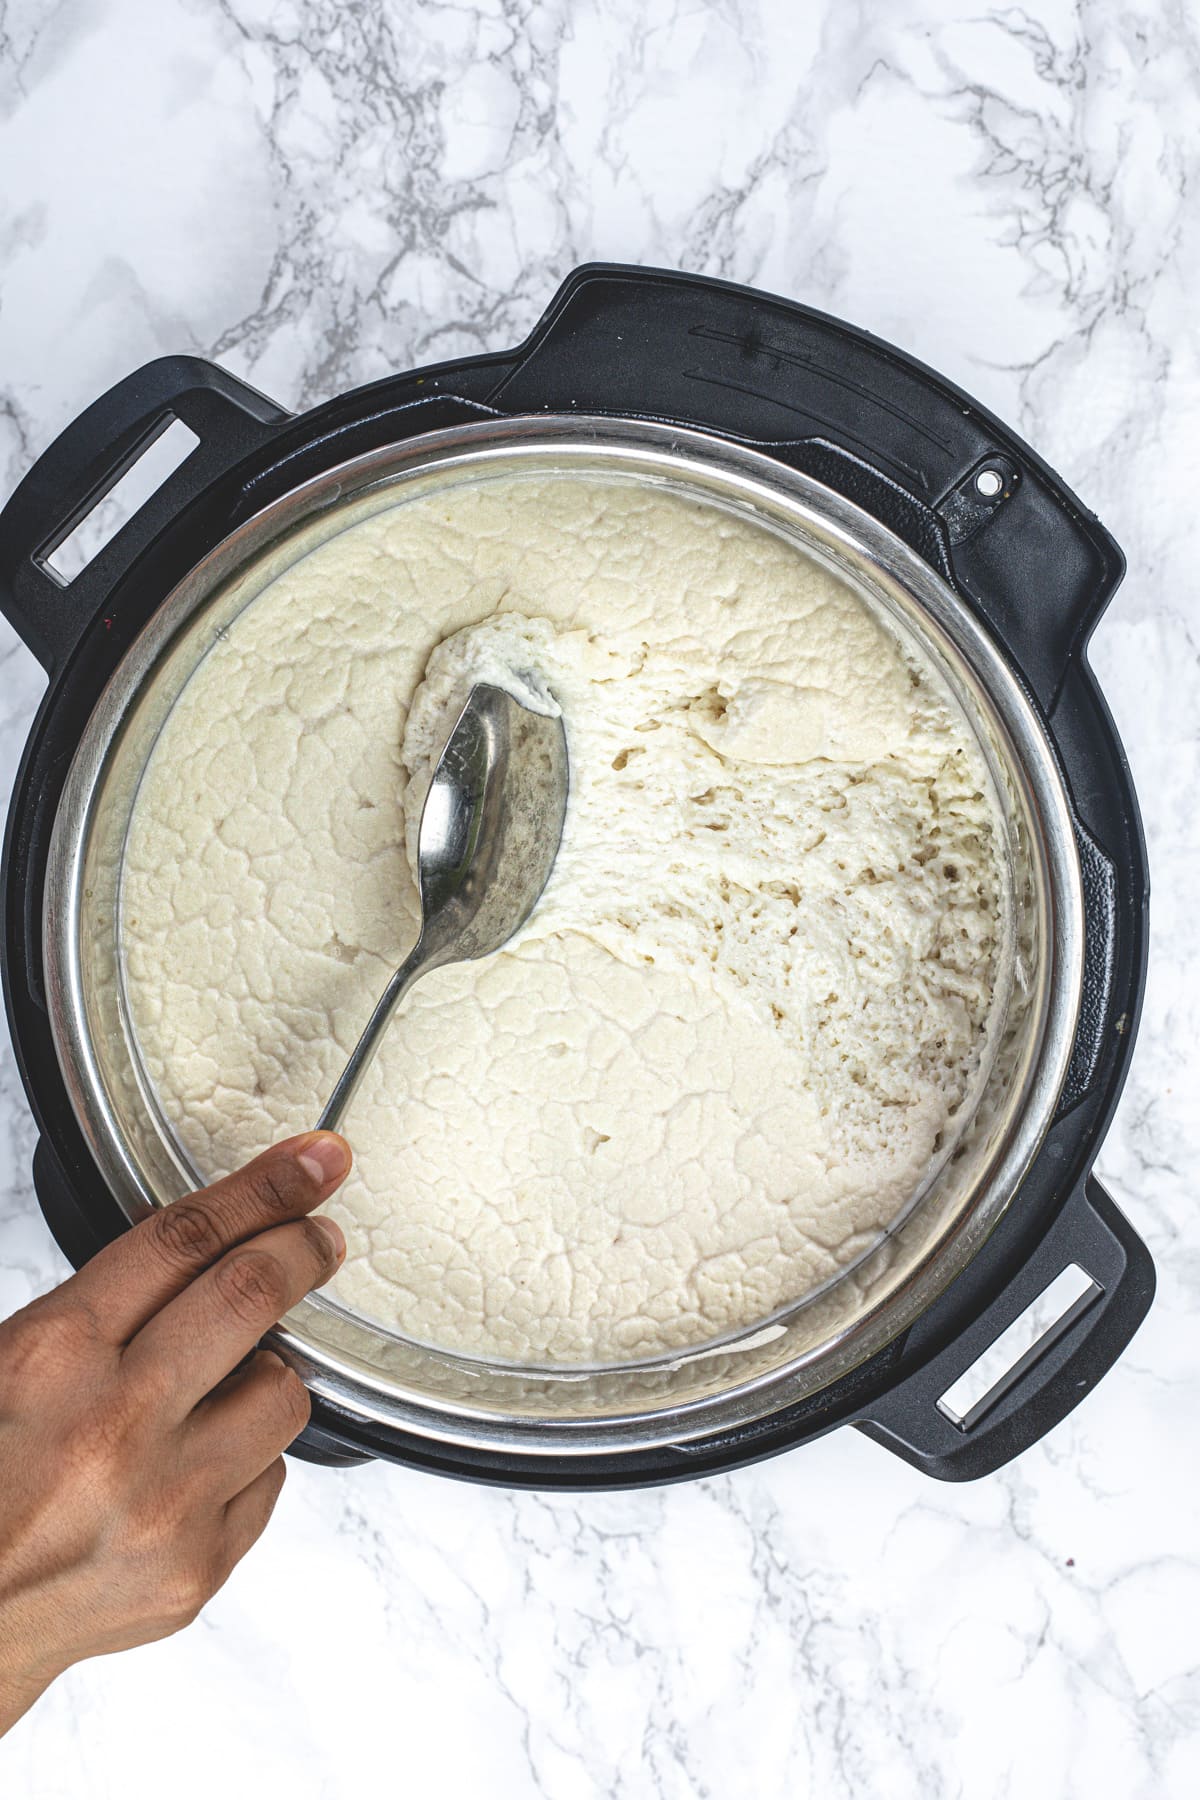
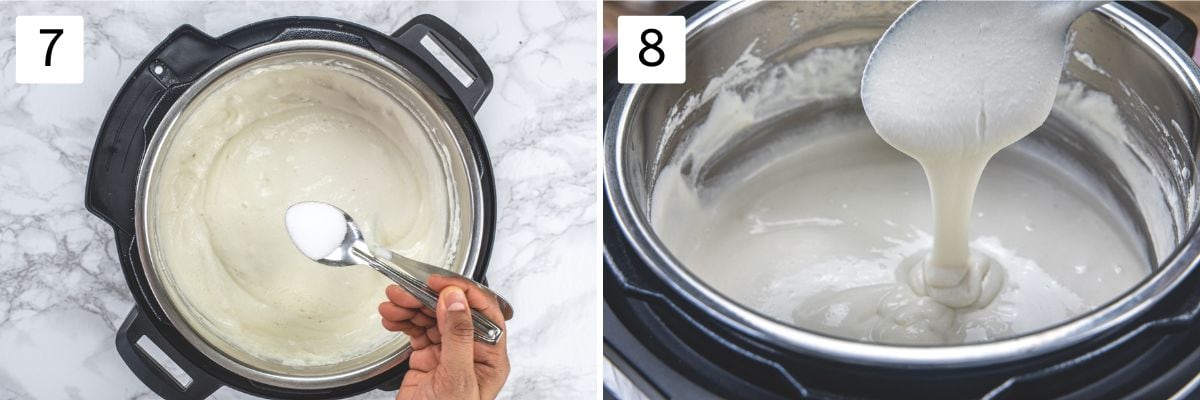
7) Gently mix the batter, add salt, and mix again. I have added salt later as I am using iodized salt.
8) If the batter consistency looks too thick then you can add a splash of water to adjust it. But make sure not to make it too thin. If you have followed the water amount while grinding as mentioned then your batter consistency will be perfect.
Steaming Idli:
Time required: 10 minutes per batch
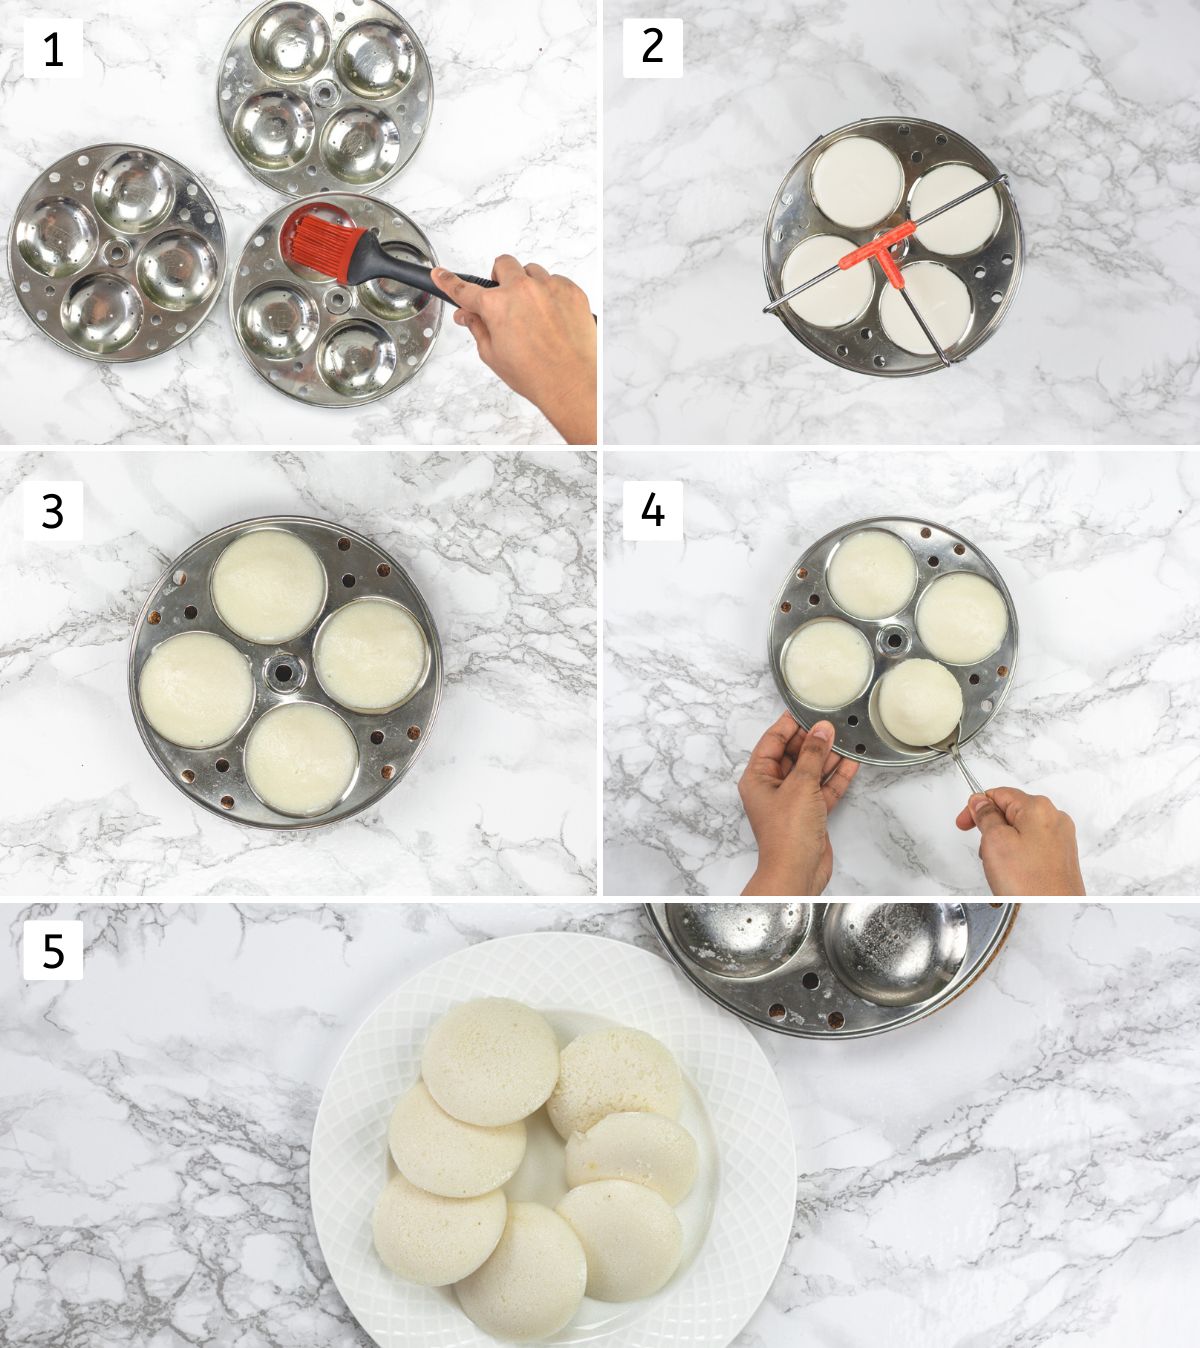
1) Bring water to a boil in a steamer. Grease the idli plates using oil.
2) Pour the batter into the molds.
3, 4) Steam for 10 minutes on medium heat. Remove the idli plates and let them sit for 2 minutes.
5) Then using a spoon or butter knife, loosen the idli from the mold and transfer it to a plate. Repeat the steaming process for the rest of the batter. Or store leftover batter.
💭 Expert Tips For Soft, Perfect Idli
- Quality & Freshness of lentils: Fresh urad dal helps in the fermentation process. The fresh lentils are white in color while older or stale lentils start to turn pale yellow and which shows the aging process.
- Soak lentils and rice separately, because we are grinding them separately. Both take different times and amounts of water while grinding. So it is recommended to soak and grind separately.
- Always use cold water while grinding. Sometimes blender or grinder get hot/warm during the grinding process and cold water prevents the batter to become warm.
- If your blender gets too hot then let it rest for 5-10 minutes, let it cool down, and then continue grinding again. This happens mostly with an Indian-style grinder (Preethi brand), I have never faced this issue with Vitamix.
- Batter consistency has to be right to get fermentation. If the batter is too thick or too thin then it won’t ferment properly and result in dense or flat idli. When you pour the batter back into the bowl, it should be flowy, with pouring consistency, also as your pour ribbons form in the batter and disappear right away.
💭 Fermentation Tips:
- Follow the instant pot method to get perfectly fermented idli batter every single time.
- Traditional method: Keep the bowl covered in a warm place overnight. In India, it should get ready in 8-10 hours or sometimes even less time.
- During winter months, it takes more time (from 10 hours to 24 hours). The batter may not double or triple in size, but there should be some bubbles in the batter that shows fermentation.
- Oven method: Preheat the oven to 180 F and then turn off the oven. Place the bowl in the oven and keep the oven light ON, so it continues to give enough warmth for fermentation.
- The over-fermented batter turns sour and idli won’t taste good.
🥣 Storage Instructions
Idli Storage:
- Idli tastes best fresh (the day it is made).
- You can store leftover idli in the refrigerator for 2-3 days. The longer you store it, it starts to become dry.
- You can freeze idli for up to 3 months. Arrange them on a cookie tray in a single layer, cover with plastic wrap, and freeze until frozen. Then transfer frozen ones to a freeze-safe ziplock bag and store.
- To reheat idli, arrange them on a plate in a single layer, cover them with a damp paper towel, and microwave it for 30-40 seconds only.
Idli Batter Storage:
- The batter stays good for 4-5 days in the refrigerator.
- Fermented idli batter stays good for up to 3 months in the freezer.
- Idli made from freshly fermentable batter has the best texture. So always make idli the first day and use leftover batter (refrigerated or frozen) for uttapam or paniyaram.
- To thaw, let the container sit on the counter for a few hours or until defrosted.
🍽 How To Serve Idli?
As a breakfast or meal:
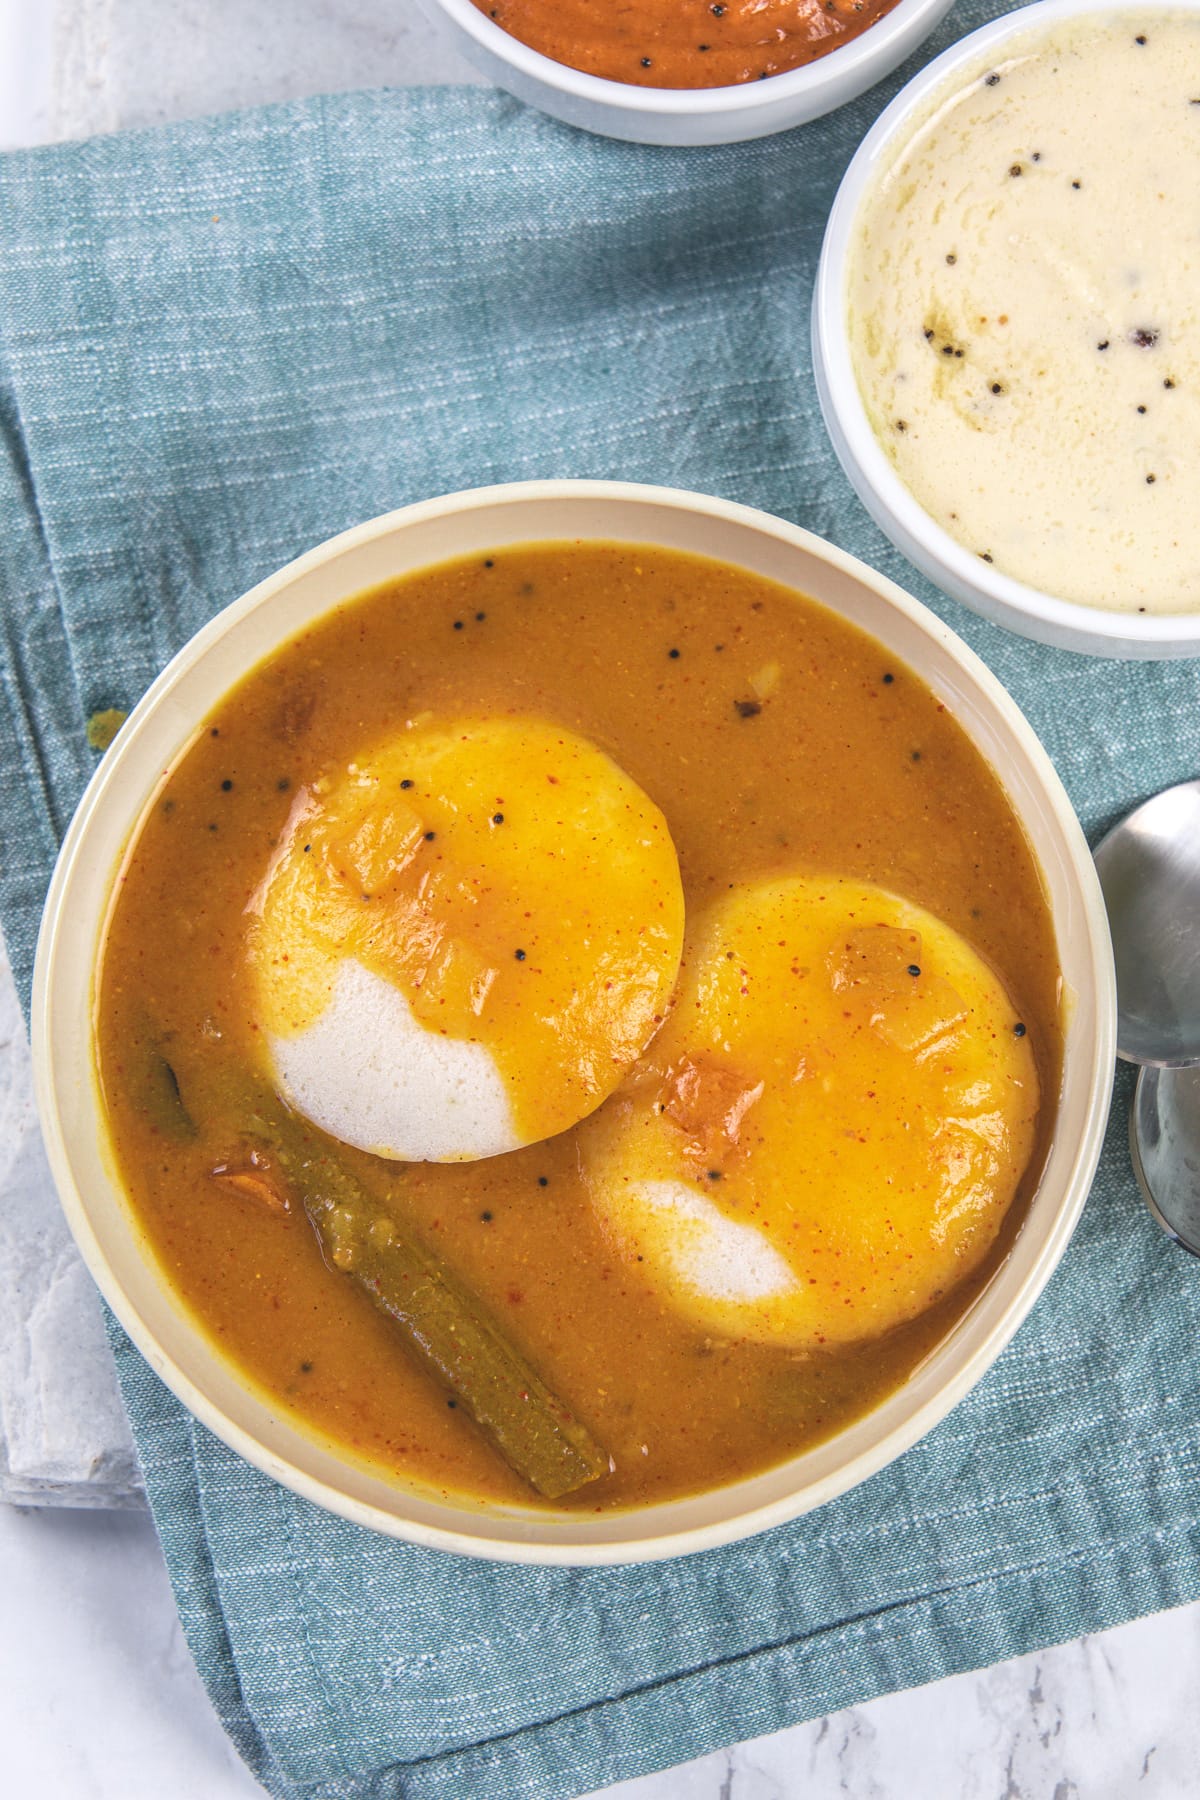
- Serve piping hot idli with a bowl of sambar and chutney (like coconut chutney, or tomato chutney).
- Toss idli in idli podi along with some ghee or sesame oil (gingelly oil).
Leftovers: You can make masala idli, fried idli, idli upma, idli manchurian, idli chaat, etc.
Check Out Other Breakfast Recipes
Did you try this idli recipe? I’d love to hear about it! Leave a review in the comment section below.
Recipe Card
Idli Recipe (Idli Batter Ratio & Tips)
Ingredients
- 4 cups Idli Rice or Idli rava
- 1 cup Whole urad dal skinless
- 1 teaspoon Fenugreek seeds (methi dana)
- ¼ cup Thick Poha (beaten rice)
- ⅓ cup Water for soaking poha
- 1 ¼ cups Water for grinding lentils
- 2 cups Water for grinding rice
- 1 ½ teaspoon Salt
- Oil to grease idli plates
Instructions
Soaking:
- Wash/rinse idli rice 2-3 times using regular tap water until the water is clear and not cloudy anymore. Massage lightly using your finger before rinsing the water.
- Soak in enough water (2 inches of water above the rice) for at least 6 hours or overnight.
- Similarly, rinse the mixture of whole urad dal and methi seeds. And soak for at least 6 hours or overnight.
- 30 minutes before grinding, rinse poha once using tap water. Soak poha in ⅓ cup of water for 30 minutes only.
Grinding:
- Drain the water completely from lentils, methi seeds using a strainer.
- Transfer them to a blender or mixie jar along with 1 cup of cold water. Make a smooth paste out of it. Check by rubbing between your thumb and finger, it feels smooth and sticky.
- Remove it to the instant pot liner.
- Drain the water completely from idli rice using a strainer. Transfer it to a blender, and add soaked poha and 2 cups of water. Grind into a coarse-fine paste. If your rub between your finger and thumb, the batter feels slightly grainy.
- Remove it to the same liner as the lentil batter.
- NOTE: If using idli rava then it doesn’t require grinding. Simply squeeze out the water from the soaked idli rava and add it to the lentil batter and mix. If needed add water to make the right batter consistency.
- Mix both batters vigorously (for around 1-2 mins) using a spatula or your hand until mixed evenly. The batter consistency should be medium thick (not too thin, runny, and not too thick). It should be flowy consistency and when it falls in ribbons and disappear within seconds.
Fermenting Idli Batter In Instant Pot:
- Place the instant pot steel liner into the instant pot, and cover it with a lid (a separate lid, not a pressure cooker lid).
- Set the instant pot on yogurt mode for 12-14 hours.
- After fermentation, idli batter gets double (sometimes more than double) the volume. It also turns light, fluffy, airy, and bubbly.
- Gently mix the batter, add salt, and mix again. I have added salt later as I am using iodized salt.
- If the batter consistency looks too thick then you can add a splash of water to adjust it. But make sure not to make it too thin. If you have followed the water amount while grinding as mentioned then your batter consistency will be perfect.
Steaming:
- Bring water to a boil in a steamer. Grease the idli plates using oil.
- Pour the batter into the molds.
- Steam for 10 minutes on medium heat. Remove the idli plates and let them sit for 2 minutes.
- Then using a spoon or butter knife, loosen the idli from the mold and transfer to a plate. Repeat the steaming process for the rest of the batter. Or store leftover batter.
Notes
- Quality & Freshness of lentils: Fresh urad dal helps in the fermentation process. The fresh lentils are white in color while older or stale lentils start to turn pale yellow and which shows the aging process.
- Salt: If using iodized salt then add after fermentation is done, as iodine and anti-caking agents in salt interfere with the fermentation process. If using non-iodized salt then you can add in the idli batter earlier.
- Soak lentils and rice separately, because we are grinding them separately. Both take different times and amounts of water while grinding. So it is recommended to soak and grind separately.
- Always use cold water while grinding. Sometimes blender or grinder get hot/warm during the grinding process and cold water prevents the batter to become warm.
- If your blender gets too hot then let it rest for 5-10 minutes, let it cool down, and then continue grinding again. This happens mostly with Indian-style grinders (preethi brand), I have never faced this issue with Vitamix.
- Batter consistency has to be right to get fermentation. If the batter is too thick or too thin then it won’t ferment properly and result in dense or flat idli. When you pour the batter back into the bowl, it should be flowy, with pouring consistency, also as your pour ribbons form in the batter and disappear right away.

Leslie
This is by far the best idli recipe. The instructions are very detailed and easy to follow. Perfect results every time. I hope you publish an Indian cookbook. I have several and your recipes are usually tastier and easier to follow.
BTW, I live in a cold climate and a teaspoon of active dry yeast really helps with fermentation.
Kanan Patel
Very glad that you find this recipe helpful.
I have never tried adding yeast, that is interesting to know.
Raju
Have you miss baking powder or shoda or Eno
Any one
Kanan Patel
no i don't use any baking soda or powder or eno